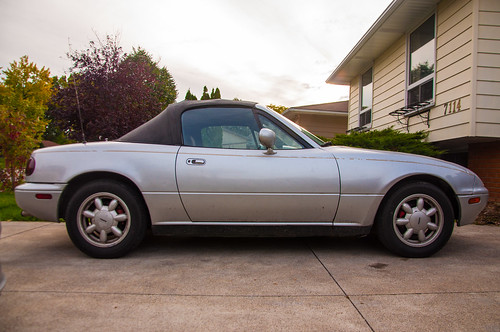
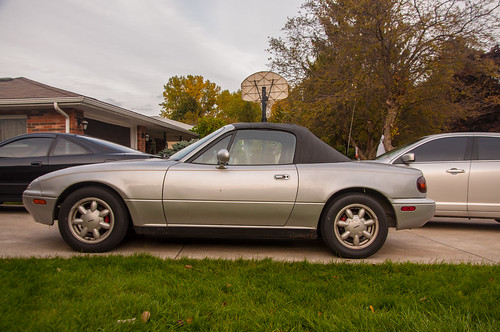
Well, after spending the last 3 years on Miata boards I finally have one to call mine! It's a 1991 Silver NA. I am the third owner of it. It started life in Virginia and was since imported into Canada to be fairly local to me. I looked at it on October 4, and ended up purchasing it the following Friday. I got a ride from a classmate after class, threw a set of plates on it and drove it home. I made sure to put it through its paces on the way home as well. Runs really strong and everything works perfectly, including the windows, A/C and cruise control although they will be coming out soon.
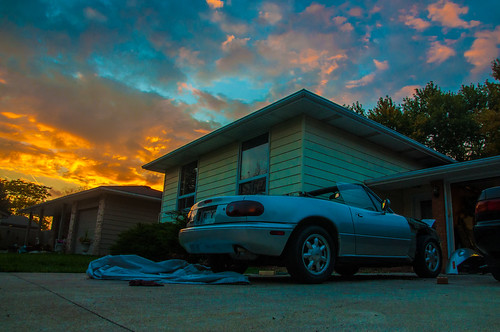
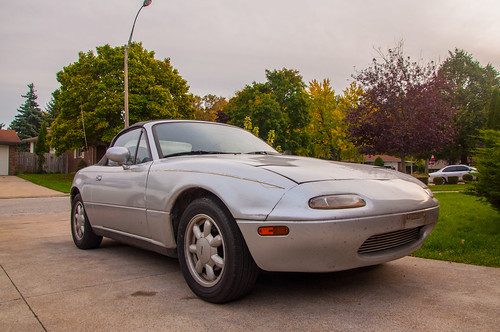
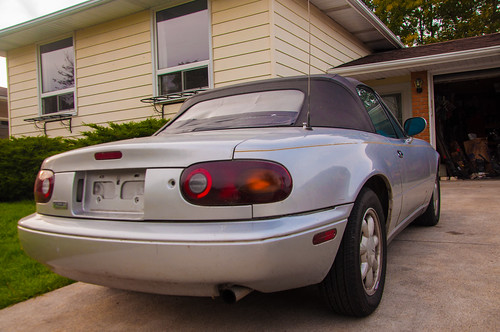
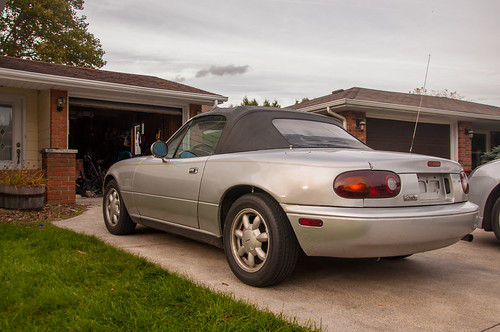
I took these pictures the moment the car arrived in the driveway.They don't even do justice of showing how dirty the car actually was. It was bad, really bad! First Day Home by Austin Rajki, on Flickr First Day Home by Austin Rajki, on Flickr First Day Home by Austin Rajki, on Flickr First Day Home by Austin Rajki, on Flickr
FILTHY! So Dirty... by Austin Rajki, on Flickr First Day Home by Austin Rajki, on Flickr First Day Home by Austin Rajki, on Flickr
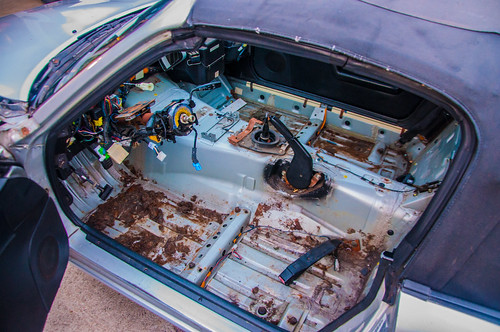
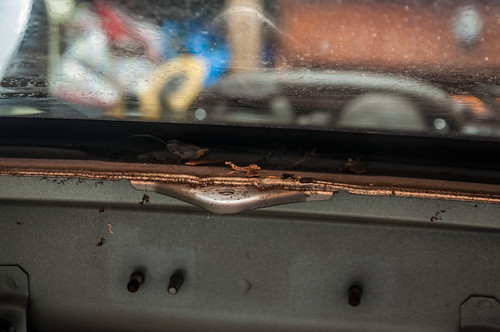
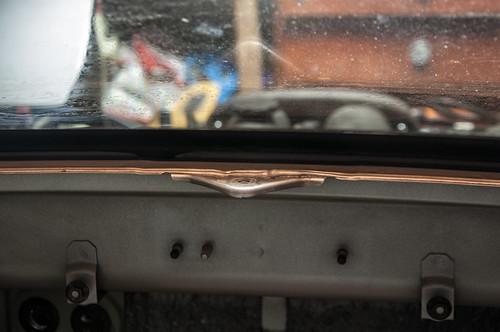
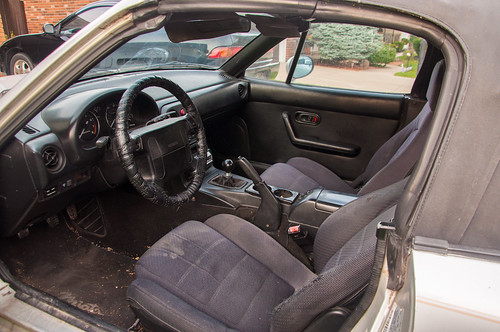
The problem area that will be fixed. Problem Spot by Austin Rajki, on Flickr Gross Interior by Austin Rajki, on Flickr
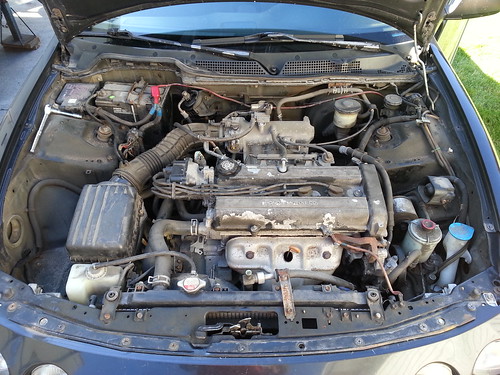
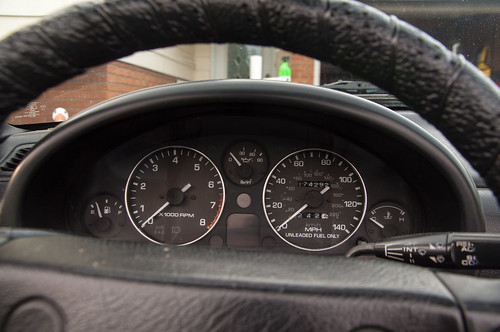
174k miles on the odometer and it still runs as strong as my Integra with a 1.8. Oh, and look at that terrible wheel cover...:fp: 174k Miles. Worst Wheel Cover Ever. by Austin Rajki, on Flickr
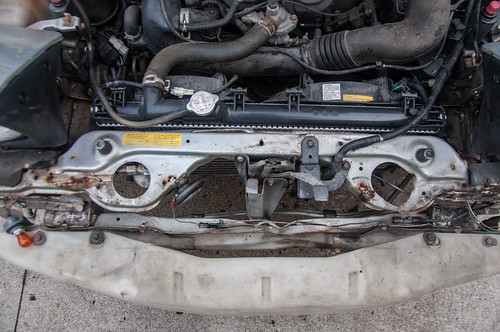
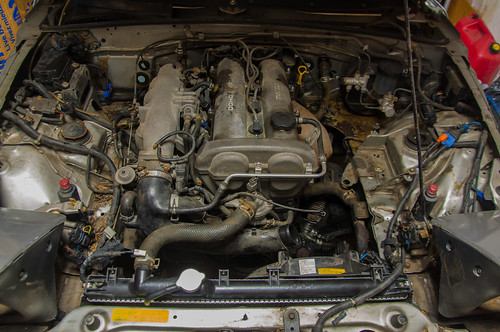
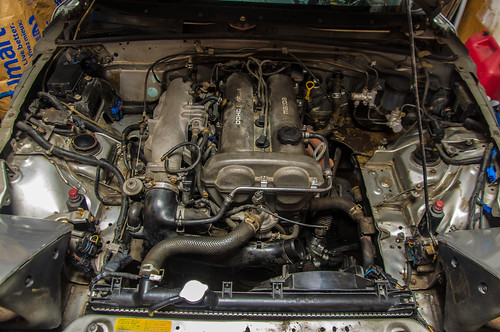
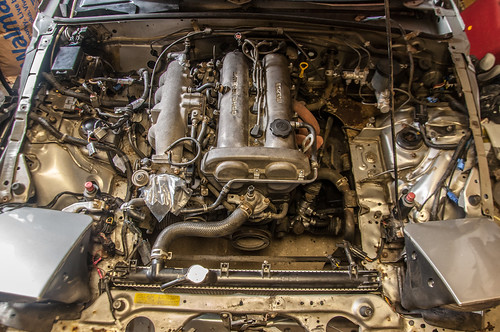
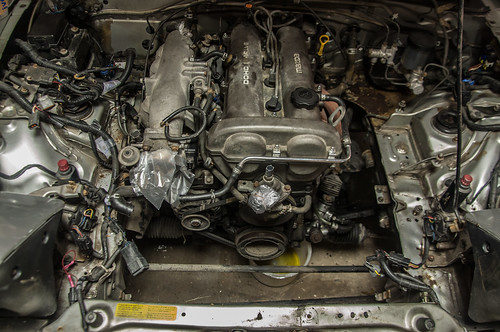
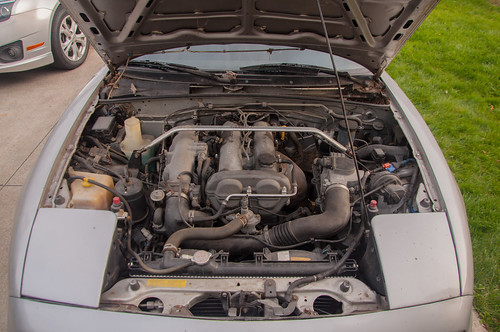
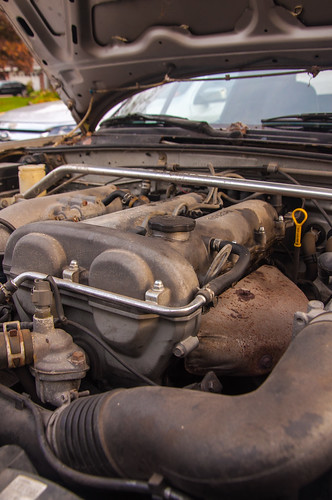
The bay is really dirty too. Filthy Bay by Austin Rajki, on Flickr Oil Stains by Austin Rajki, on Flickr
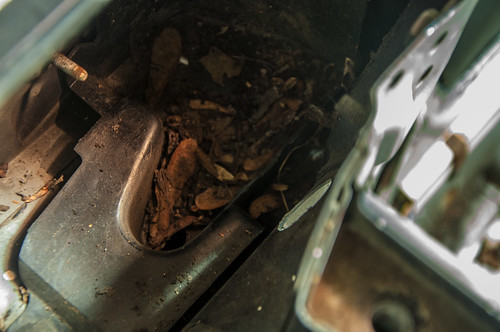
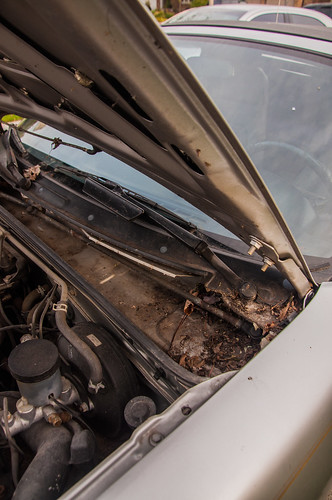
The dirt you see in the cowl area is only a small portion of what there actually was. I was pulling hand fulls of wet leaves/dirt/mud, you name it out. The same thing goes for the trunk seal area... Much Dirt. Very Gross. Wow. by Austin Rajki, on Flickr
I have lots of work cut out for me, but I'm looking forward to every minute of it.
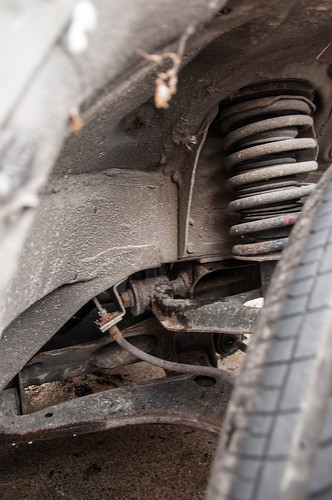
From what the previous owner tells me the car has never seen winter in its entire life. It has been stored all winter. The underbody is super mint! The only rust I have found on the car so far is the driver's rocker that I posted above this, and a little bit in the entire bay from a master cylinder leak that was fixed a little while ago.
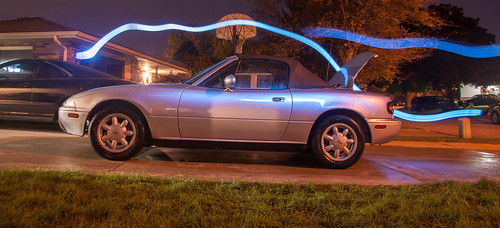
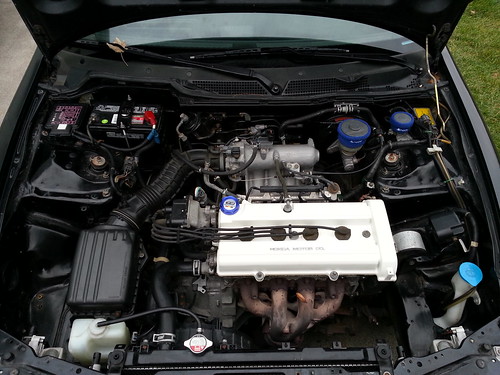
After bringing the car home I spent quite a bit of time washing it. The sun went down pretty quickly so I was washing in the dark. This is a quick light paint from when I was done. After First Bath by Austin Rajki, on Flickr
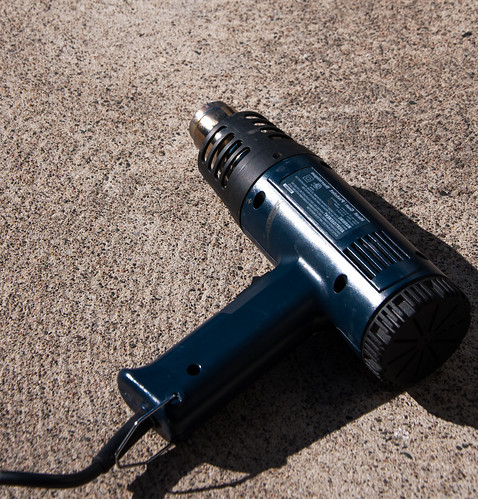
A friend of mine removed the pinstriping from his truck with really good results. He ended up lending me his heat gun so I could remove mine. Heatgun by Austin Rajki, on Flickr
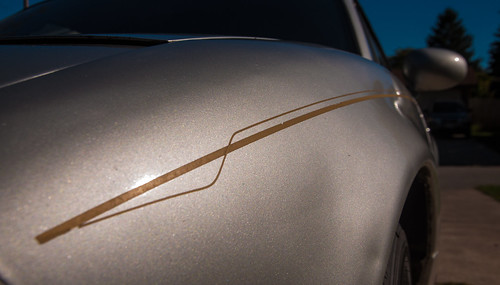
Went from this Before Heat by Austin Rajki, on Flickr
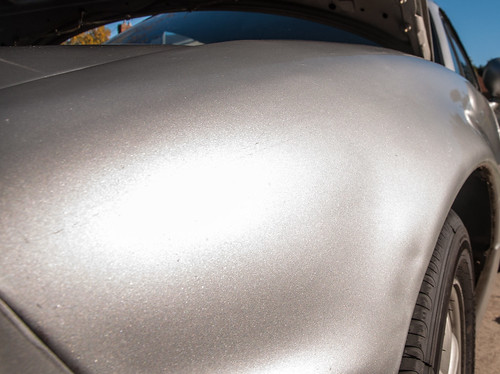
To this. Notice all the dirt left over in the fender? Result from washing in the dark. haha After Heat by Austin Rajki, on Flickr
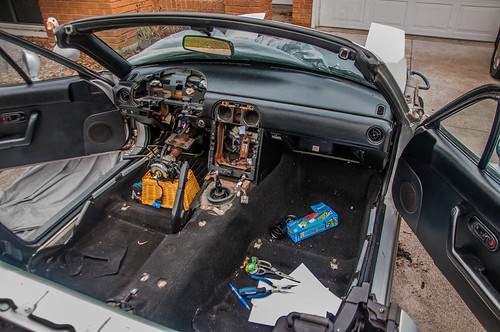
Then today I started cleaning the pig sty of the interior. OMG by Austin Rajki, on Flickr
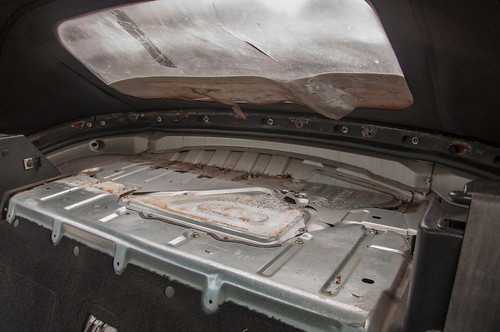
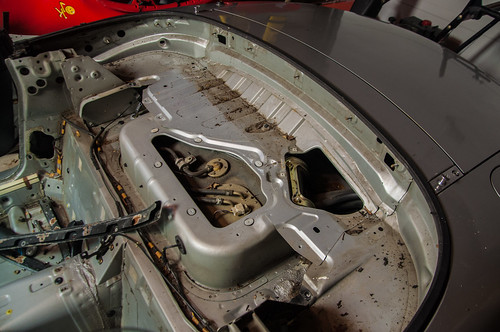
As you can see the soft top is ripped and leaks. I was honestly expecting under the carpet to be completely rusted, but I had a nice surprise. Nothing other than a tiny bit on the covers, which I will sand down to remove. The soft top also leaked on the passenger side near the windsheild. The previous owner had a brand new Robbins soft top for it that he gave to me. I just need to have it installed. Parcel Shelf by Austin Rajki, on Flickr
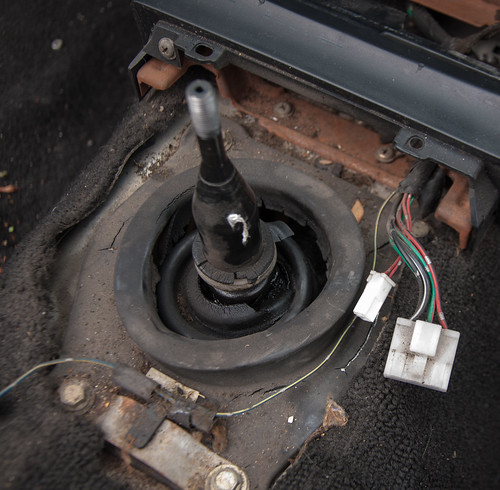
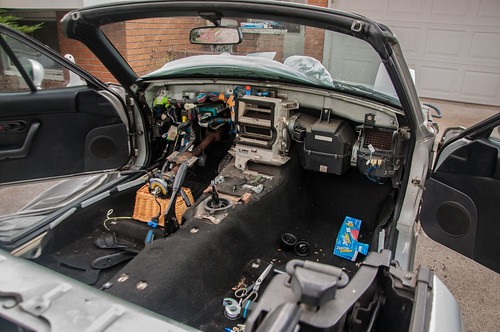
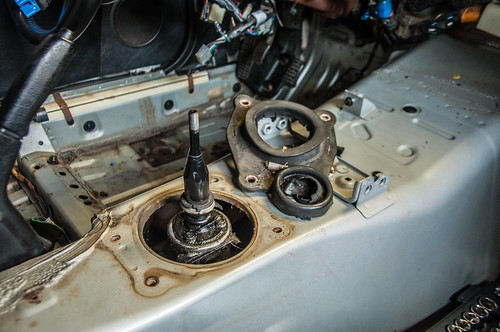
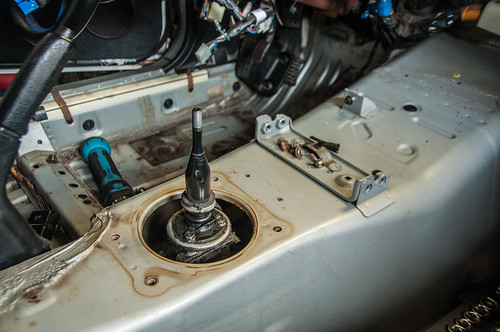
Next up was to start removing the rest of the carpet to get an idea of what I'll be dealing with during this build. Think it's time for a shifter rebuild? Oh... by Austin Rajki, on Flickr
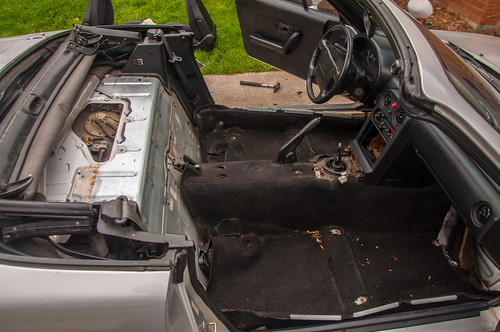
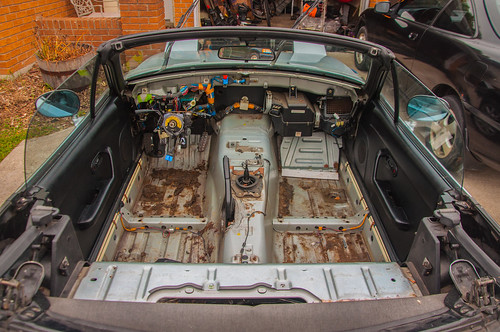
This is where the car stands as of now. Carpet is almost out, just need to remove the lower half of the dash. Does anyone know a trick to this? I'd prefer not to cut the carpet. Progress by Austin Rajki, on Flickr
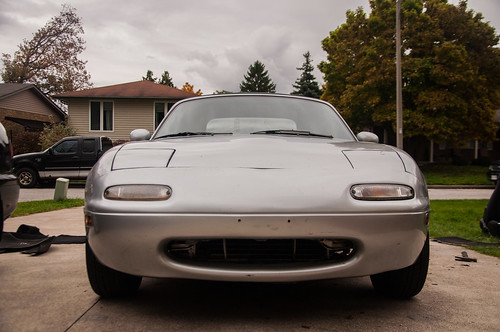
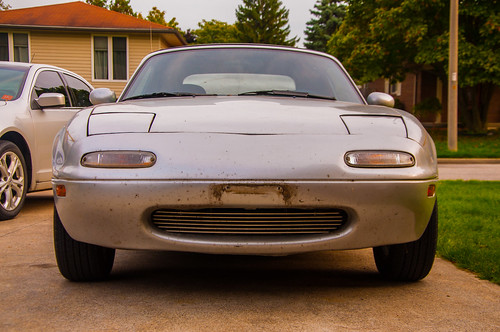
I also worked on the front end fitment a little bit and removed the ugly grille. It's still far from perfect, but it's quite a bit better. No More Grille. Cleaner. by Austin Rajki, on Flickr
Things that need to be addressed so far:
Rocker panel rust spot
Drivers fender. Slight bit of rust on bottom from leaves
Shifter rebuild
Valve cover gasket kit
Not a must do, but still needs to be done
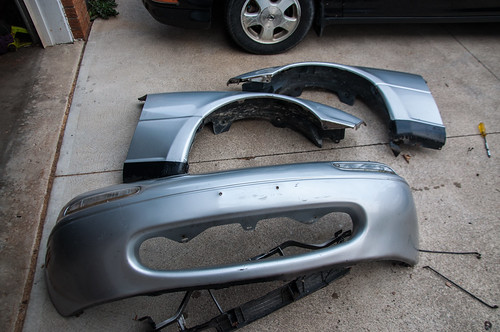
Replace finish panel - small crack
Replace rear bumper- small crack
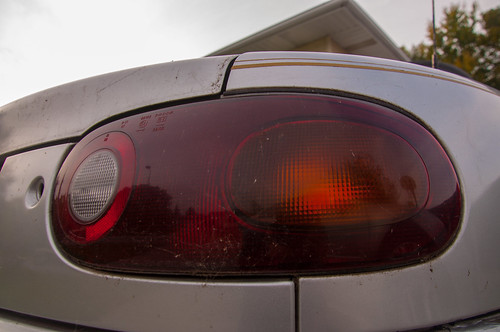
Replace passenger turn signal- vapour seal wasn't in place and water got into it making it look bad.
Rust wise I'm really happy with it. Shouldn't be too bad to get fixed. Even under the carpet considering how wet it got from all the rain/soft top leaks theres nothing. I was expecting a big spot, or the ECU cover to be rusted like crazy, but there's really nothing. Overall I am happy with my purchase, and I'm looking forward to seeing this car come around.
Edit: Oh! and the car came with 4 brand new tires the exact same size as the Integra's tires. Looks like I don't need to buy new tires for that any more. I'll just switch them out since the Miata will be sitting for a little while as I get it ready for paint.
After school I got to work on the car.
At first I only unbolted the bottom of the fenders, to let the dirt out, but there was a ton of dirt in there, so I got to work removing everything. Dirt in the Fender by Austin Rajki, on Flickr
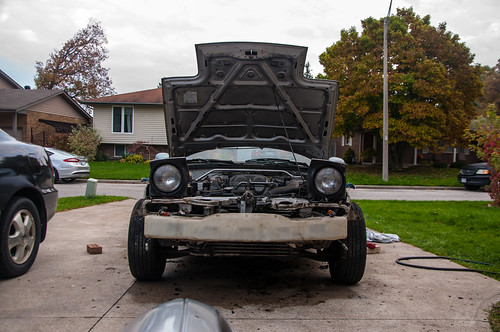
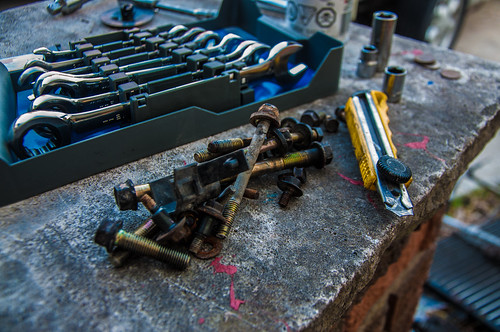
This is where things get a little depressing...While looking at the car before buying it I was pretty thorough looking underneath and at the body, but in my excitement I obviously missed some tell tale signs. What's the first thing that comes to your mind seeing these?
Tiny 1/4'' bolts where the bumper bolts to the rad support plus overspray. Tell Tale Signs by Austin Rajki, on Flickr
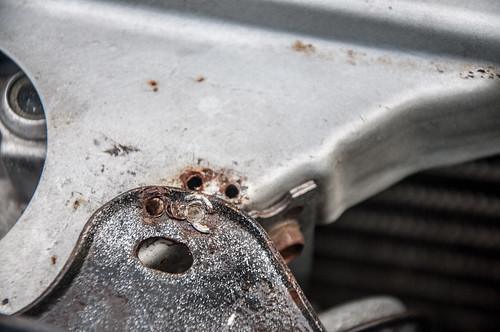
Woodscrews in the top of the "mouth" opening plus a bend in the rad support. Tell Tale Signs by Austin Rajki, on Flickr
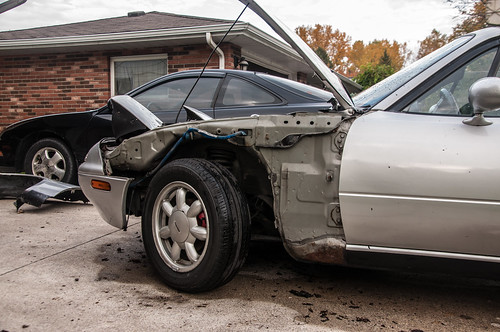
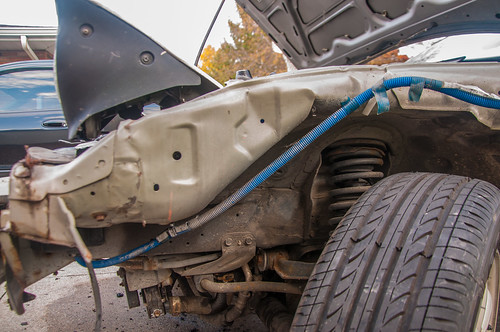
This is what I saw when the bumper was off... I'm starting to feel depressed and starting to regret this purchase at this point. Ouch by Austin Rajki, on Flickr
It's pretty evident that the car was involved in a collision. Look at the wrinkles where the headlight housing is. Also look just behind the sway bar mounts Ouch by Austin Rajki, on Flickr
Well, my new baby has frame damage... Look closer. It's not super evident, so I can see how I easily missed that, but its still there... :cry::cry:
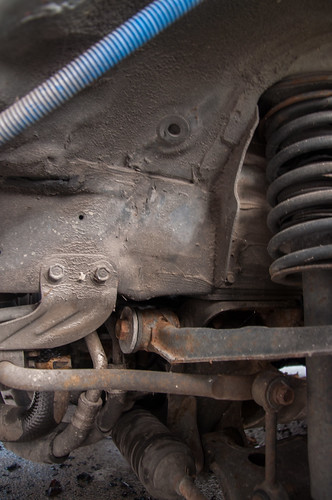
Driver's side Drivers Side by Austin Rajki, on Flickr
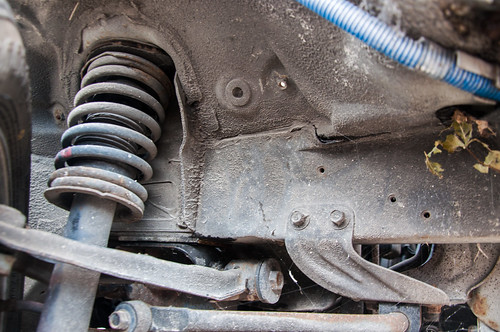
Passenger side. Same spot, not nearly as noticeable. Passenger by Austin Rajki, on Flickr
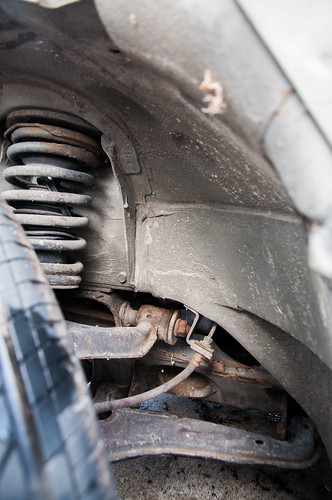
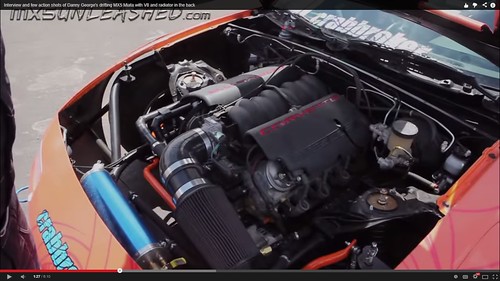
After finding that I was ready to just list the car for sale and move on. I was angry at myself for not seeing that before, despressed that I got in this situation, and very upset. I almost shed a tear to be honest. But then I got thinking. I was just about to purchase a 240SX to build a tube front end on it. If I was ready to do that to a 240, why couldn't I do that on a Miata? I have access to a tube bender, and my grandpa is a good welder. I was looking at Danny George's NA. According to Formula Drift rules a tube front starts from the shock towers forward. I got inspecting mine and found this.
Neither side from the shock tower and back showed any signs of stress. They had no cracks, undercoating was intact and there was no rust on or around the area. The frame rails are straight and rust free all the way to the back. The brackets for the headlights are straight. Both doors open and close perfectly as well as the hood and trunk.
This is Danny George's bay. Ideas by Austin Rajki, on Flickr
I got thinking. I could take the easy way out. I could scrap this shell and move on. This didn't even cross my mind though. Pretty much all of my favourite builds have had huge set backs (not just Miatas) and have bounced back. I'll just adapt and overcome. It'll be a pain, it'll be more costly than just moving on, but it pushes me to build a car that I am proud of knowing what I have overcome. Call me crazy, but I'm sticking with this chassis and will overcome everything.
Everything I have seen so far tells me there is nothing stopping me from tubing the front end and having a clean chassis again.
I'd have to make tabs for the headlight to bolt up to, but it's doable. It's just time and material.
After that whole ordeal and ideas running around in my head, I decided to keep going on this car. I'll be working on removing the dash. First thing to come out was the wheel/air bag. This was my first time ever removing either one of these. This will also be my first time ever removing a dash, so it'll be fun. Air bag and Wheel Removed by Austin Rajki, on Flickr
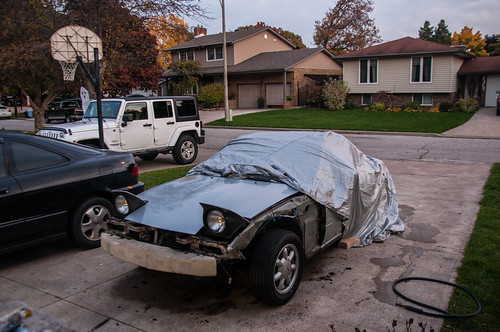
The sun was now going down and my light was disappearing. I tried to remove the eyeball vents, but I couldn't see shortly, so I decided it was time to clean up and cover the car. This is how the little hobo sleeps now. Car cover on to help keep water out. Look at all the dirt under the car.:fp: I'm very surpised that there isn't any rust under all that wet dirt. Time for Bed by Austin Rajki, on Flickr
I made some more progress on the Little Hobo today.
Removed the eyeball vents and started making progress on removing the interior. Almost ready to remove the dash. by Austin Rajki, on Flickr
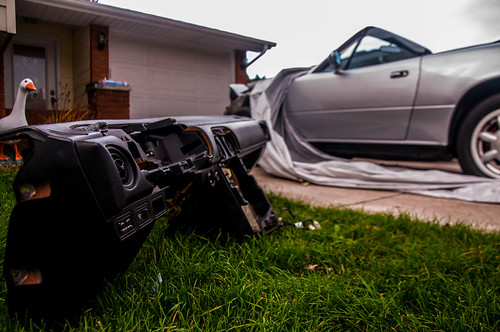
Now the dash was out. The whole progress took me an hour. Not too bad having never done a dash before. Dash out by Austin Rajki, on Flickr Dash out by Austin Rajki, on Flickr
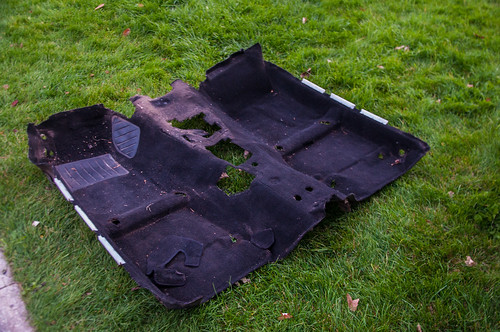
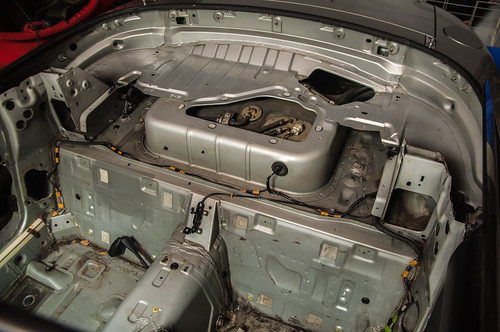
I removed the heater core and took the carpet out. I will be plugging the lines with a big bolt and using a hose clamp to keep coolant from spilling into the bay. Nasty Carpet by Austin Rajki, on Flickr
Under the carpet is really messy from all the insulation, but it looks pretty clean. We will find out how clean it really is after I'm done work tomorrow. Heater Core and Carpet Out by Austin Rajki, on Flickr
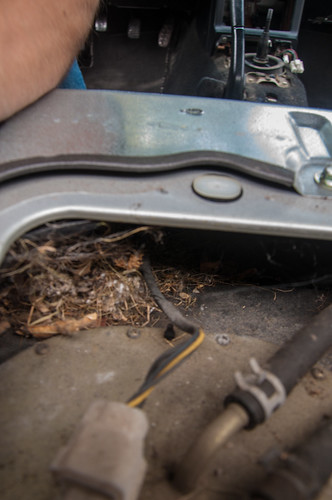
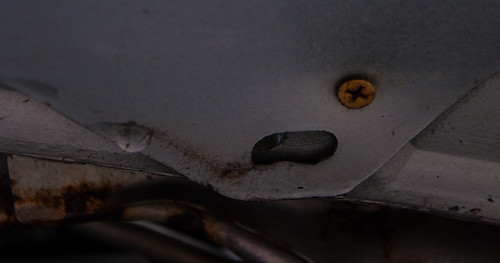
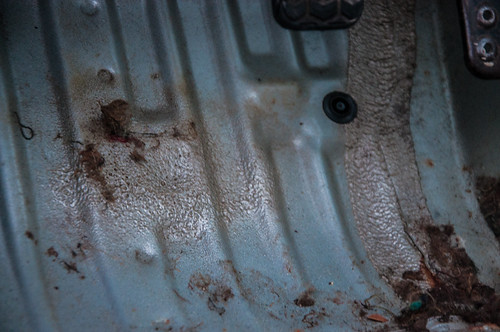
Does anyone know what this area is for? It is right below the brake pedal. There is a square hole under the rubberized coating. I poked all around it and put a bit of pressure, it doesn't feel like any rust. Plus the hole is a perfect square... Floor by Austin Rajki, on Flickr
Edit: it was pretty cool seeing how all the HVAC blenders and selections worked
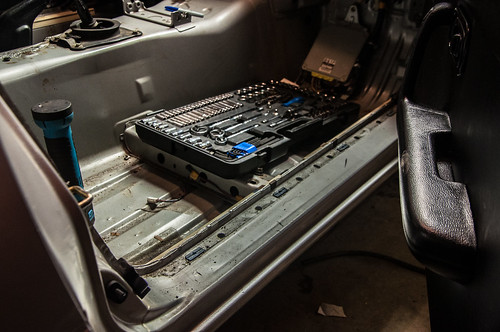
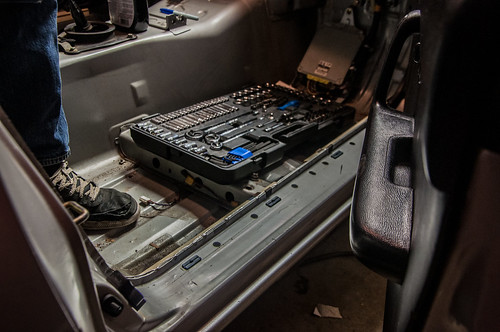
Not a lot of progress. I'm feeling really lazy today, plus I really need to study for a couple big tests. Continued pulling the interior apart. Dirt Under the Carpet by Austin Rajki, on Flickr
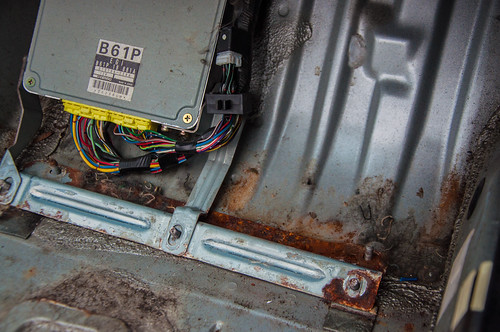
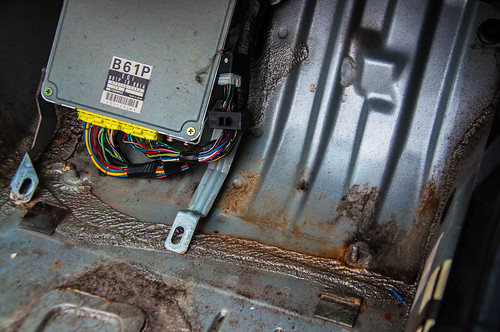
Got to the PCM and found this. Got a little worried for a minute. Rust? by Austin Rajki, on Flickr
Turned out only to be the mounting point. haha Nope by Austin Rajki, on Flickr
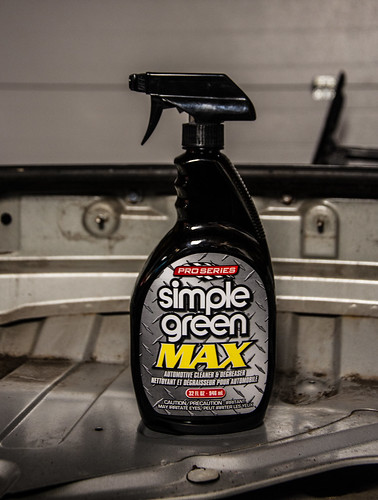
I also got started on removing the A/C. I got the tanks from the shop to drain the lines out and made a little bit of progress before coming inside. It looks like a mess since all the seam sealer is really dirty, but the only rust I've run into so far have been little surface spots and a bit right under the ebrake handle. Best I can tell that is only surface rust as well. I'll have to get a bottle of Simple Green to actually clean it rather than wipe down. Progress is progress though. Getting There by Austin Rajki, on Flickr
10-20-2014
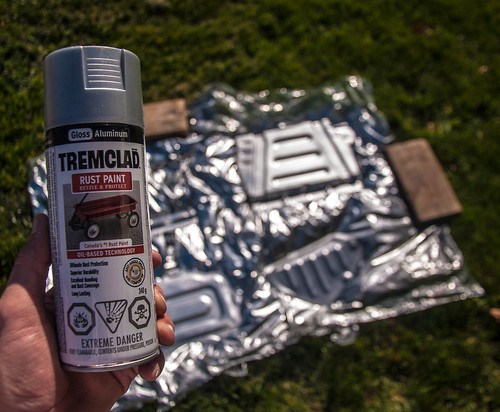
Small update. I was talking to a fabricator/welder today about a tube front. He says he's interested in doing the job. He will be coming by sometime next week to look at the car and give me a price for the job.
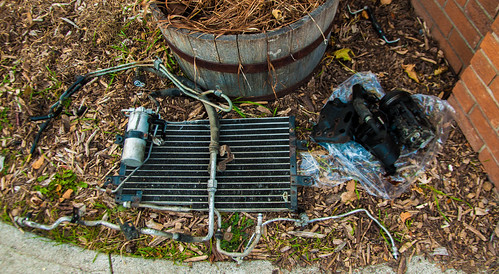
Between coats I was removing the A/C and Power Steering.
Power steering pump and reservoir out. PS Pump out by Austin Rajki, on Flickr
The bolt holding the lower A/C line on, was a bit of a pain to get on. I'm sure it would be easier with the LF wheel off, but I managed to get it off. Compressor Out by Austin Rajki, on Flickr
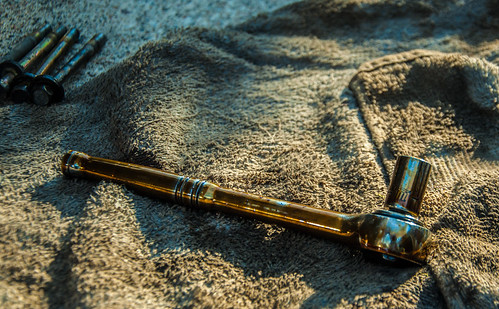
While removing all the PS pump and A/C compressor brackets I dropped my ratched which landed in my drain pan. :fp: Butterfingers by Austin Rajki, on Flickr
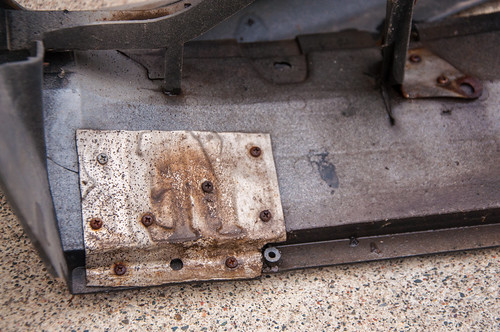
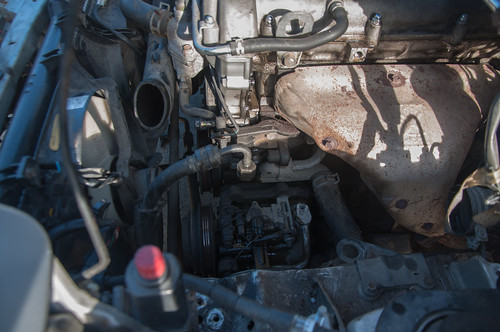
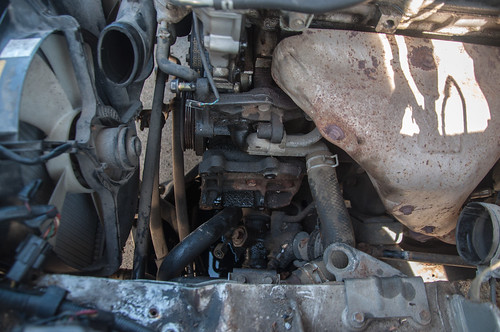
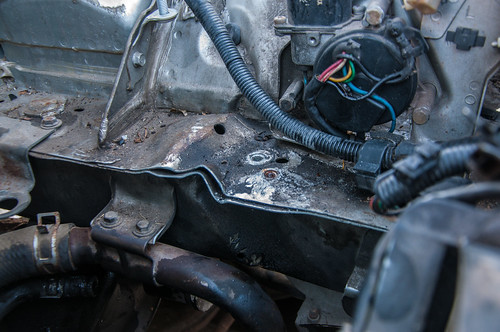
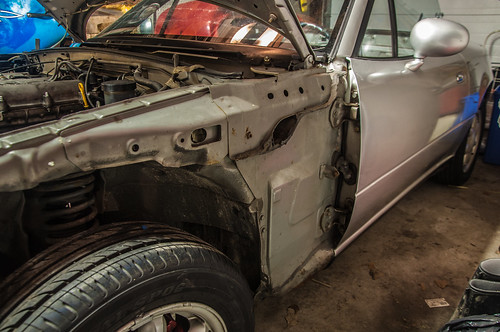
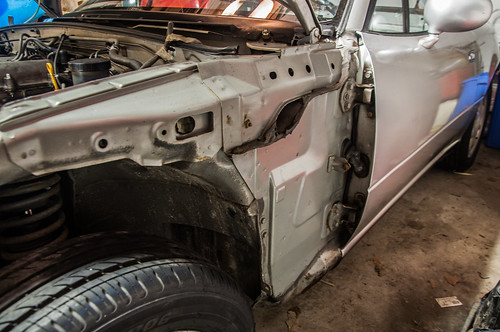
With everything out of the way on the left side of the car I could see the full extent to the frame damage I mentioned earlier. Everything is mint from that point back. Perfect for the tube front :mrgreen: Frame Damage by Austin Rajki, on Flickr
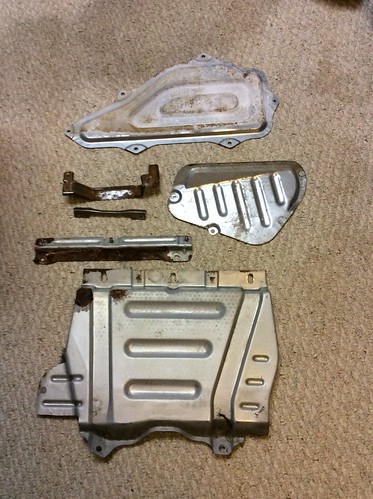
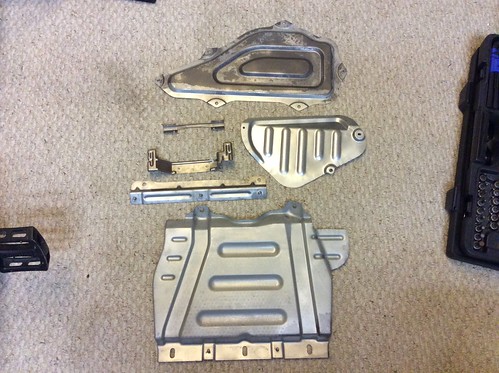
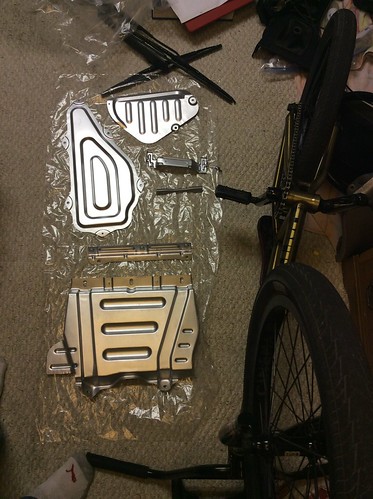
Here are all the covers looking super fresh and completely rust free. Final Product by Austin Rajki, on Flickr
Does anyone know if the other 4 bolts on the A/C bracket need to be reinstalled? I don't think they do, but I just want to double check.
Still to do:
-Buy a 5mm M8x1.25 bolt to go where the front to back facing bolt on the A/C compressor bracket went and torque it in that bore
Loop the power steering rack (Will be depowering the FM way and cleaning it this winter when it is out of the car
Wire the fans in parallel
Finish cleaning the interior
Clean the rain rail drains as I'm sure they've never been cleaned.
I know I'm forgetting a bunch of stuff
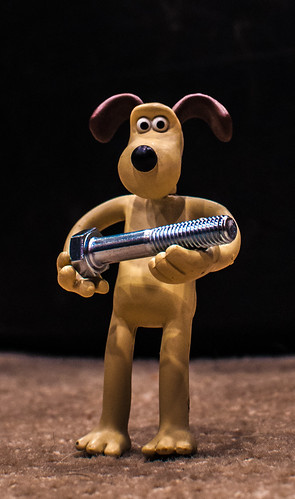
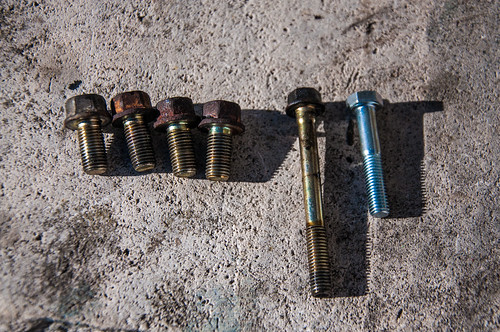
And I also went to Home Depot for the bolt I needed to put in the block. Gromit wanted to help me out. The bolt I needed was a M8x1.25x45mm bolt. Gromit measured to make sure it was 45mm. The OEM bolt for cars without ac is part number 9979-40-850 and retails for about $3. The bolt I found was 90 cents. Gromit Helping Out by Austin Rajki, on Flickr
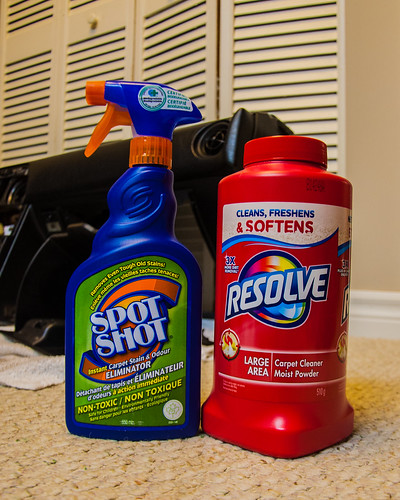
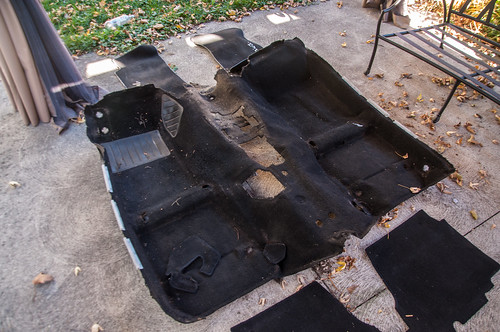
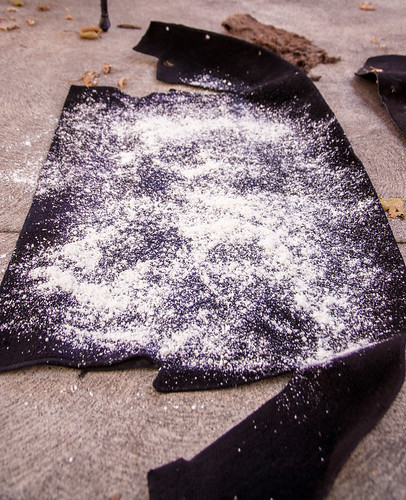
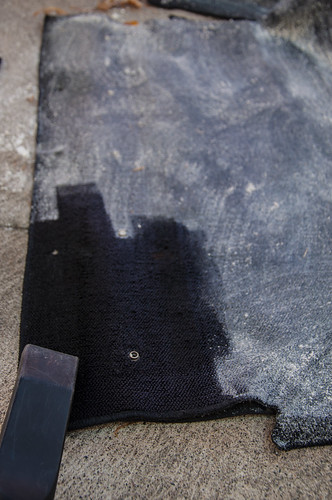
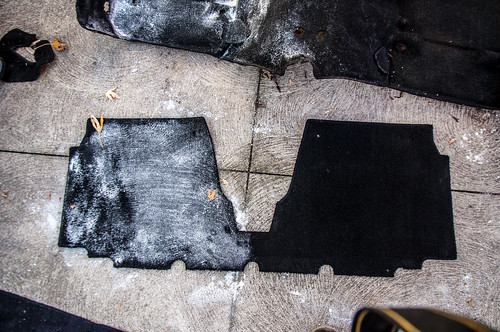
After I changed the bolt I started to clean the carpet. This is was I started with. The carpet smelled of stagnant swamp water because of all the leaks in the top. I highly doubt it has ever been cleaned. Nasty Swamp Carpet by Austin Rajki, on Flickr Nasty Swamp Carpet by Austin Rajki, on Flickr
Look at the difference already! :mrgreen: I'm going to return the bottle of "Spot Shot" and exchange it for another container of the powder since I used it all today. This stuff works really well! I'm going to go over it one more time, but I really don't need to. The carpet smells like fresh laundry now! :mrgreen: Clean! by Austin Rajki, on Flickr
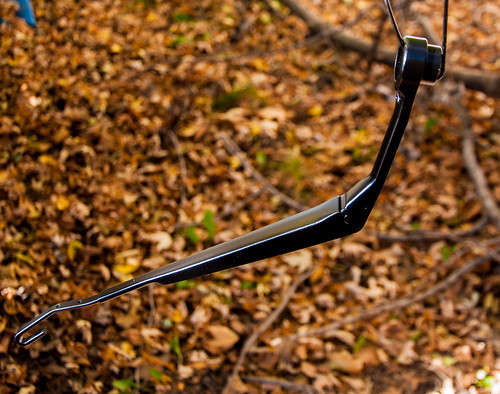
I also brought my wiper arms to school on Friday and sandblasted them. The sandblaster is my new favourite thing. It makes life so much easier and quicker than sanding. Then I hung the arms from a tree branch and repainted them while cleaning the carpets. Fresh Wiper Arms by Austin Rajki, on Flickr
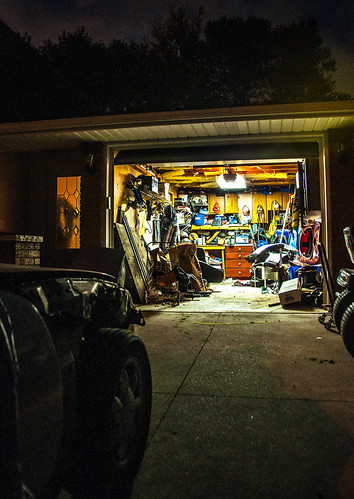
I'm going to have to change the car's name. The Little Hobo will now have a home. I heard something I thought I would never hear in my life. My parents told me that they don't want to see the car sitting outside all winter, and that I could use the garage as storage and a place to work on it! I was shocked. I should have it cleared out by the weekend, only a few small things are left. Cleaning out the Garage by Austin Rajki, on Flickr
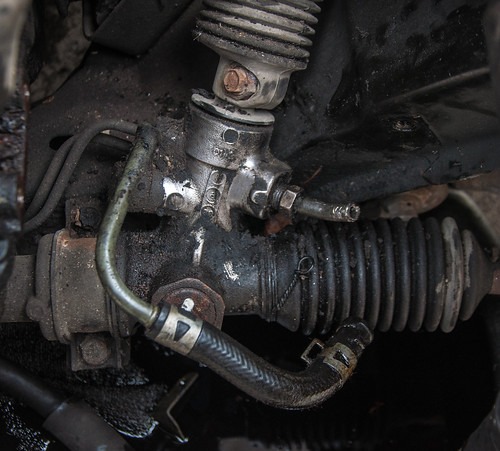
When I got home from school today I looped the steering to be able to get the car inside the garage. If this is not the most ghetto loop you've ever seen I'd be surprised. I bent the upper hardline down and cut the other one. This is just temporary to get the car in the garage. Once it is in the garage I will depower it the FM way. As soon as I finished the loop it started to rain outside. Good timing. Hackin It Up by Austin Rajki, on Flickr Ghetto Loop by Austin Rajki, on Flickr
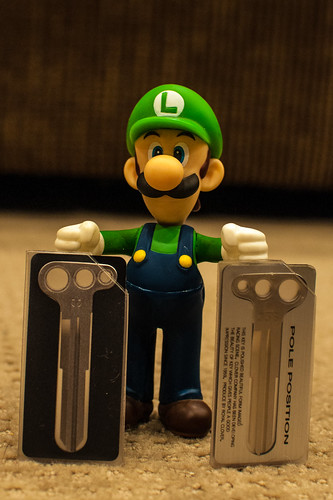
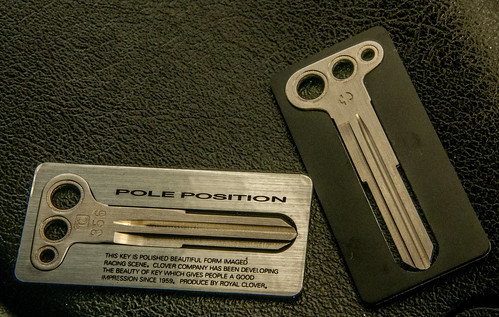
While organizing my room today I stumbled across a small box. I was going to toss it out figuring it was garage. Before I threw it away I took a peek inside to find these. I completely forgot I ordered these. I ordered them over 2 years ago. Luigi by Austin Rajki, on Flickr Pole Position by Austin Rajki, on Flickr
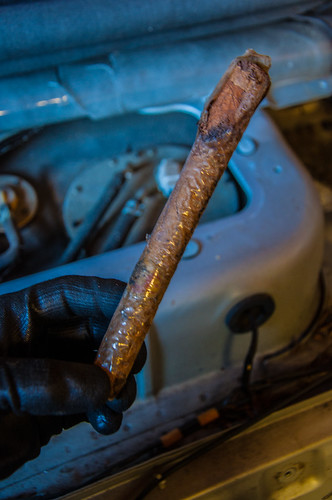
I also ordered a like new OEM heater core from Treasure Coast Miata since the one tube on mine was out of round. I'd rather play it safe than install everything only to have a leak. Cost me $61 Canadian after tax and shipping.
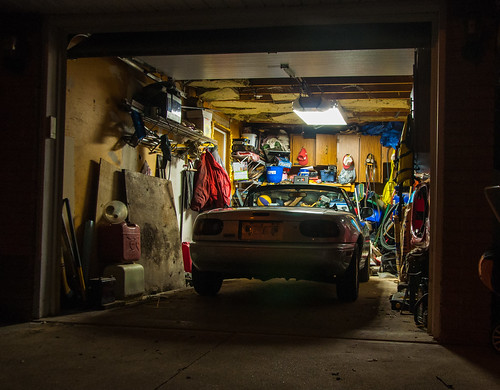
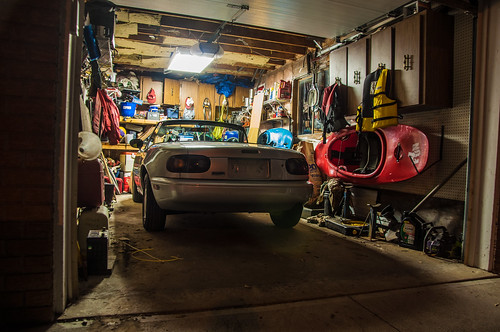
Not much of an update, but I got the car in the garage after work tonight. Little Hobo now has a home. I'm thinking of changing the name to Lexy.
It's not much, but I have a small heater in there and I no longer have to worry about keeping the car cover on it and trying to keep water out I'm still shocked I'm allowed to keep it in there since my parents usually keep their car inside come winter time. I was planning on buying a car port and working on it outside, in the back yard. This is so much better! New Home! by Austin Rajki, on Flickr New Home! by Austin Rajki, on Flickr
I love working in the garage. My time spent on the car doesn't revolve around what time the sun is up, or what the weather is like
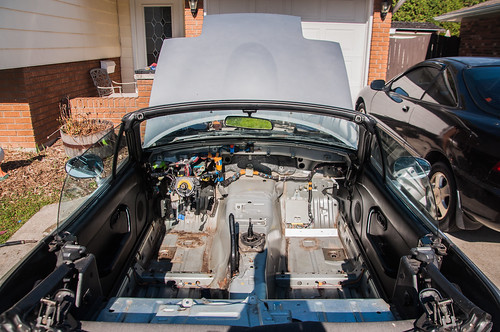
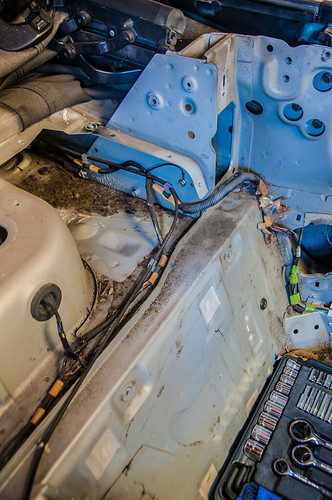
Between last night and this morning I've removed a decent amount off the car. Evap has been deleted, I removed the A/C fan, coolant and washer fluid reserviors, as well as the airbag crash sensors. Evap, Washer and Coolant reservoirs removed. by Austin Rajki, on Flickr
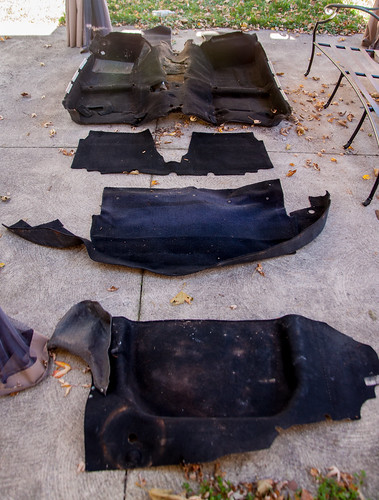
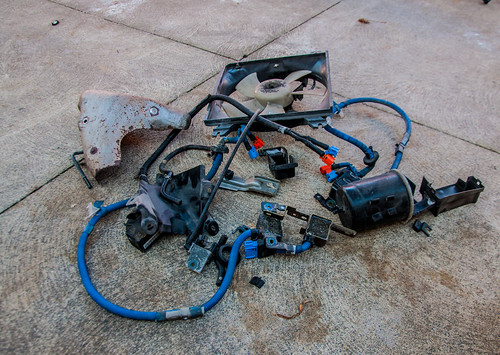
All the things I have removed that will not be going back on the car. Weight Savings by Austin Rajki, on Flickr
Lexy is a dirty girl, but I find cleaning cars the most relaxing thing in the world. I'll pick up some Simple Green after school tomorrow then start a deeper clean.
I'm hoping to have the engine ready to be pulled out by next weekend. I'll have to see if I can borrow a cherry picker from someone since I don't have one.
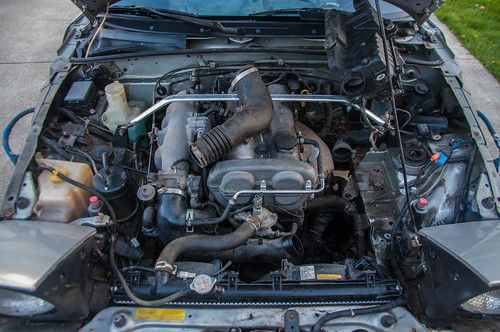
Well, I removed the soft top from the car. Took all of 10 minutes. Good to see there was no rust between the body and the rain rail. Soft Top Removed by Austin Rajki, on Flickr
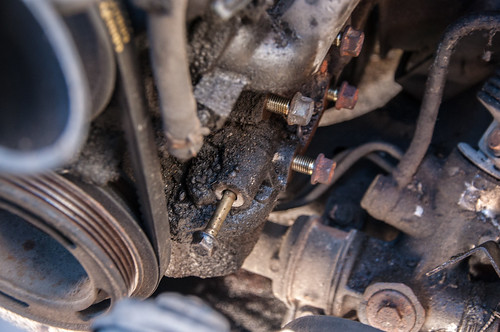
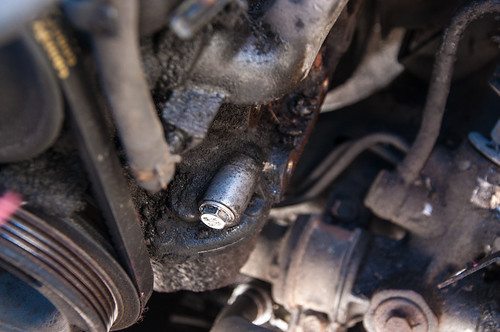
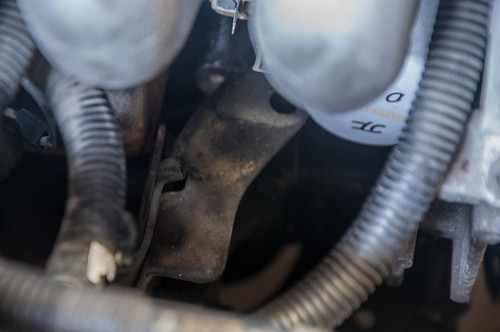
Then I started to undo all the connections on the engine. I came across this bracket between the oil filter and starter. It only has 1 bolt holding it in and it's not attached to anything. Does anyone know what it's for? No Idea what this Bracket is for by Austin Rajki, on Flickr
After class I removed the rad and coolant hoses. I placed a bucket under the drain plug and accidentally let the drain plug fall into the bucket. The coolant was filling up the bucket very quickly! With no signs of it stopping I started frantically searching for another bucket with no success.
The first thing that comes into my head is this:
[YOUTUBE]cHUVzj1IdeU[/YOUTUBE]
I run into the house to find something to use, and I couldn't find anything. So then I go back into the garage to see that it stopped. The bucket was JUST large enough. Almost Spilled by Austin Rajki, on Flickr
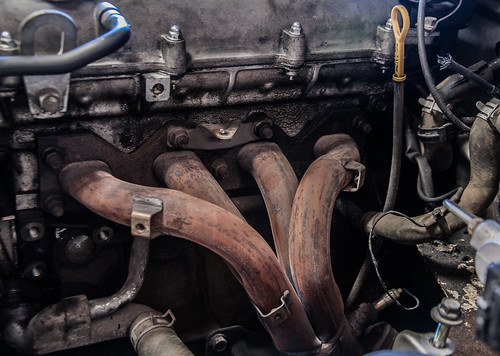
Unless I'm forgetting something everything in the engine bay is done minus the exhaust manifold. All I have to do now is unbolt the slave cylinder from the transmission, remove 2 PPF bolts and take the driveshaft out. Hopefully it's nice outside tomorrow so I can push the car out of the garage and get it on jackstands. I tried squeezing under the car, but quickly gave up on that. :lol: Once I'm ready to remove them I will undo the motor mounts.
Our jack is getting old, and I think the seal is going out on it, it doesn't go up too high. I went to my work and bought a set of jack stands, jacked the car up and got to work. When I say the jack doesn't go up high, I mean it. Floor to pinch weld is 13 inches. :suicide: It's really tight under the car, but I don't want to spend $100+ on a new jack if I don't absolutely need it. I need to save all my money for fabrication.
I still need to remove the driveshaft and slave, but that'll need to happen tomorrow since I have photography club tonight then need to study for a big test I have tomorrow morning.
I spent quite a bit of time looking under the car for any damage and rust. I didn't see anything other than light surface rust that should come off with a wire wheel Even then it's very scarce. hillyb: The only place I couldn't see was above heat shields. Transmission is drained, speedometer cable is removed, all electrical connections are undone, and 2 out of 4 driveshaft bolts are cracked loose. Jack Stands by Austin Rajki, on Flickr


")