
TheSkygun
New Member
To start off this is my first retrofit and is far from perfect, just thought i'd make one so others on here could have one to kinda help along or ask questions.
also i used a number of other sites to learn how to do a retro and will be using a mix of them in this forum with pictures of what i did.
Tools: i will add the sizes i used once i find the packages)
butter knifes (used to separate the housing)
washers
screws
nuts
oven or heatgun (your choice, nemesisCBR used heatgun, i used oven)
screw drivers
sockets and ratchet
Dremel ( i can not say how much i wish i had one, i used a hack saw and metal file...)
needed to have a retro:
projectors ( i used rx330 afs)
bulbs (whatever the projectors require, mine required d2s. brand i used was Philips)
wire harness, can make our own or buy from hidplanet.com or theretrofitsource.com (i can say trs are great people)
ballasts (use what you want, i had philips ones in till one broke, now im rocking my ddmtuning ones)
time to start:
I am going to assume you all know how to take your bumper and headlights off; if not, maybe you should rethink this.
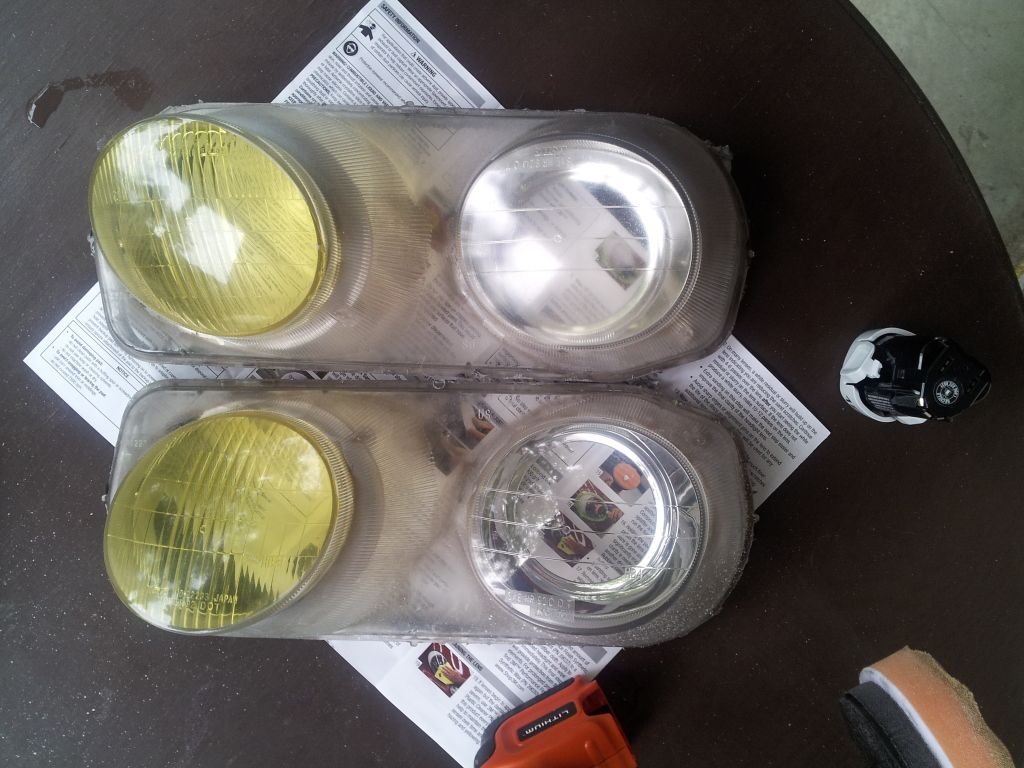
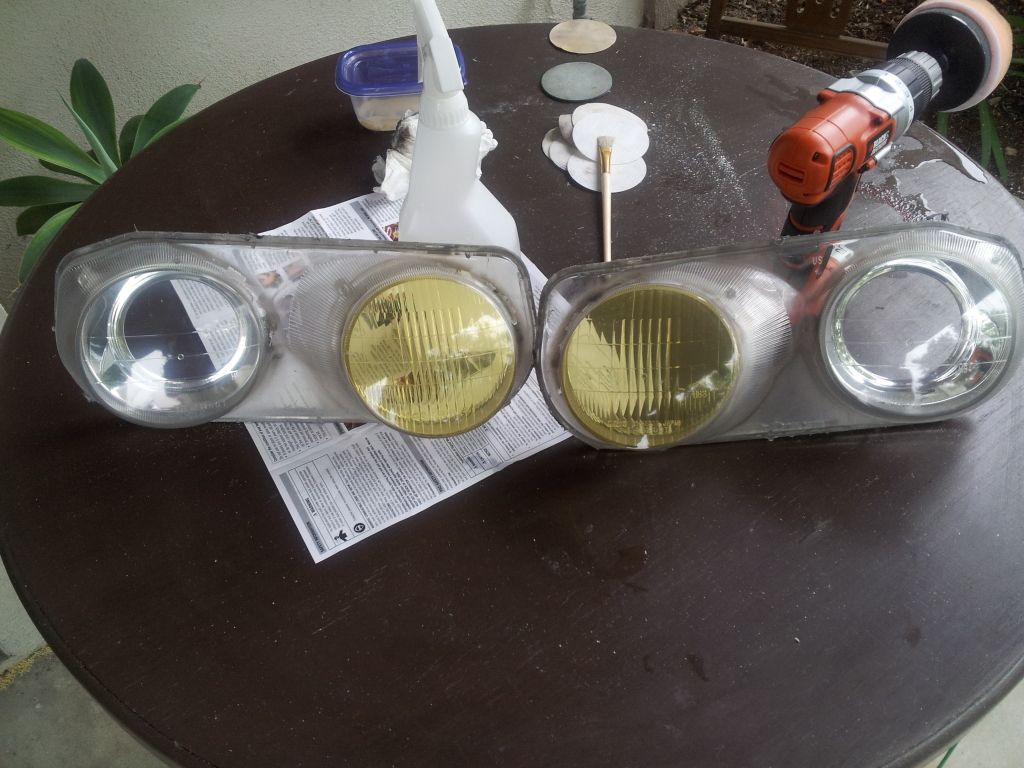
so after you get your lights out you need to remove all the rubber garments and metal parts that you can

this is what you want before oven (if you do it the way i did)
preheat oven to 400 degrees and once it is ready, turn off the oven before putting headlights in
biggest thing i here that gets messed up. now place one at a time on a cookie sheet in the oven for 4 minutes. now i was paranoid to melt mine so i watched and at 2 minutes i took out and was able to get the apart.
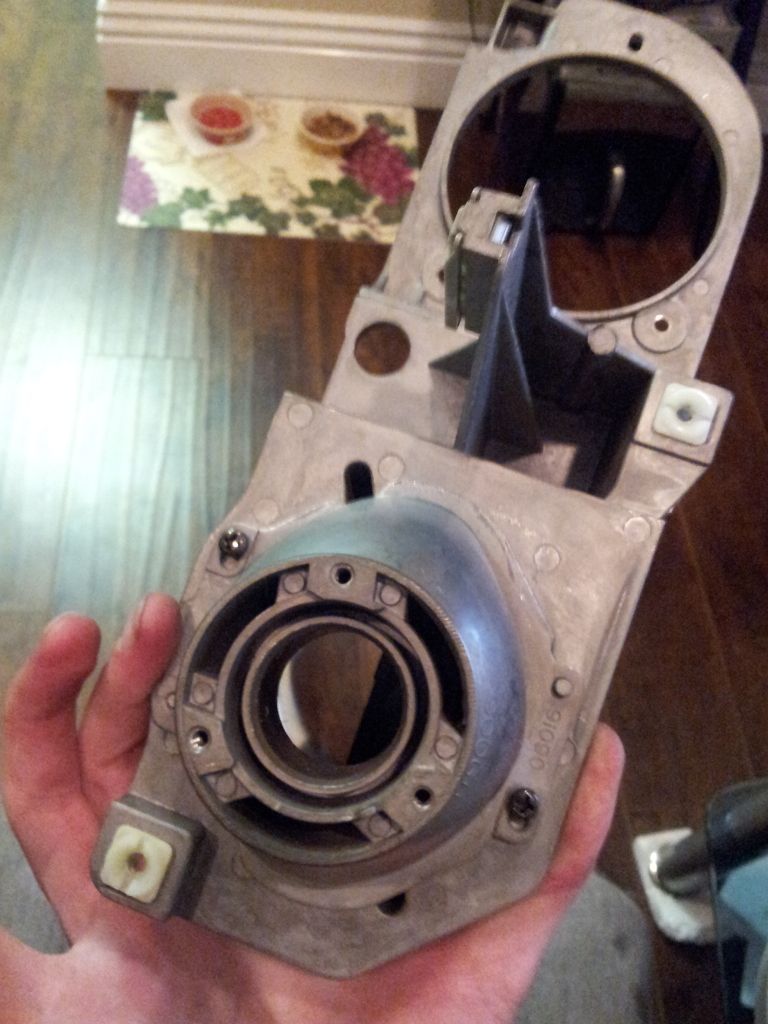
(borrowed image to show the cover off but bracket, reflector bowl, and oem projector in)
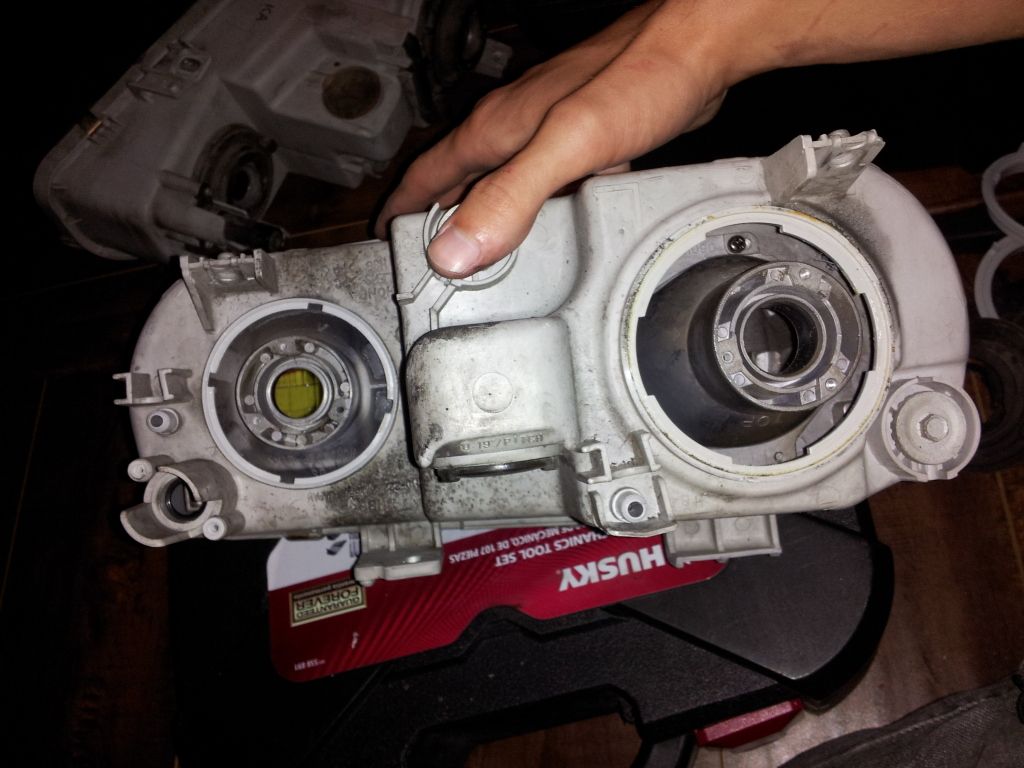
carefully remove these screws as to not let the reflector bowl drop and hit the floor or any damage it is very fragile and the reflective part can easily be messed up, do not even try to wipe it down, it will sratch.
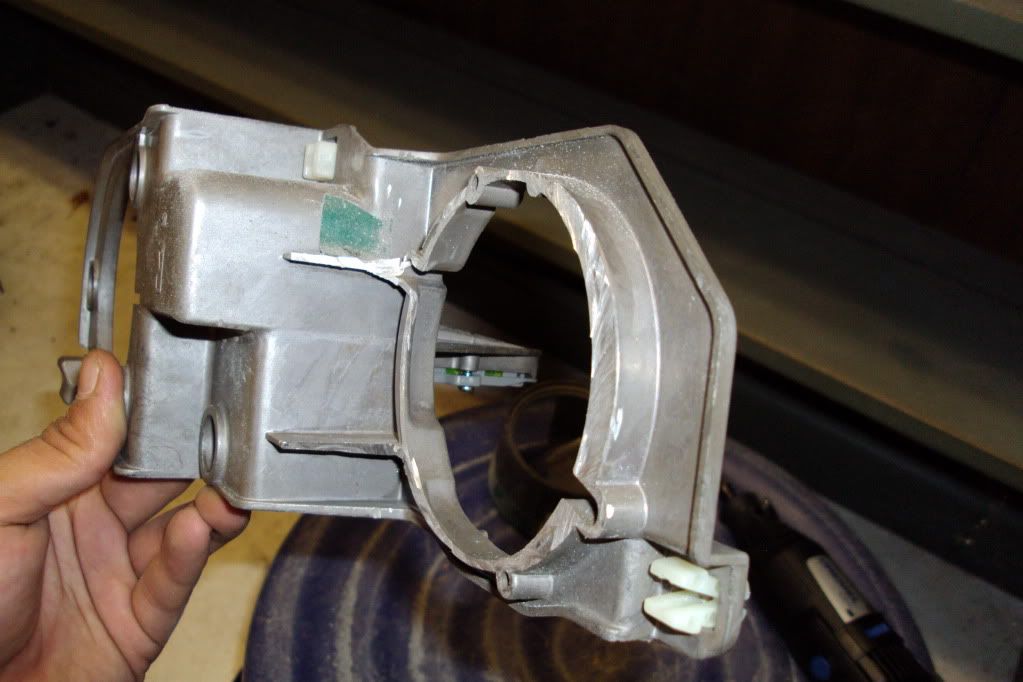
now for the part that makes a retrofit for the g3 a pain, cutting out the oem projector because at the time either it was the best they could do or some sick person thought that having the projector molded to the bracket was the best thing everDDD...... >:l no
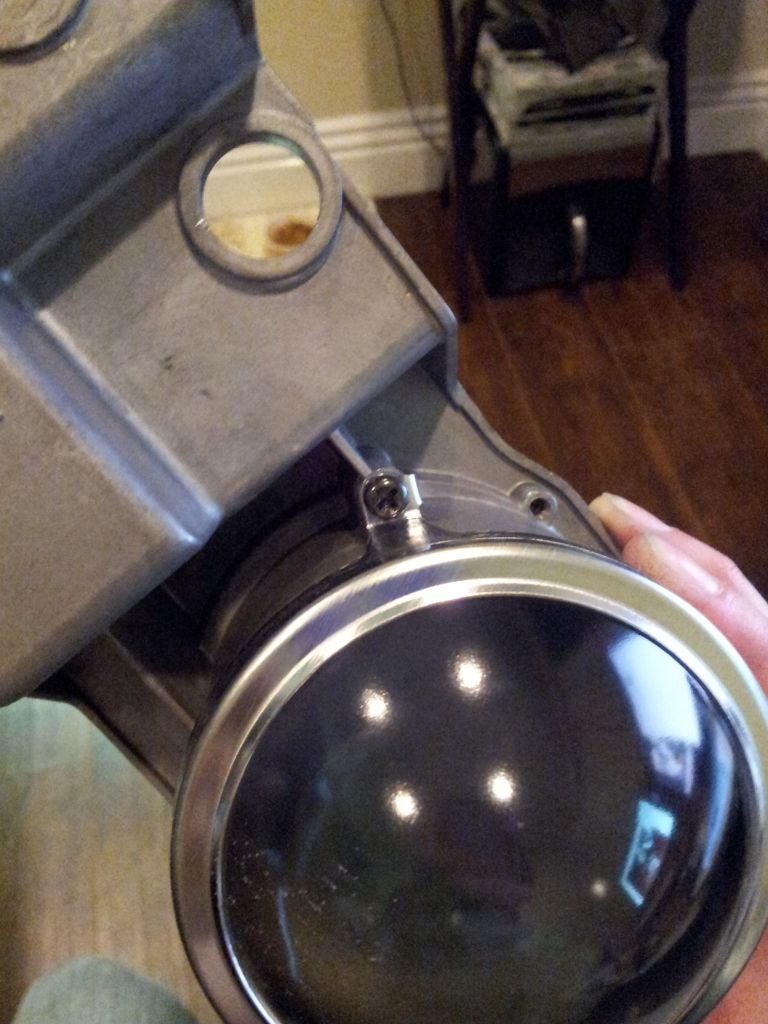
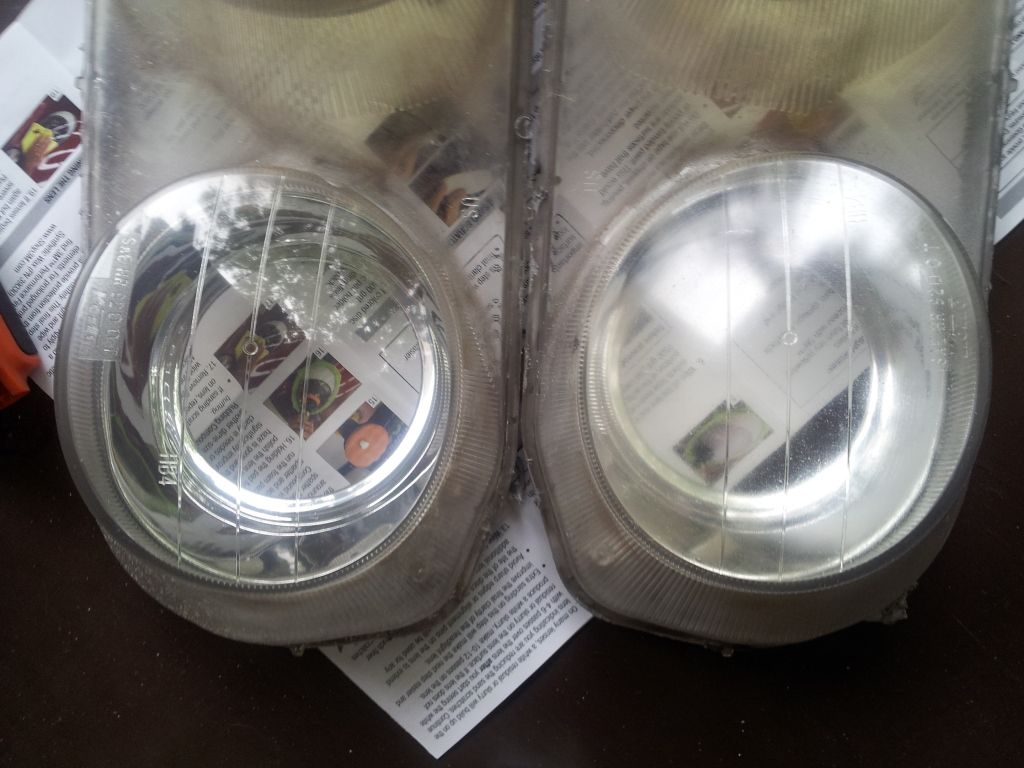
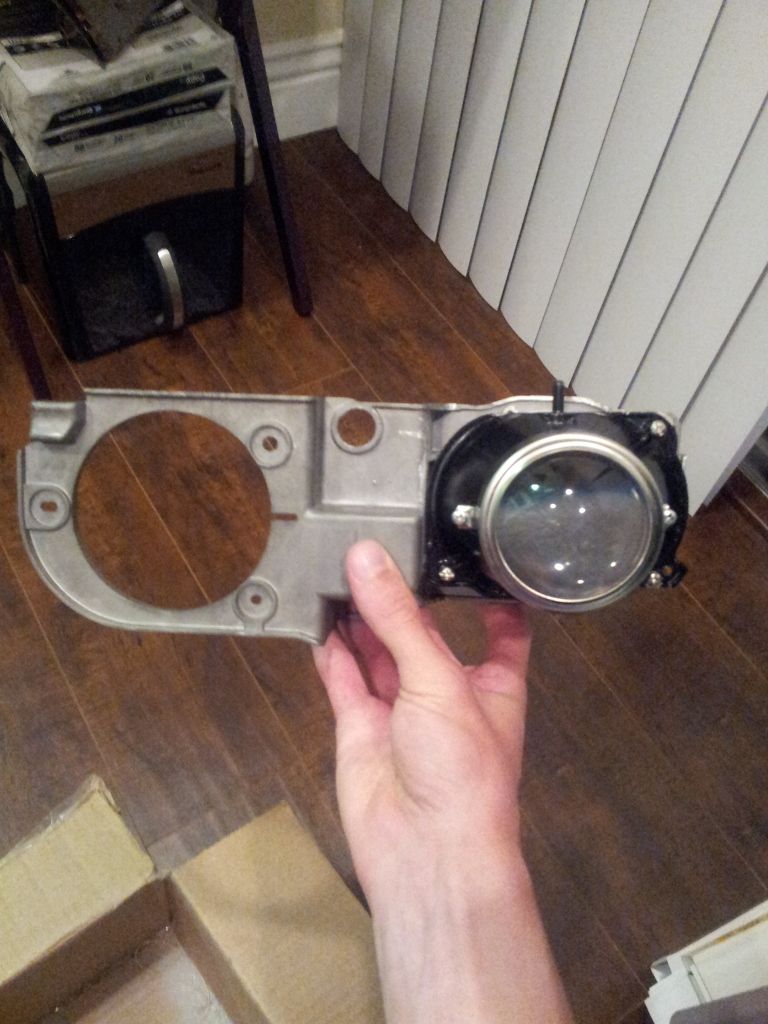
remove these screws on both sides, carefully (or not) remove the silver part holding the lens, and carefully(or not) remove the lens(mine was somehow chipped when i opened it up).
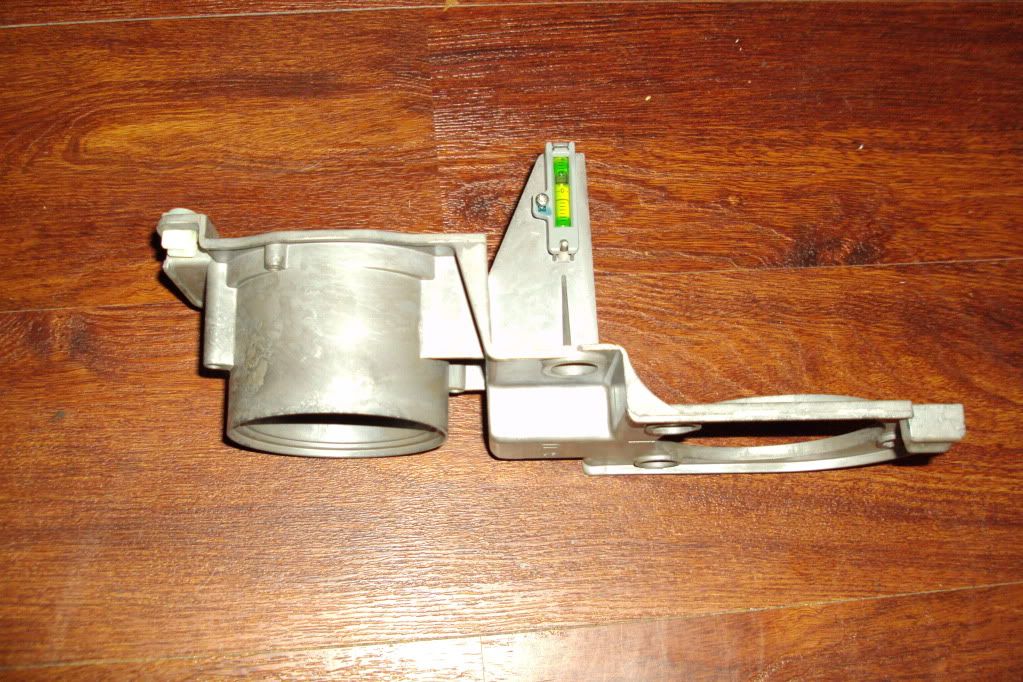
these is what it will look like after
http://s152.beta.photobucket.com/user/ragingskydragon/media/20120911_011051.jpg.html?sort=3&o=92
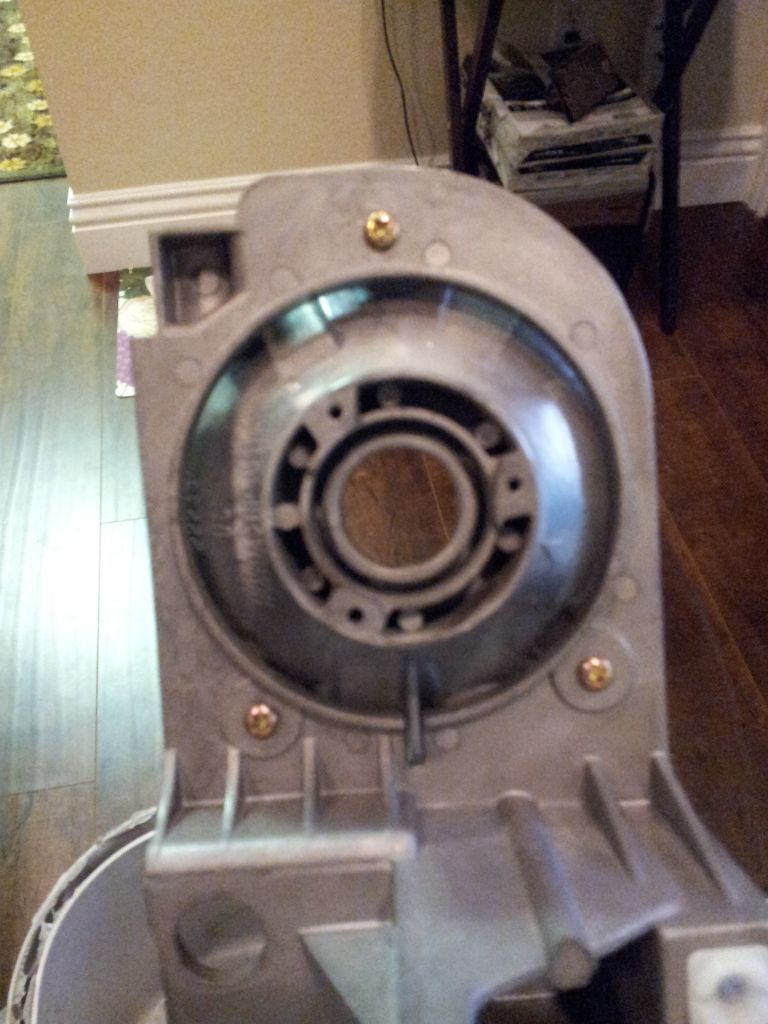
now remove the two screws holding on the back of the projector
now the pain begins, the cutting
now if you use a dremel your life will be saved
if you use a hacksaw like me, be prepared to take breaks as to not destroy something dear to you that may be around. this will be how your progress my look (with a dremel because i "borrowed" these pics too).
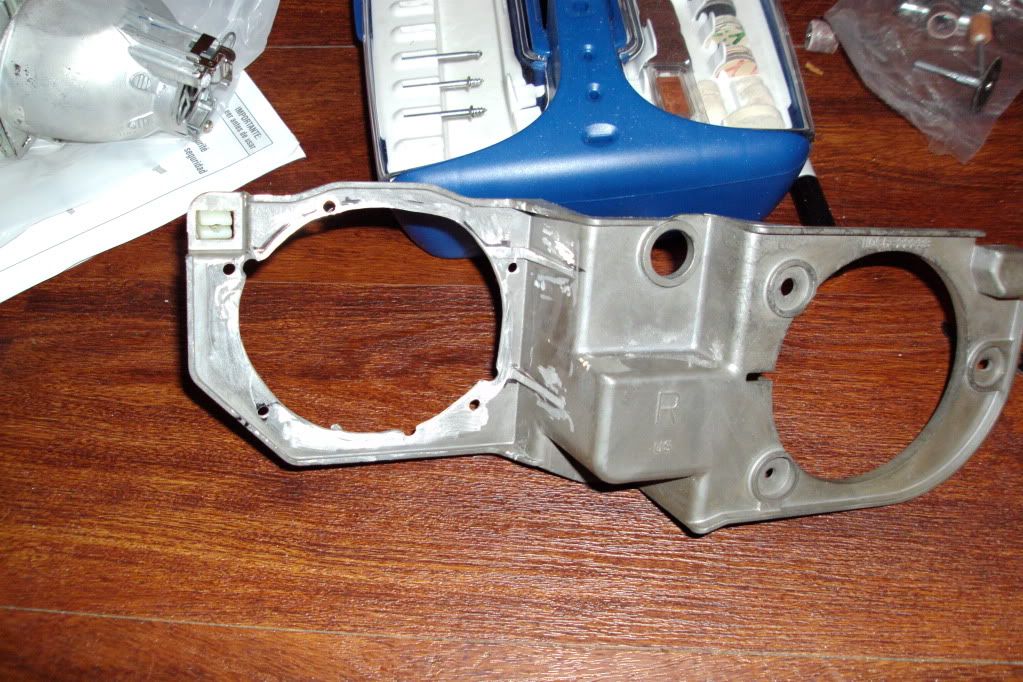
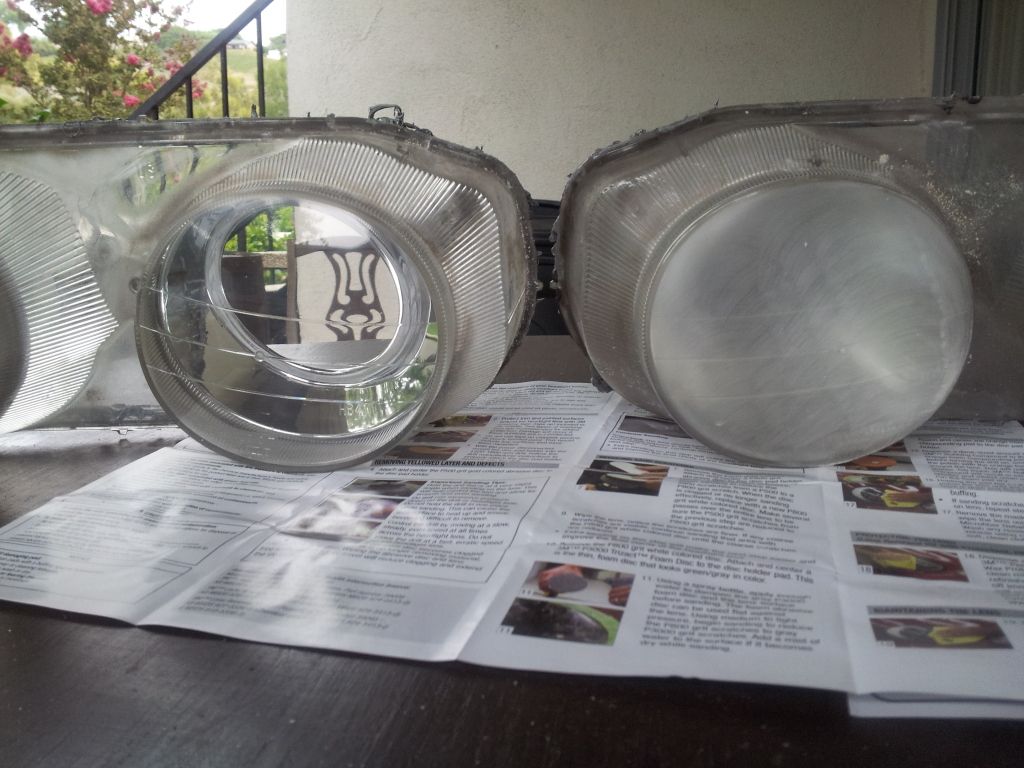
you will want to get it as flat as possible
also there are the sides that you will have to shave away too to fit a projector
you will have to widen the hold that your new projector will sit into
make sure you spend lots of time here so that your projectors fit nicely, evenly with each other, and straight , the slightest tilt to them will through it off
those flares should not be there
as you can tell i have to fix this, which will be soon
now at this time i decided to take a break and use my tim eon another part, to clean the hell out of my oem covers
mmmmmmmmmmm
back to the retro
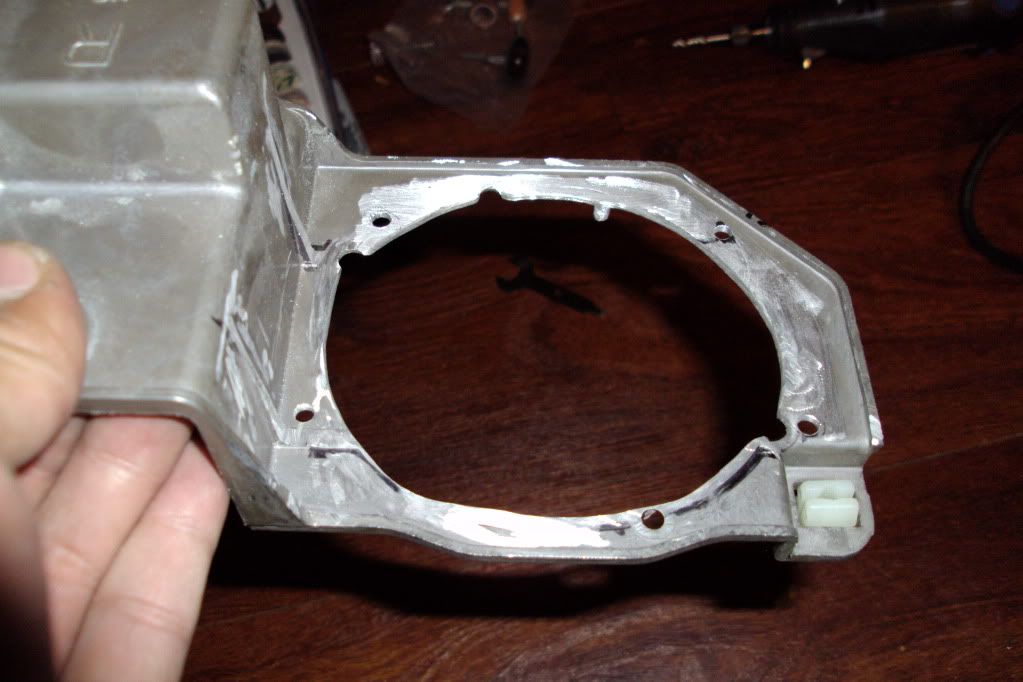
you will need to drill holes to send screws through the projector to mount to the bracket
as you can see there are extra holes
if not i can edit the pic
after that just fed the washers, lock washers, screws, and nuts how ever you fancy to make sure they do not come off inside the housing, or guess what you get to do againDDDD
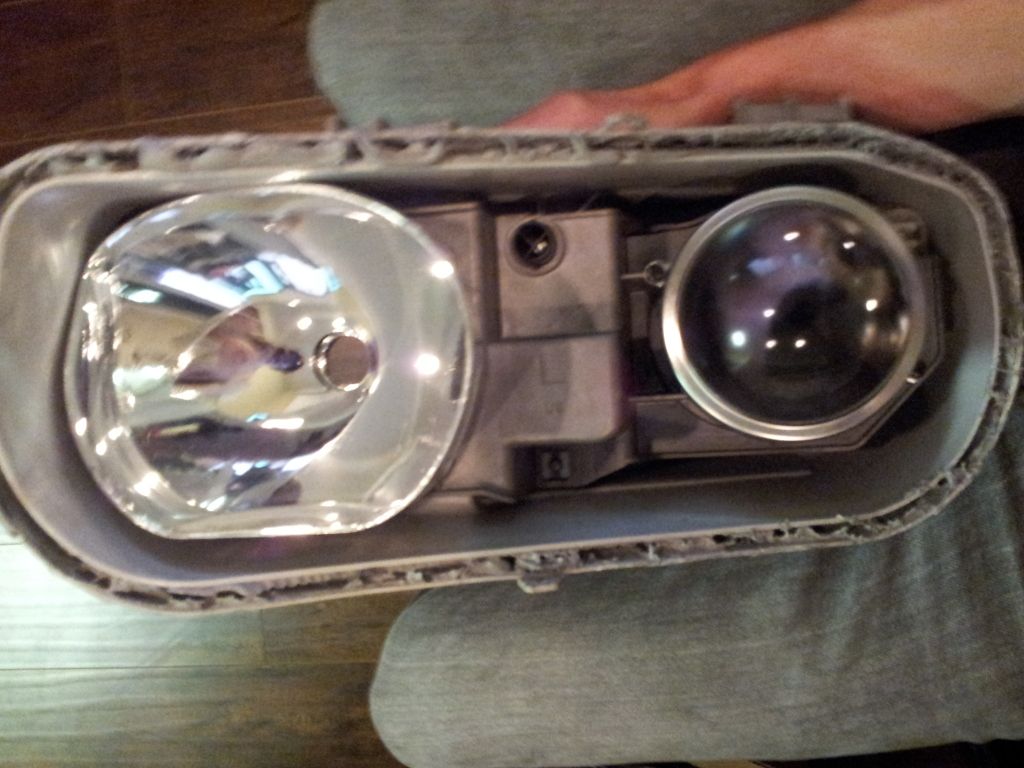
this is how it will come out(as you can see, mine are off by a bit)
now it is time to reattach the bowl, bracket to housing, and cover to have them seal back up
after that reattach all the rubber garments and metal pieces
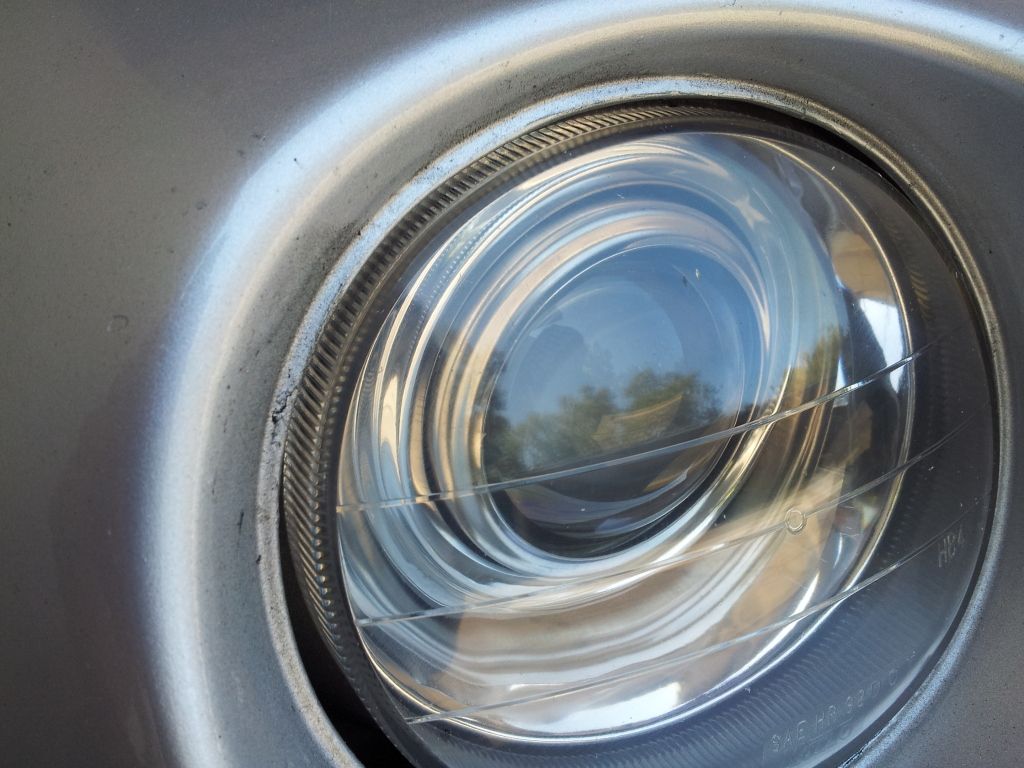
mmmmmmm look at those clean, clear covers
guess what, you finished the hardest part.
now to run your harness around, which i lack pictures of
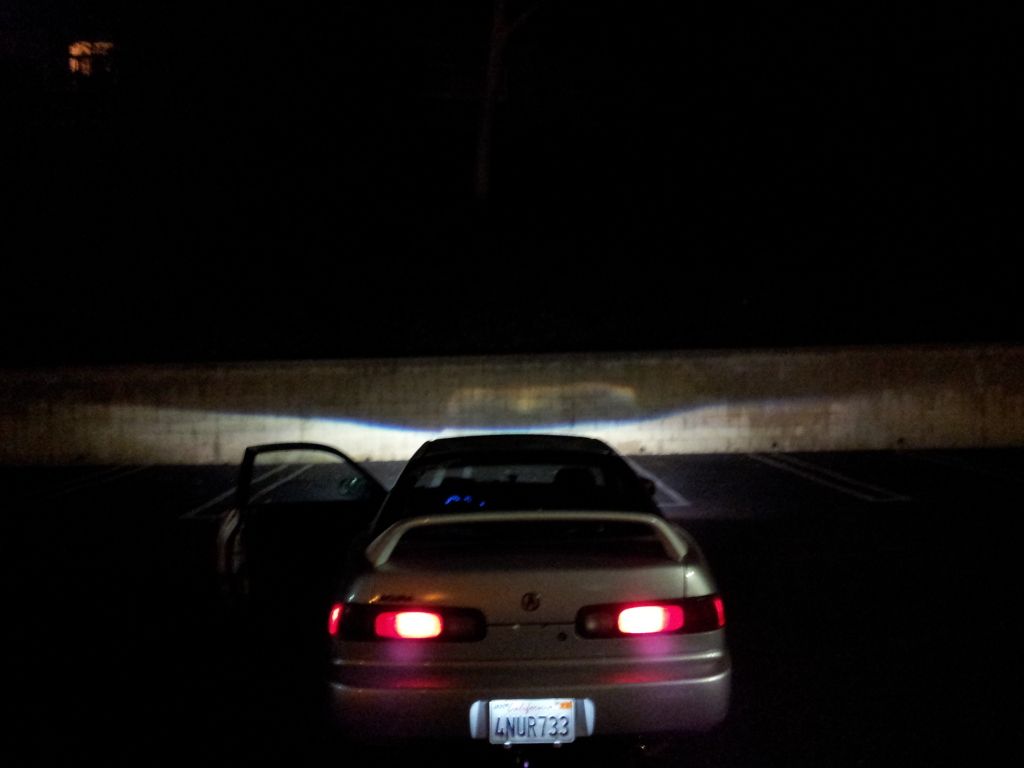
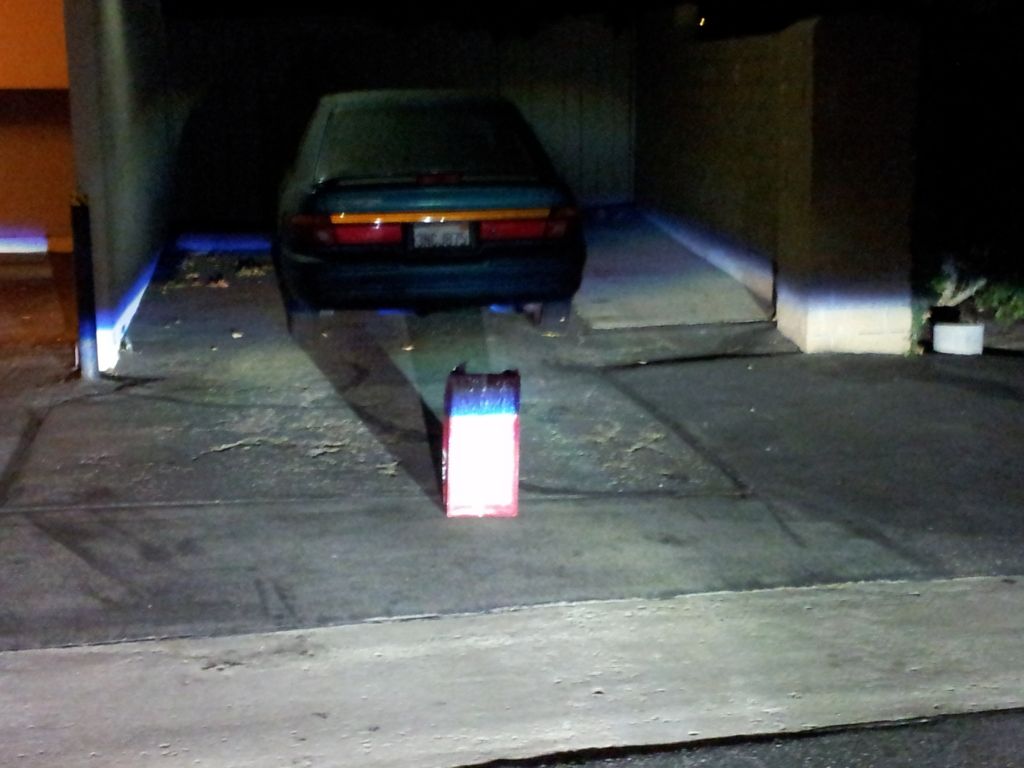
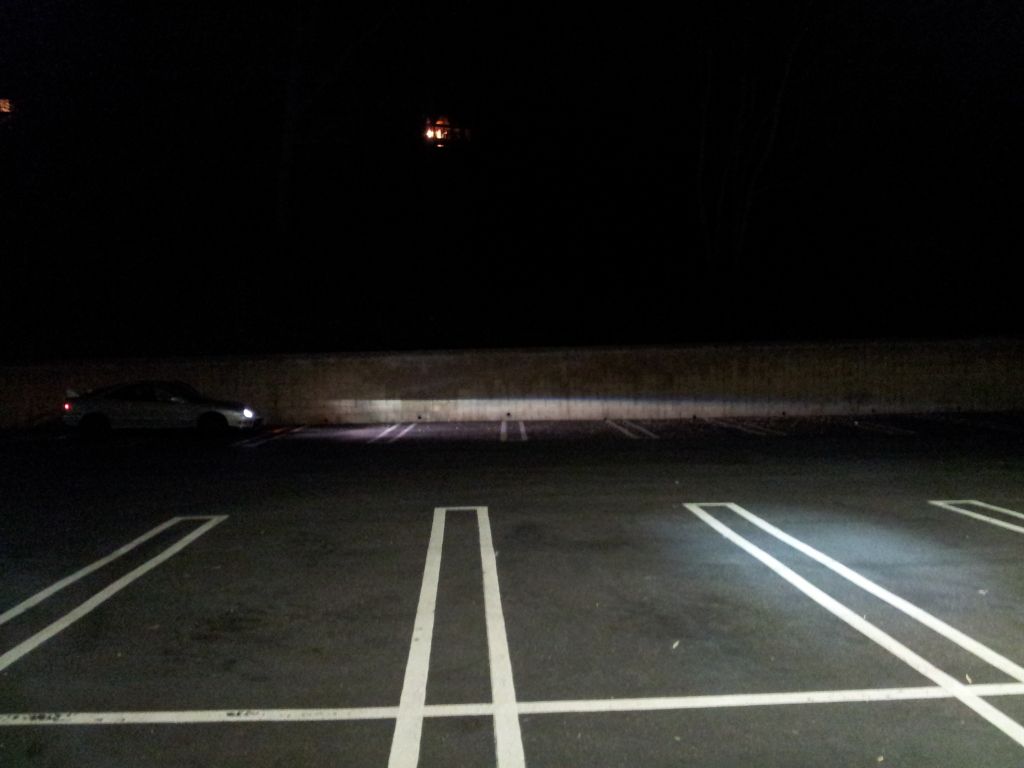
pretty straight forward if you bought one. have the positive ring on the battery, have the negative somewhere on metal, i went on a bolt to the frame and fender. tuck your wires as you fed them to each headlight. attach one of the adapters from the harness to the ballast and the other to the stock headlight wiring, so that your headlights come on when switched on. and hook the ballast up to the bulbs in your headlights. Find a wall, and start aiming those projectors. enjoy your awesome lights and cutoff
EDIT: forgot to mention, the wider you make the hole to fit your new projector, the further back it will go. i did not widen mine too much because i did want the projector to sit further forward than oem
also i used a number of other sites to learn how to do a retro and will be using a mix of them in this forum with pictures of what i did.
Tools: i will add the sizes i used once i find the packages)
butter knifes (used to separate the housing)
washers
screws
nuts
oven or heatgun (your choice, nemesisCBR used heatgun, i used oven)
screw drivers
sockets and ratchet
Dremel ( i can not say how much i wish i had one, i used a hack saw and metal file...)
needed to have a retro:
projectors ( i used rx330 afs)
bulbs (whatever the projectors require, mine required d2s. brand i used was Philips)
wire harness, can make our own or buy from hidplanet.com or theretrofitsource.com (i can say trs are great people)
ballasts (use what you want, i had philips ones in till one broke, now im rocking my ddmtuning ones)
time to start:
I am going to assume you all know how to take your bumper and headlights off; if not, maybe you should rethink this.
so after you get your lights out you need to remove all the rubber garments and metal parts that you can
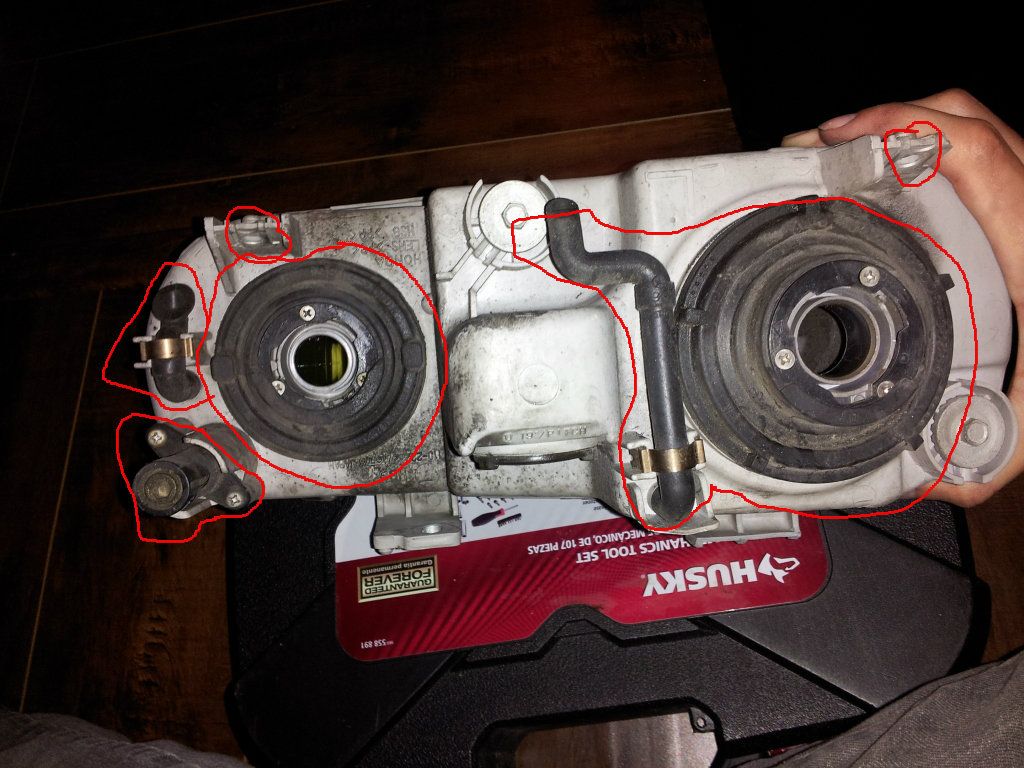
this is what you want before oven (if you do it the way i did)
preheat oven to 400 degrees and once it is ready, turn off the oven before putting headlights in
biggest thing i here that gets messed up. now place one at a time on a cookie sheet in the oven for 4 minutes. now i was paranoid to melt mine so i watched and at 2 minutes i took out and was able to get the apart.
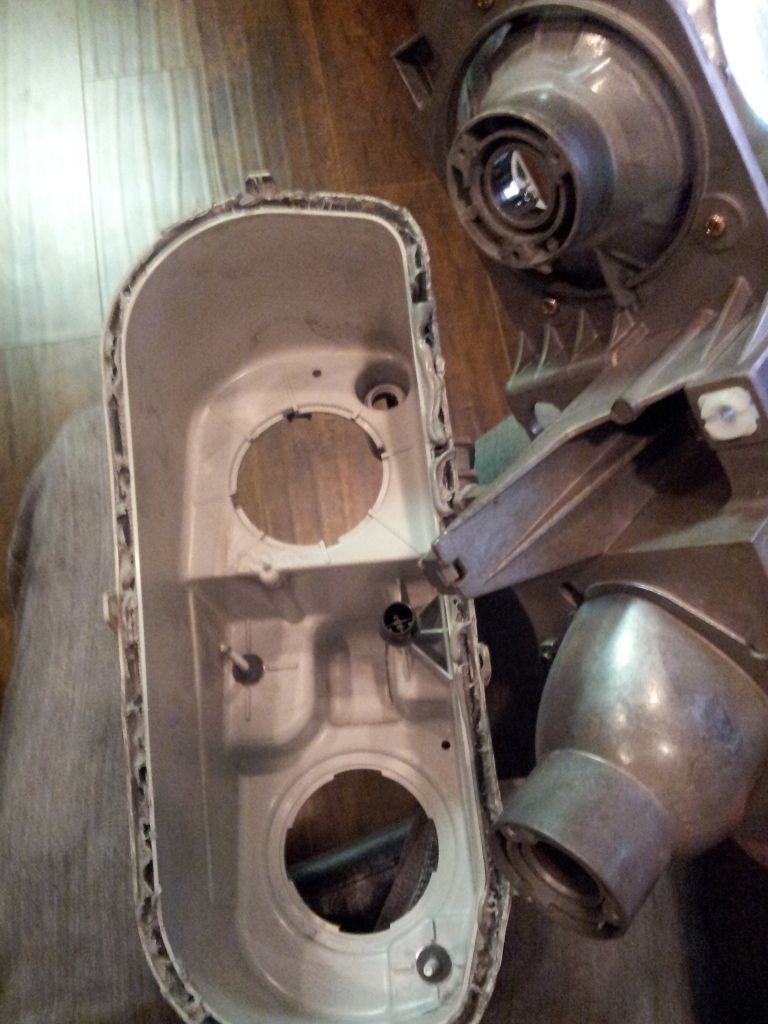

carefully remove these screws as to not let the reflector bowl drop and hit the floor or any damage it is very fragile and the reflective part can easily be messed up, do not even try to wipe it down, it will sratch.
now for the part that makes a retrofit for the g3 a pain, cutting out the oem projector because at the time either it was the best they could do or some sick person thought that having the projector molded to the bracket was the best thing ever
DDD...... >:l no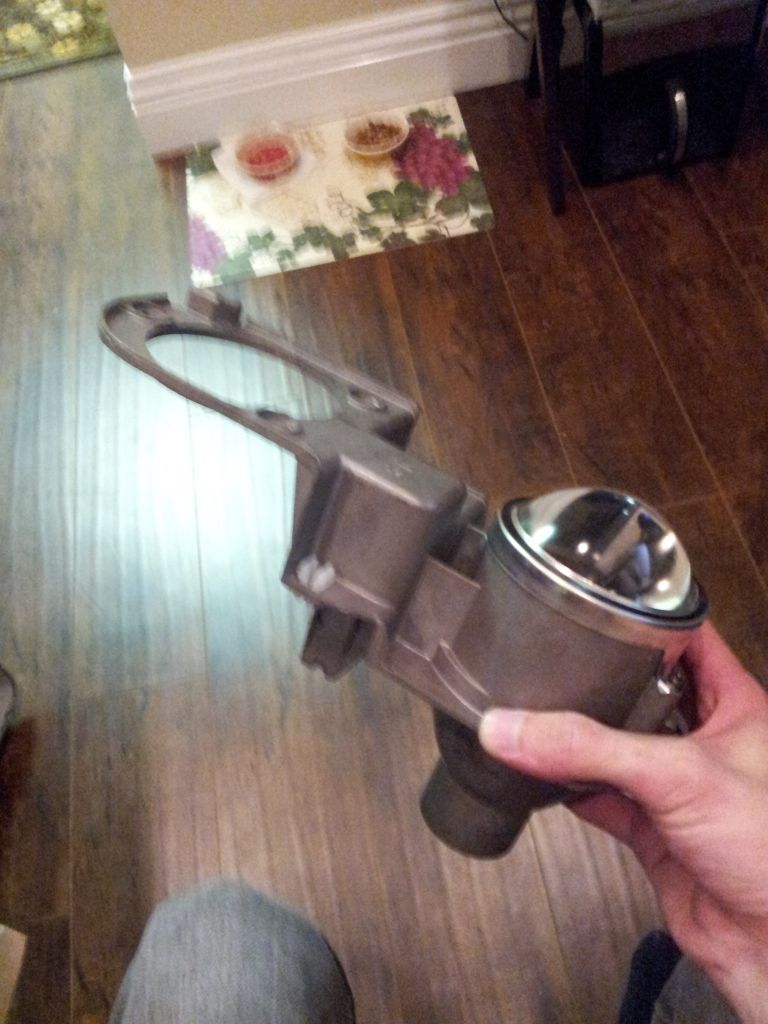
remove these screws on both sides, carefully (or not) remove the silver part holding the lens, and carefully(or not) remove the lens(mine was somehow chipped when i opened it up).
these is what it will look like after
http://s152.beta.photobucket.com/user/ragingskydragon/media/20120911_011051.jpg.html?sort=3&o=92
now remove the two screws holding on the back of the projector
now the pain begins, the cutting
now if you use a dremel your life will be saved
if you use a hacksaw like me, be prepared to take breaks as to not destroy something dear to you that may be around. this will be how your progress my look (with a dremel because i "borrowed" these pics too).
you will want to get it as flat as possible
also there are the sides that you will have to shave away too to fit a projector
you will have to widen the hold that your new projector will sit into
make sure you spend lots of time here so that your projectors fit nicely, evenly with each other, and straight , the slightest tilt to them will through it off
those flares should not be there
as you can tell i have to fix this, which will be soon
now at this time i decided to take a break and use my tim eon another part, to clean the hell out of my oem covers
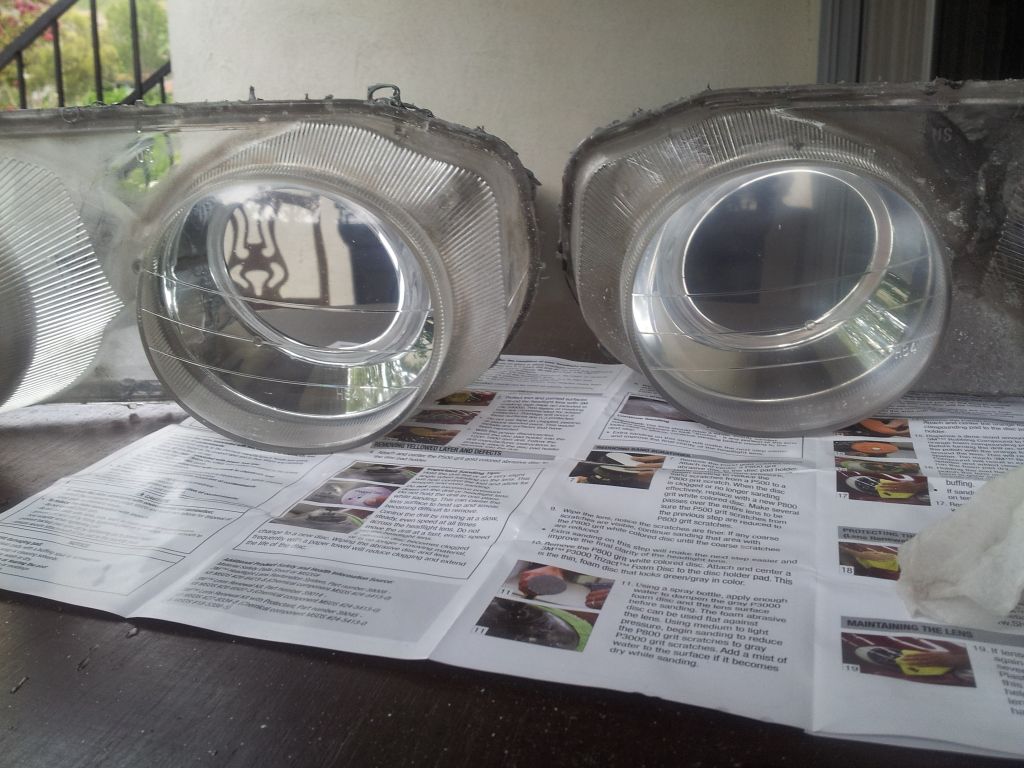
mmmmmmmmmmm
back to the retro
you will need to drill holes to send screws through the projector to mount to the bracket
as you can see there are extra holes
if not i can edit the pic
after that just fed the washers, lock washers, screws, and nuts how ever you fancy to make sure they do not come off inside the housing, or guess what you get to do again
DDDD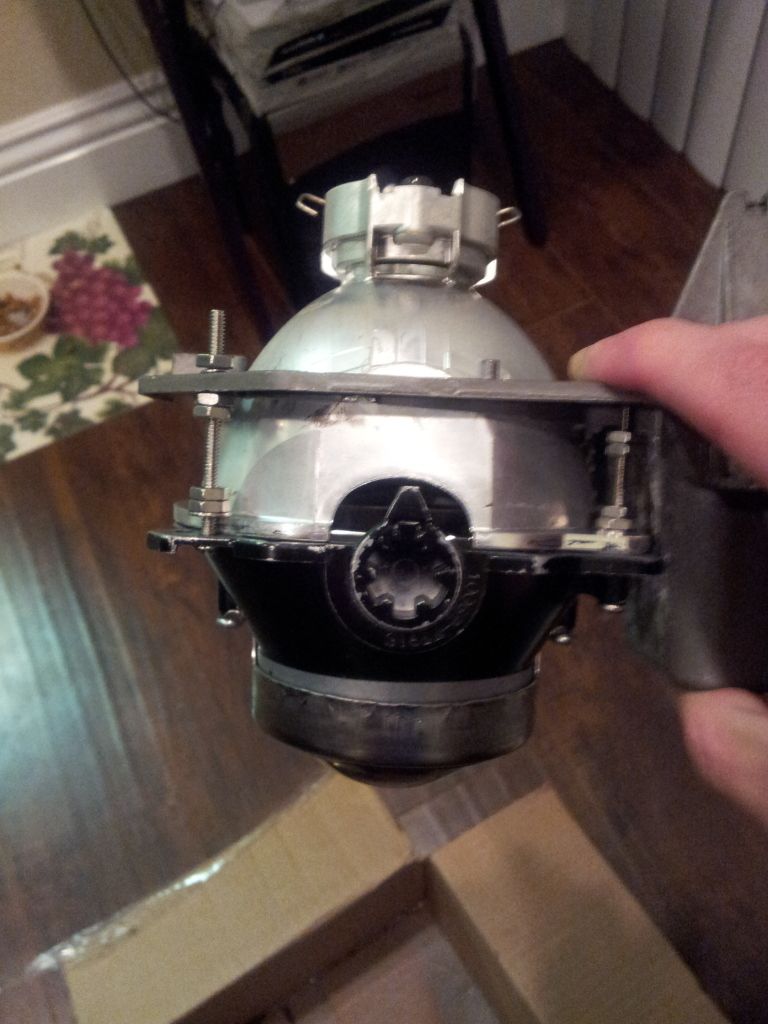
this is how it will come out(as you can see, mine are off by a bit)
now it is time to reattach the bowl, bracket to housing, and cover to have them seal back up
after that reattach all the rubber garments and metal pieces

mmmmmmm look at those clean, clear covers
guess what, you finished the hardest part.
now to run your harness around, which i lack pictures of
pretty straight forward if you bought one. have the positive ring on the battery, have the negative somewhere on metal, i went on a bolt to the frame and fender. tuck your wires as you fed them to each headlight. attach one of the adapters from the harness to the ballast and the other to the stock headlight wiring, so that your headlights come on when switched on. and hook the ballast up to the bulbs in your headlights. Find a wall, and start aiming those projectors. enjoy your awesome lights and cutoff
EDIT: forgot to mention, the wider you make the hole to fit your new projector, the further back it will go. i did not widen mine too much because i did want the projector to sit further forward than oem
Last edited: