
72Spitfire
Member
I've had water gathering in my trunk / spare tire area all winter. Since we all know gathering water on metal = rust and rust is bad, I decided to remedy the issue today as the weather felt springlike 8). I figured while I was doing the job, I would take pictures and document the steps for use at a later date by myself, or someone with questions on the issue.
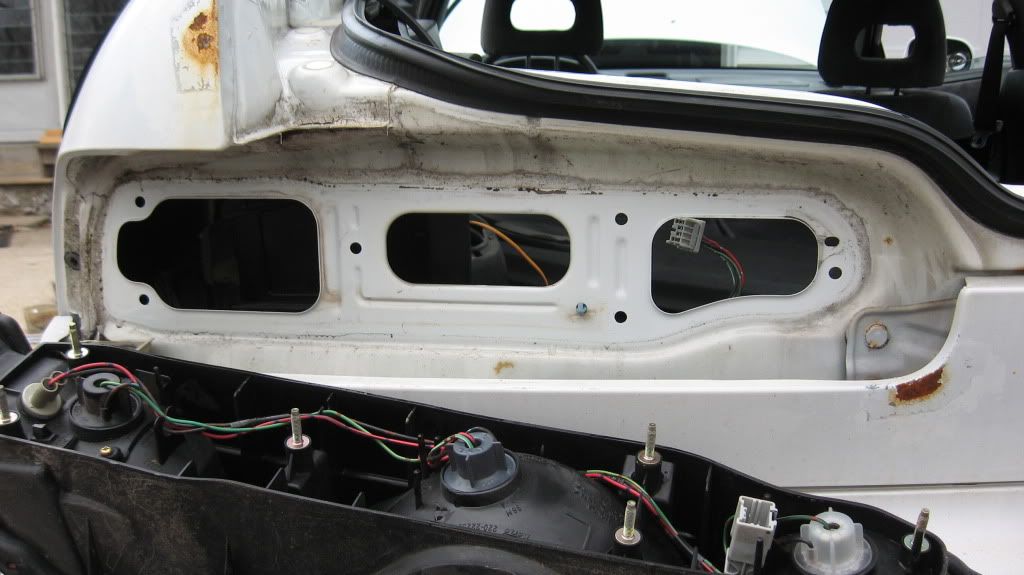
The first steps are to remove the rear plastic shield and loosen the side panels for easier access to the tail lights. Six bolts hold the actual tail light housing in. Disconnect the harness to lights. Remove the nuts and then slightly tap the bolt ends to the housing and it should pop right out.

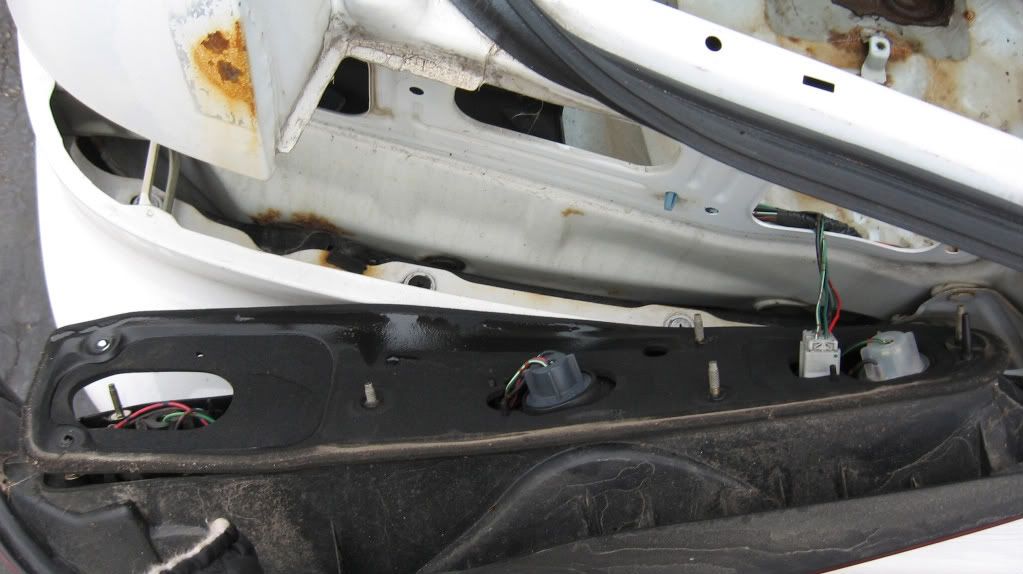
(Plastic shield removed, exposing wiring harness and housing nuts to be removed. A close look will reveal water marks where it has been leaking from the inside bolts nearest trunk latch.)
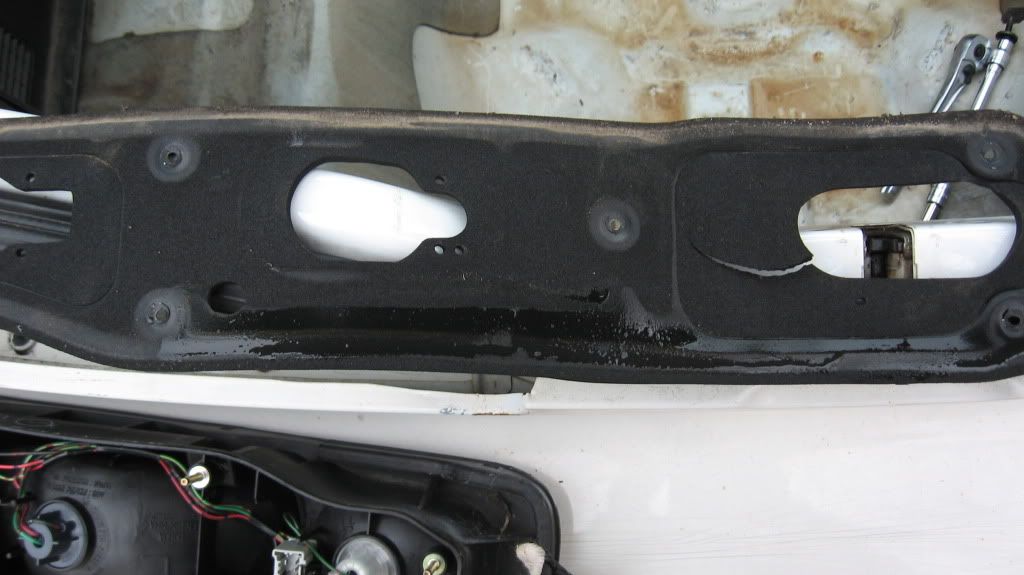
(Housing removed.)
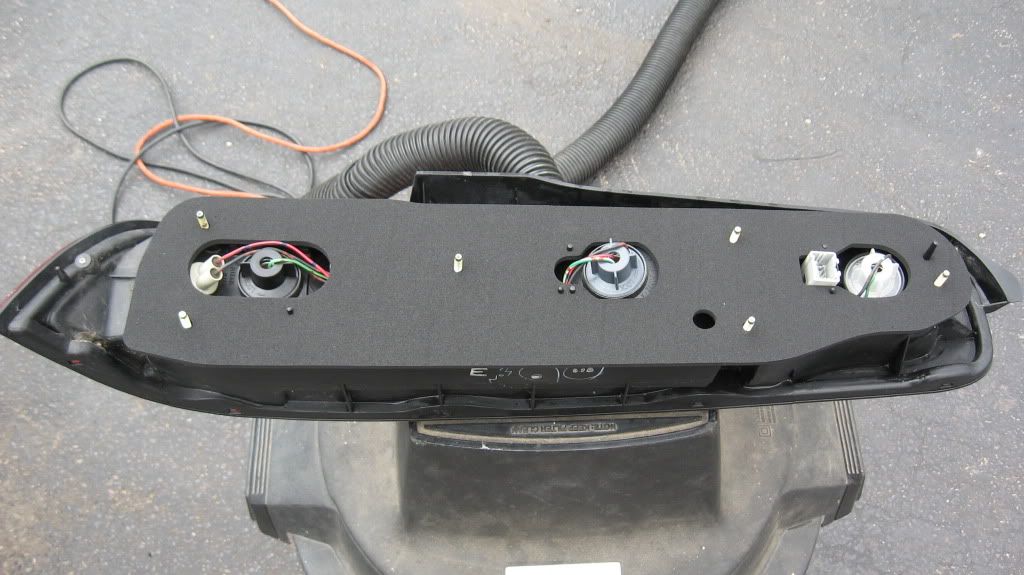
(Surveying damaged gasket. This is a good time to check all your bulbs. If any are blown, replace accordingly. An #1157 dual filament bulb is standard issue if my memory serves me)
(The old foam gasket had hardened and was cracking around the edges. It also showed some signs of leakage.
(Washed with warm soapy water to remove many years worth of dirt and grime. Sanded rust areas.)
(Prep work for painting.)
(New OEM Honda gaskets.)
(Gently put the new foam seal over the bolts and guide pegs on the housing and then put it back together! Be careful not to over tighten the nuts when re-installing the housing. Remember to plug the harness back together so your lights work!)
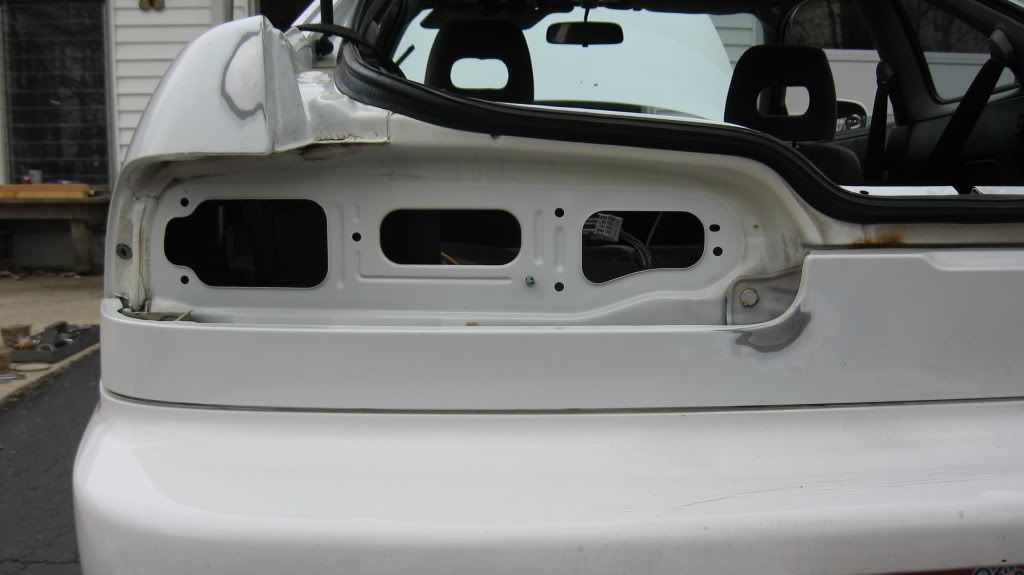
(Finished! The paint touch up is certainly not perfect. I ran out of paint and couldn't blend it well. Primer was Duplicolor, paint is Acura frost white in a spray can. Clear coat was Duplicolor clear enamel. I really only wanted to kill off the rust as the car is getting a new paint job next spring. It's gonna have to be ugly a bit longer. No more worries about a leaky trunk however!!):lol:
The first steps are to remove the rear plastic shield and loosen the side panels for easier access to the tail lights. Six bolts hold the actual tail light housing in. Disconnect the harness to lights. Remove the nuts and then slightly tap the bolt ends to the housing and it should pop right out.

(Plastic shield removed, exposing wiring harness and housing nuts to be removed. A close look will reveal water marks where it has been leaking from the inside bolts nearest trunk latch.)
(Housing removed.)
(Surveying damaged gasket. This is a good time to check all your bulbs. If any are blown, replace accordingly. An #1157 dual filament bulb is standard issue if my memory serves me)
(The old foam gasket had hardened and was cracking around the edges. It also showed some signs of leakage.
(Washed with warm soapy water to remove many years worth of dirt and grime. Sanded rust areas.)
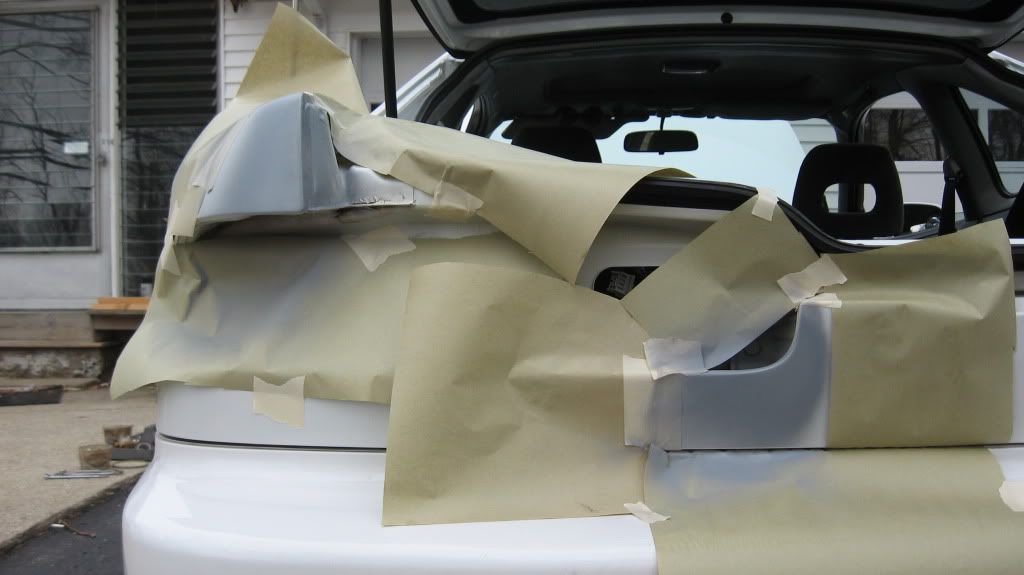
(Prep work for painting.)
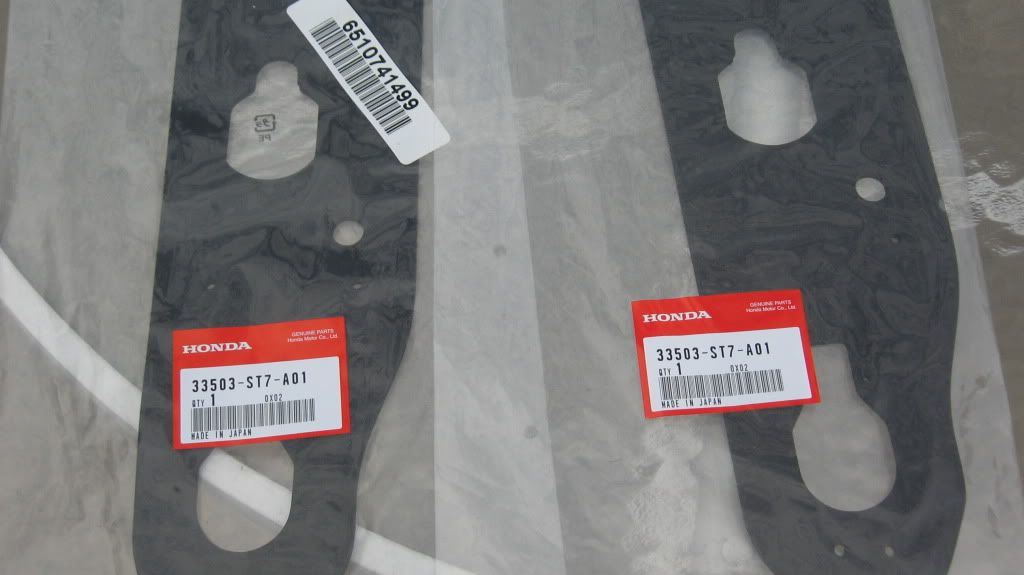
(New OEM Honda gaskets.)
(Gently put the new foam seal over the bolts and guide pegs on the housing and then put it back together! Be careful not to over tighten the nuts when re-installing the housing. Remember to plug the harness back together so your lights work!)
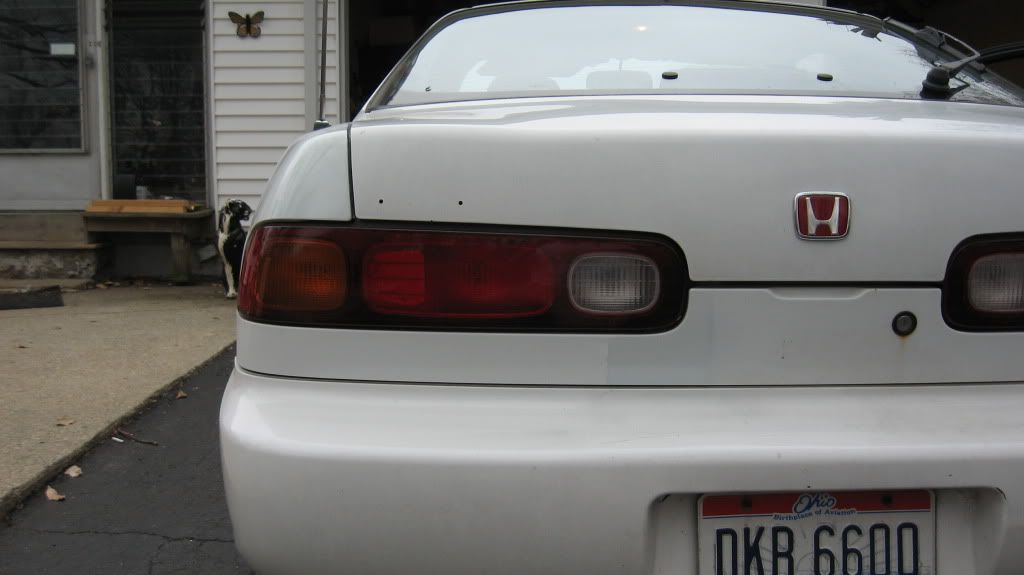
(Finished! The paint touch up is certainly not perfect. I ran out of paint and couldn't blend it well. Primer was Duplicolor, paint is Acura frost white in a spray can. Clear coat was Duplicolor clear enamel. I really only wanted to kill off the rust as the car is getting a new paint job next spring. It's gonna have to be ugly a bit longer. No more worries about a leaky trunk however!!)
:lol: