DIY: Change gauge cluster lights/ Under dash neons

Boxy

New Member
Alrighty I finally finished wiring my neons today and tucked all the wires and put my centre console back in!
Here are some pictures :D

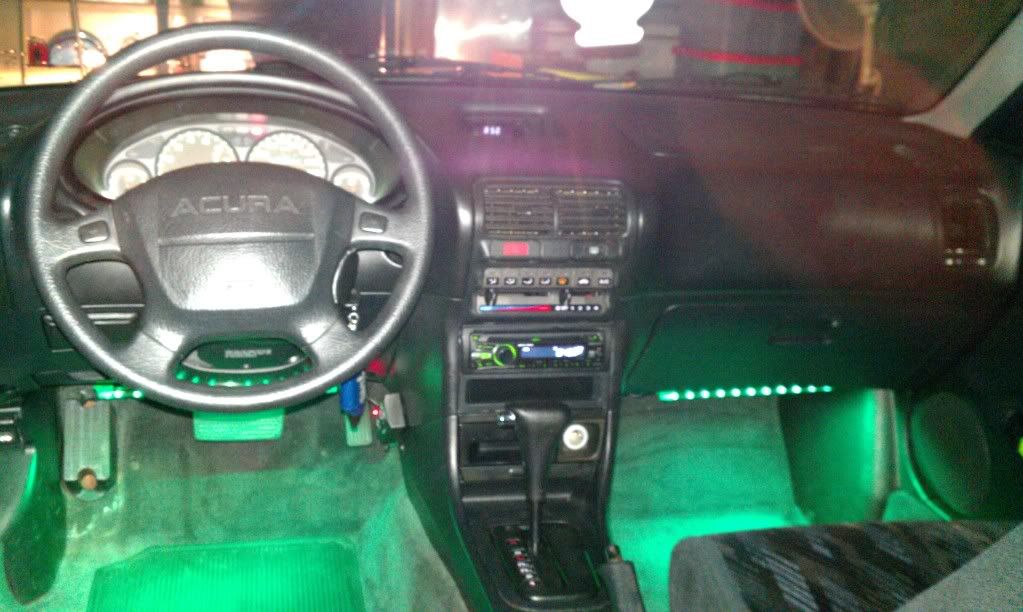
With flash, and yes the front drivers seat is removed, I still needa put it back in lol:


Without flash, and when you actually sit on the seats you can't see the neon bars, its only at certain high/low angles that you can see em:


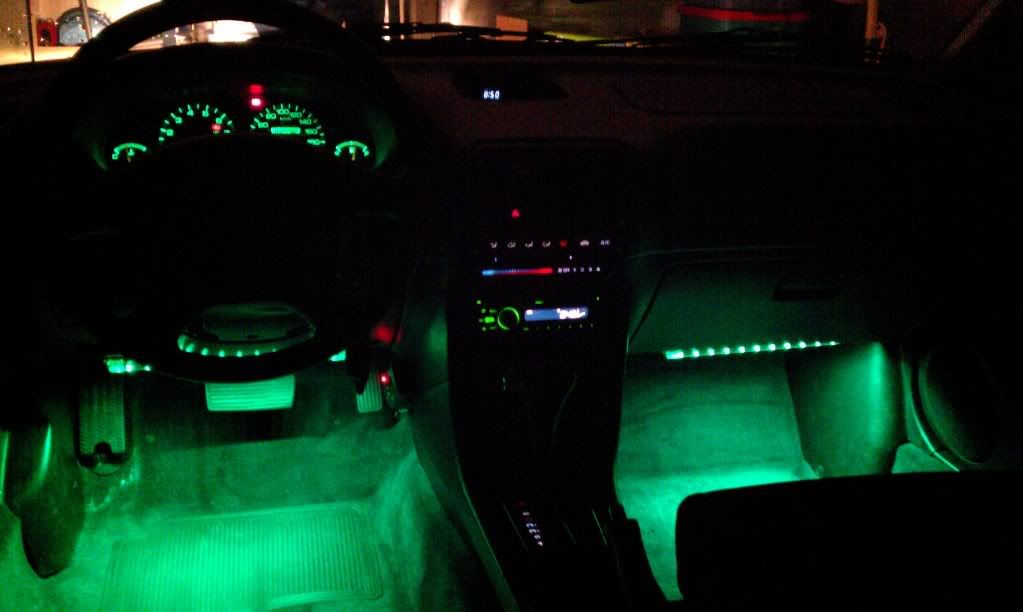
Sorry for the crap quality, off of a phone camera, they're never good with night pictures :p
 

klutchDb7

ლ(ಠ益ಠლ)
Also, quick question. For my switch, do I NEED to solder/crimp/heatshrink the wire to the switch? Or can I just leave it like it is, and just twist it around each part of the switch (for each different wire) and put some electrical tape to insulate?
No, you'll want to use some of these spade connectors that you can just pick up at radioshack or something

haha it looks cool man :p i wanna do the other buttons to not like the heat /defroster n all those little ones like u did
Yep, working on the write-up!


Boxy

New Member
I decided not to use the switch :p
They only come on with the headlights, and they have a built in switch too so it's all good.
 

IndyDC2

New Member
I just figured I would post up my rendition of the OP's DIY. Thanks to the OP for the tips and advice. I went even further by scraping the dot matrix from the backside of the gauge faces to help with the illumination. I went even further than that and grabbed some stained glass paint and did the hashes and other random odds and ends. Stained glass paint is really awesome for this application simply because it dries super thin and the saturation of the color used is spot on.

This was the beginning. This was just a bulb swap to the single white led bulb. not too happy with the results.


This was simply the dot matrix removal, single wedge LED......


Here is a couple of pics from the DIY. Thanks again OP!!!!!!!!!!!!!!

Basic layout. Total cost of this version is about 20 bucks.

-The needles I used nail polish remover to remove the factory orange, Then used a yellow acrylic on the backside of the needles with a small paint brush.


-The stained glass paint can be bought at pretty much any arts and craft store for relatively cheap. It helps to hold the gauge face over a flash light so you can see what you are coloring in. And when applying the glass paint, be sure to use a very small dab and work it with a tooth pick so you dont have any issues with it running. I used two coats and was completely satisfied. I waited an hour in between coats to ensure a better final product.


And the final result after the new paints and 5 led bulbs. Good luck with yours guys!


The pictures dont really do justice.
 

IndyDC2

New Member
Awesome work, those look really good!!!
Thanks, it was most definitely a Saturday project....and on top of that, i had to learn the hard way on how to re-calibrate the needles upon re-installation. PITA for sure.

Oh, and I am digging your non-vtec wire covers btw. Too bad all my LS motors came from OBD1 cars lol. Wanna make on for this?


I do have an OBD2 vc, i need to finish it, the guy before me had cut the t-belt side completely off.
 
Last edited:

Brandon18

Fast and Furious
I just wanted to let the OP know that I just followed this guide and it turned out amazing !!!!!!!!!!!!!!!!!!!!!!!!!!!!!!

you are welcome to cruise in my whip anytime
 

natron84

Member
Indy, that looks great!! but damn that sh** looks bright as hell. Can you see out the windshield at night? LOL
 

Brandon18

Fast and Furious
Post some pictures!
As you requested ! lol


PS: Why is my temp gauge usually dead unless i drive for 15minutes ( Thermostat ?? ) ( the car runs at great performance too... no temp problems


Last edited:
Top