NintyNineLs
OFWGKTA
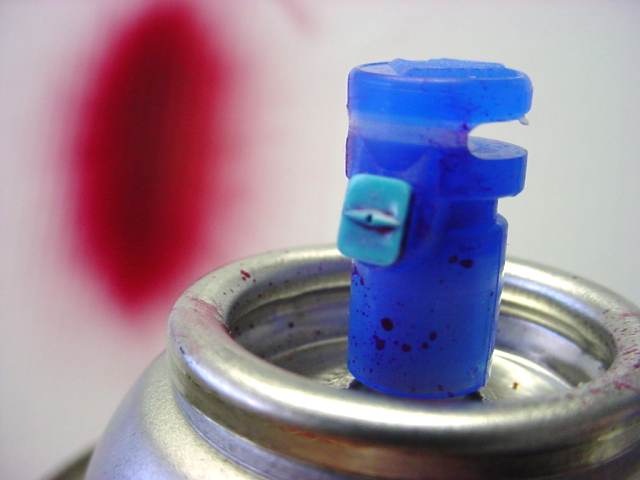
here is everything I used as far as stripping, taping and painting.

Now, let's get to taking the valve cover off.
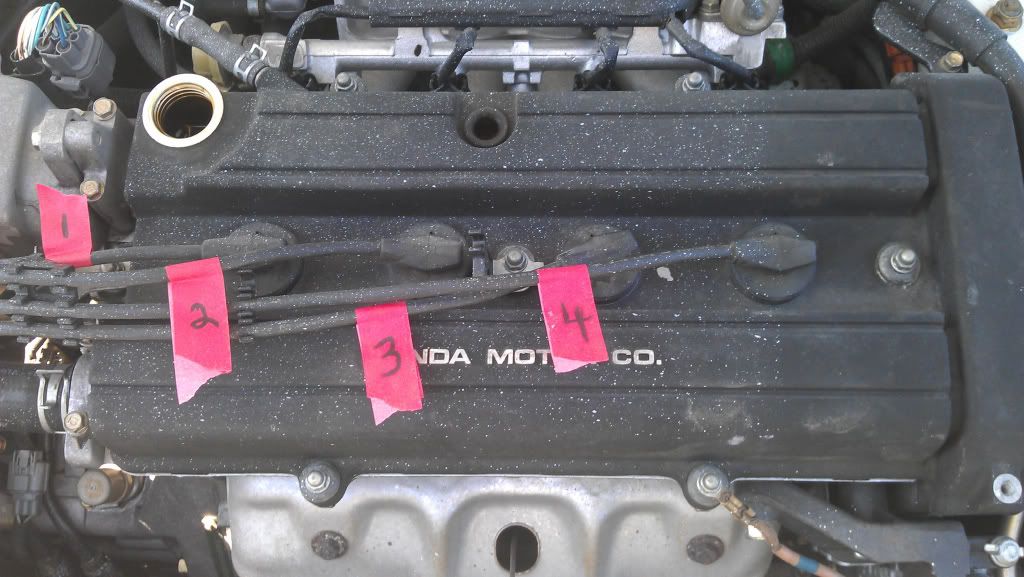
April 21, 2012.
I decided to tape these off, to ensure there was no confusion.
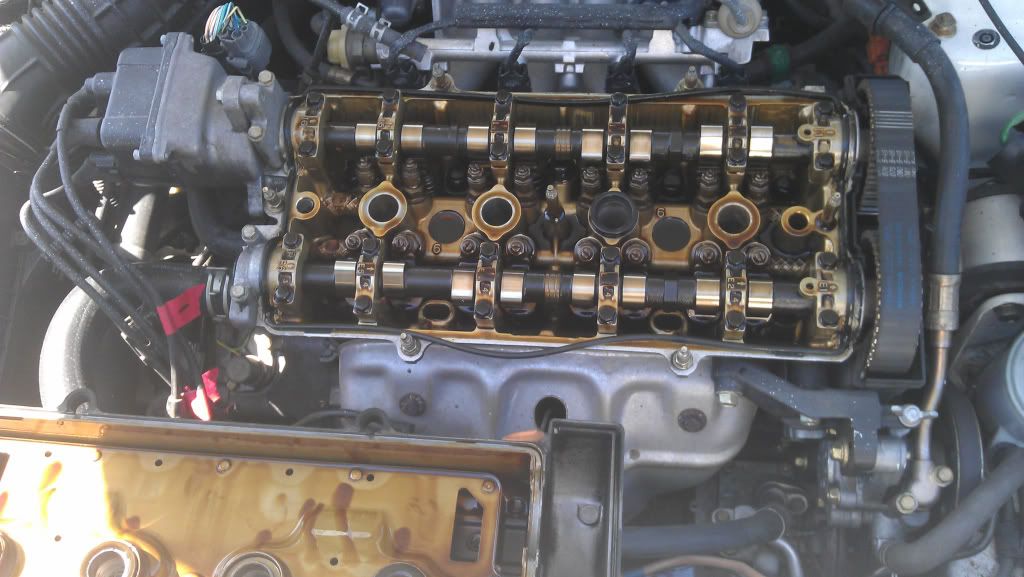
Then, I remove the covers, and set them off to the side, out of the way.
Also ridding the vc of any hoses connected.
I removed all of the screws/bolts along with any caps and plugs.
This allowed me to take the valve cover off.
The gasket is obviously important, so I kept it safe and away from my work area.
Along with the smaller ones.
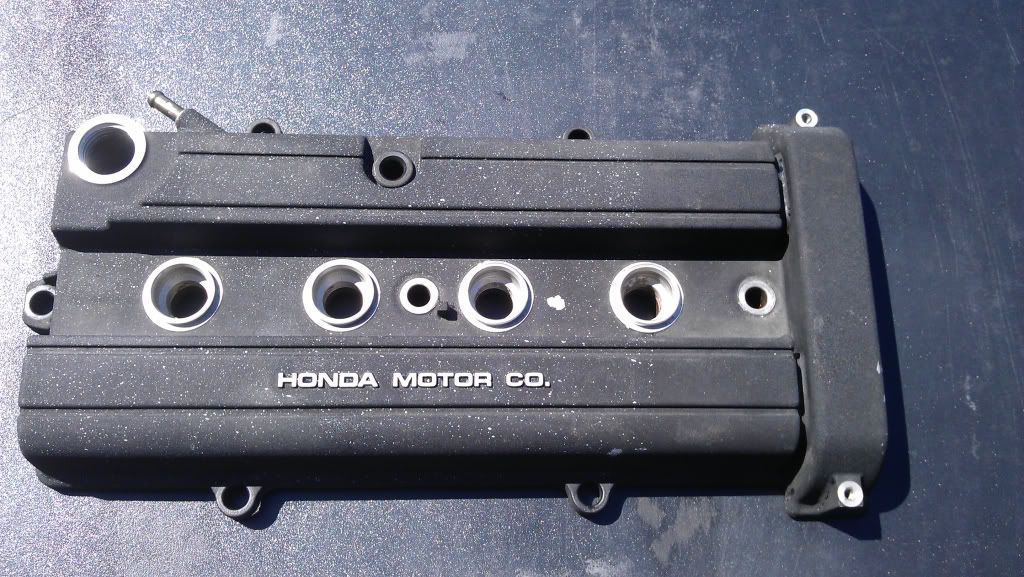
This is why I decided to paint this vc. The guy who has the teg' before me painted the bottom of the hood.
But he was most likely brain dead and spray painted it while not covering the engine bay at all.
So I am cursed to live with these paint speckles all over everything under the hood until I paint it.
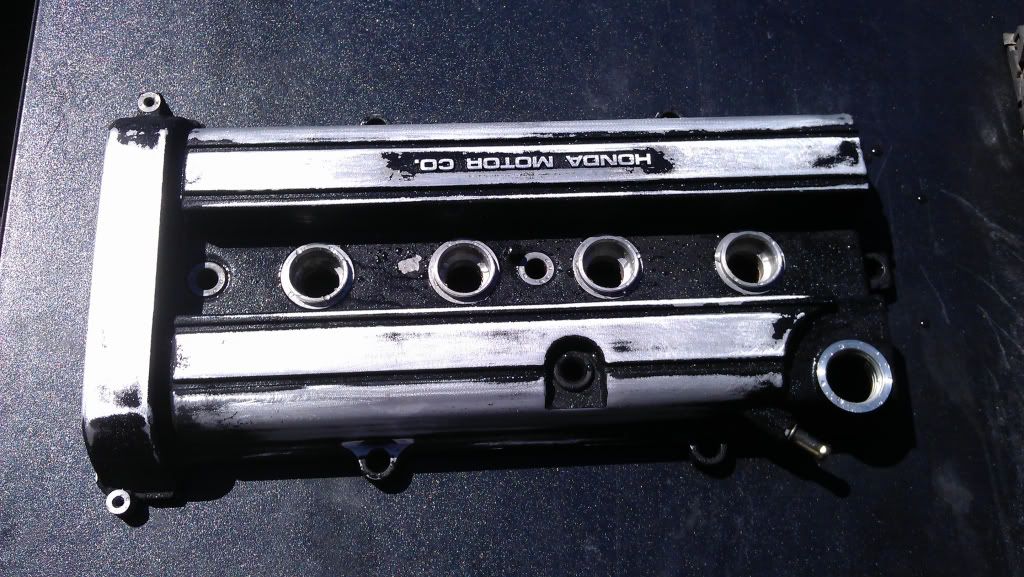
About half way through stripping the paint off this is what she looked like.
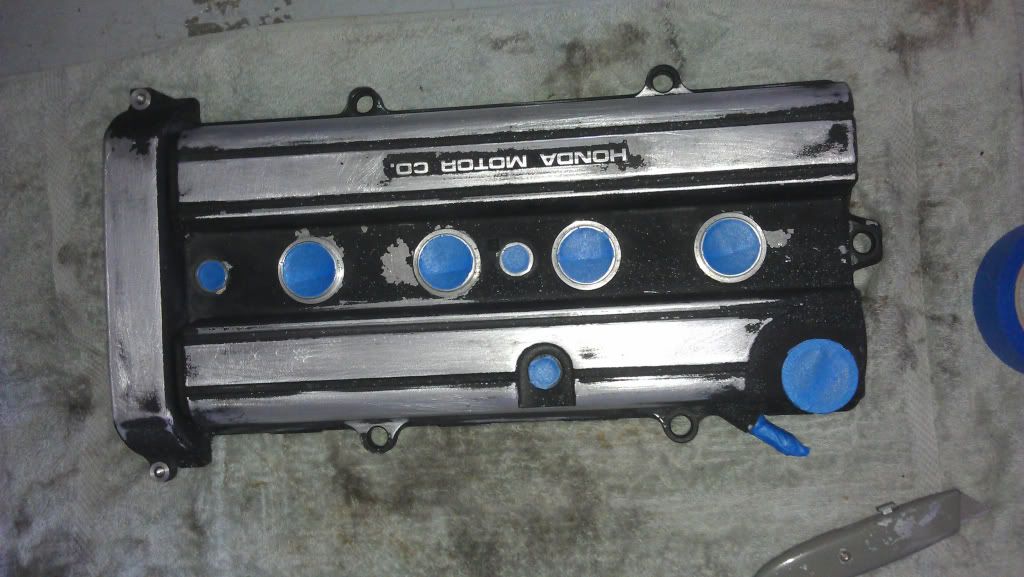
Tape off anywhere you don't want paint to get into.
(NOTE: I ordered a few cans of krylon red engine paint and are going to repaint this vc.)
Therefore I did not strip every last bit of paint off.
Applied the high heat primer .
Applied two coats of high heat enamel.
There she is, all dried and baked. Did touch with sanding the rims of the plug holes.
Don't forget about the oil cap.
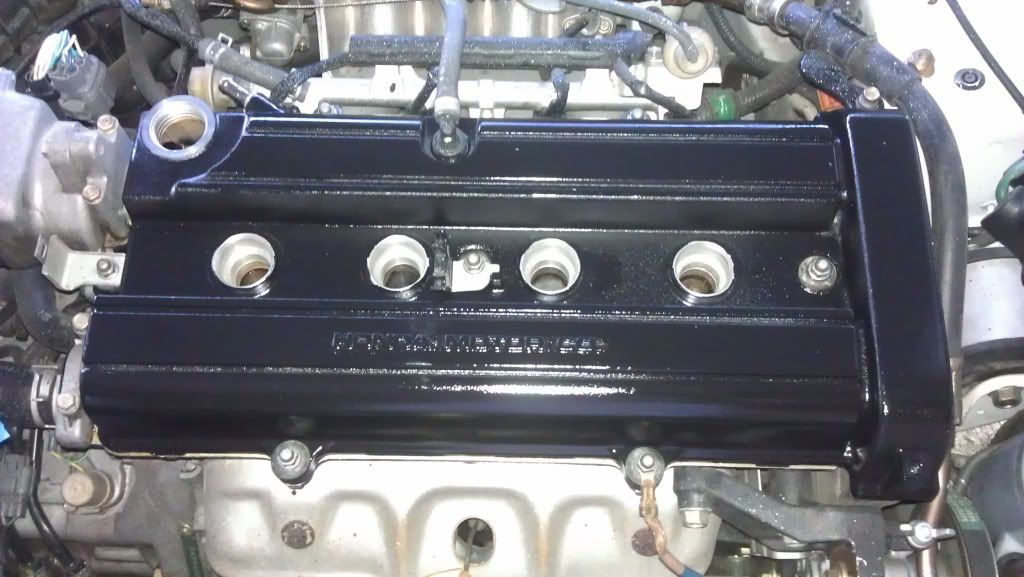
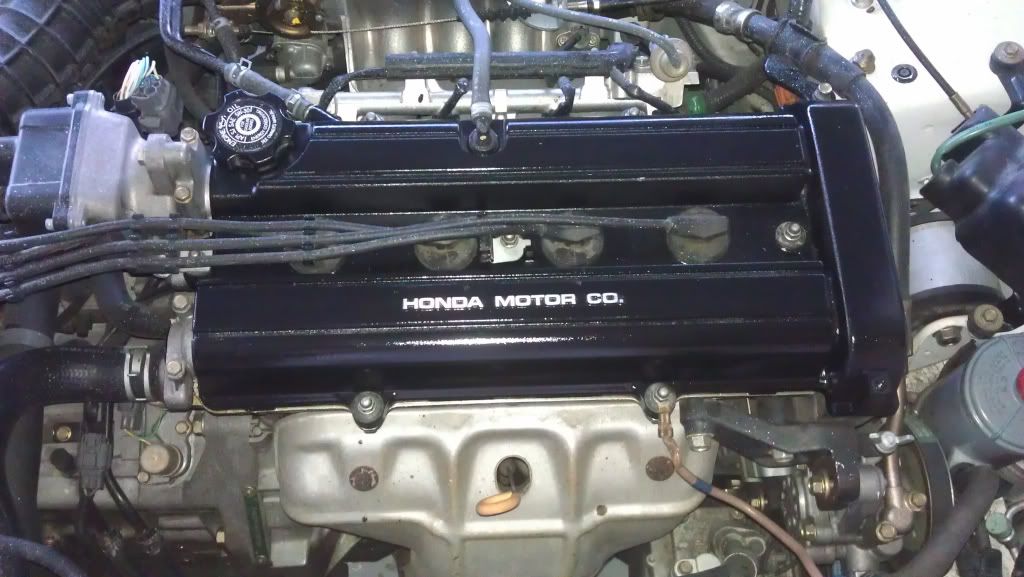
There she is, finished but looking towards a future of red paint.
Sanded the Honda motor co. down .
Like I said, I am going to repaint, just needed to get rid of that white splatter.
Thanks.
Will post pictures of my second round with red krylon.
Also, will post a write up of painting my intake manifold along with a few other key components.
Including getting the paint speckles off of my hoses and electrical.

Now, let's get to taking the valve cover off.
April 21, 2012.
I decided to tape these off, to ensure there was no confusion.
Then, I remove the covers, and set them off to the side, out of the way.
Also ridding the vc of any hoses connected.

I removed all of the screws/bolts along with any caps and plugs.
This allowed me to take the valve cover off.
The gasket is obviously important, so I kept it safe and away from my work area.

Along with the smaller ones.

This is why I decided to paint this vc. The guy who has the teg' before me painted the bottom of the hood.
But he was most likely brain dead and spray painted it while not covering the engine bay at all.
So I am cursed to live with these paint speckles all over everything under the hood until I paint it.
About half way through stripping the paint off this is what she looked like.
Tape off anywhere you don't want paint to get into.
(NOTE: I ordered a few cans of krylon red engine paint and are going to repaint this vc.)
Therefore I did not strip every last bit of paint off.
Applied the high heat primer .

Applied two coats of high heat enamel.
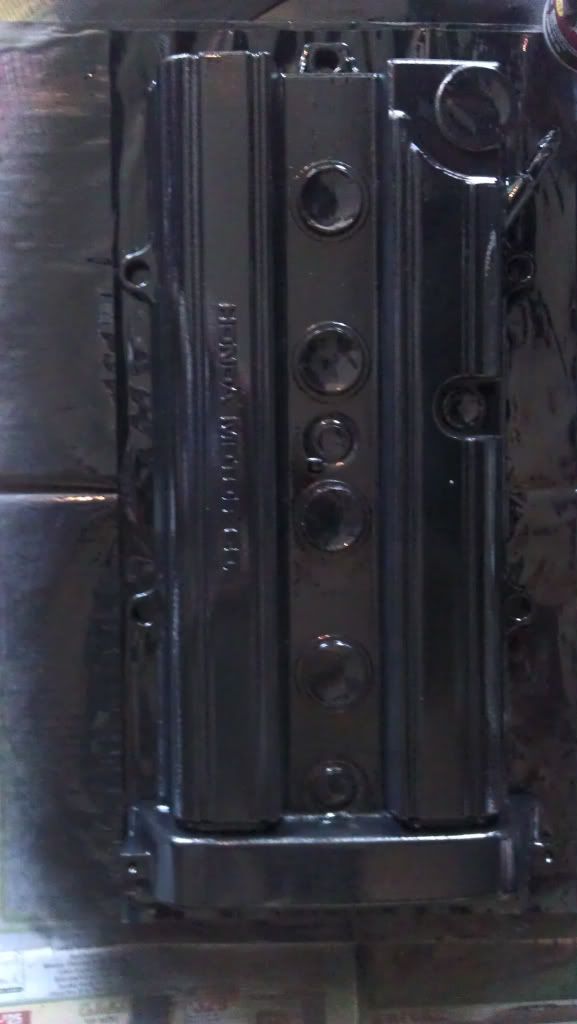
There she is, all dried and baked. Did touch with sanding the rims of the plug holes.
Don't forget about the oil cap.

There she is, finished but looking towards a future of red paint.
Sanded the Honda motor co. down .
Like I said, I am going to repaint, just needed to get rid of that white splatter.
Thanks.
Will post pictures of my second round with red krylon.
Also, will post a write up of painting my intake manifold along with a few other key components.
Including getting the paint speckles off of my hoses and electrical.
Last edited: