treeafodo
Austin
I've been so busy lately I haven't had time to update anything. Barely have enough time to sleep anymore. Working full time, school full time, side jobs, studying, working on presentations and hanging out with friends finds a way to suck all your time away.This week and next week are exam weeks. So I need to get this done by then. In a week and a half I will be graduating.
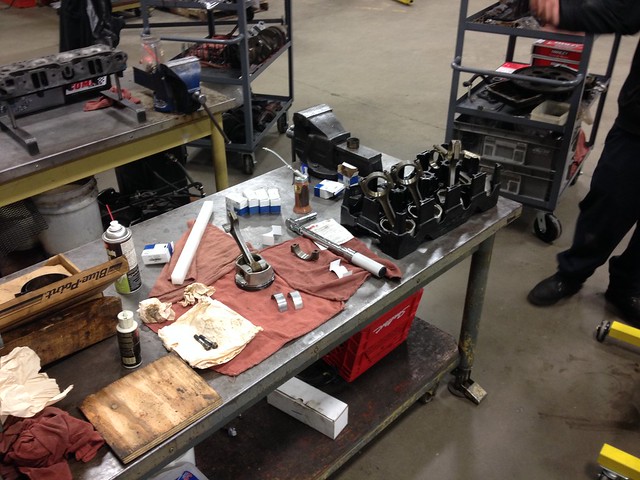
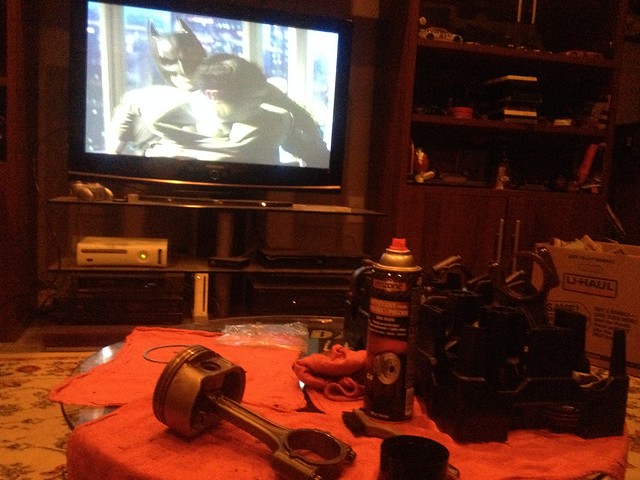
To help speed the process up and not waste lab time at school I brought the pistons home to clean.
 Dirty Piston/Rods by Austin Rajki, on Flickr
Dirty Pistons/Rods by Austin Rajki, on Flickr
A friend wanted to watch Batman so we watched that while I cleaned them up.
Cleaning Pistons by Austin Rajki, on Flickr
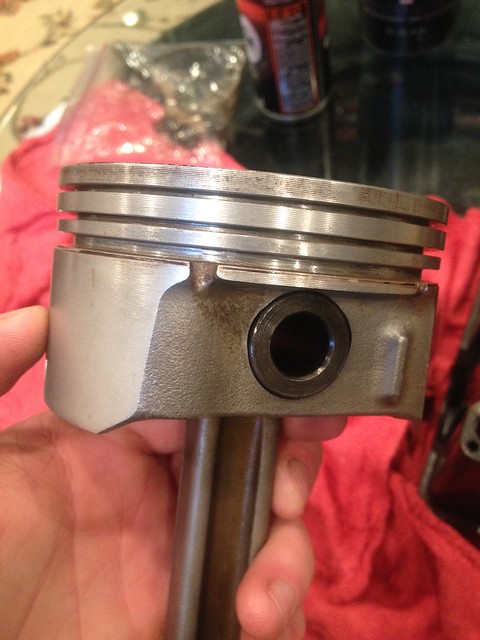
Several hours later I had them all pretty clean.
Clean Pistons by Austin Rajki, on Flickr
Clean Pistons by Austin Rajki, on Flickr
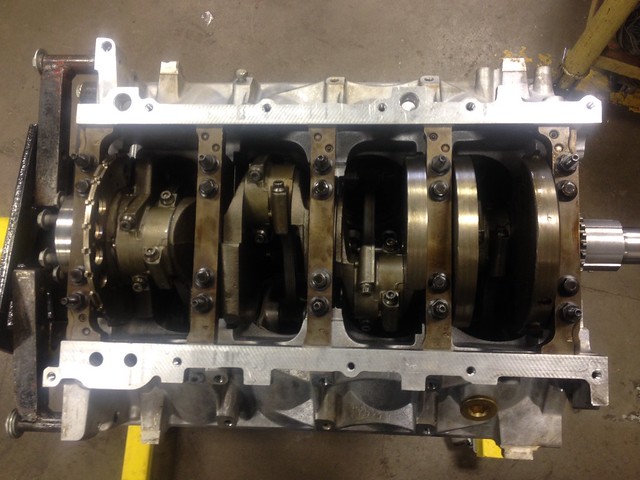
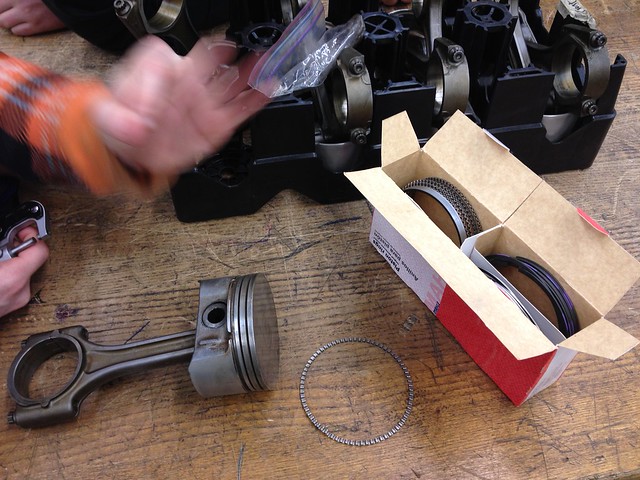
Brought them back to school today to install the piston rings. Everything is gapped correctly.
Installing Piston Rings by Austin Rajki, on Flickr
Rings Installed by Austin Rajki, on Flickr
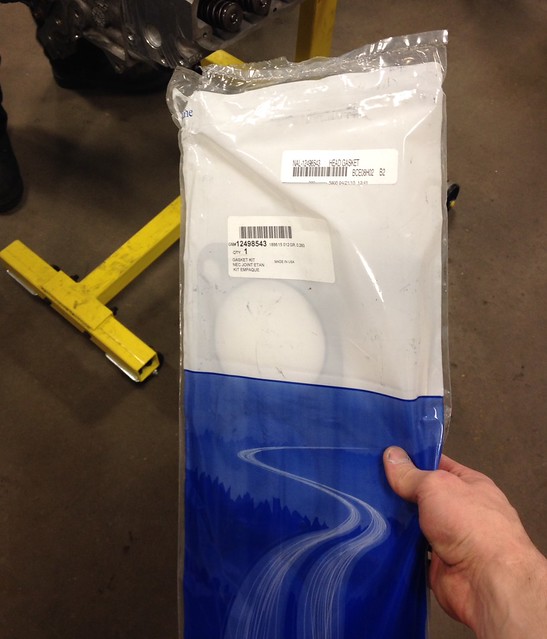
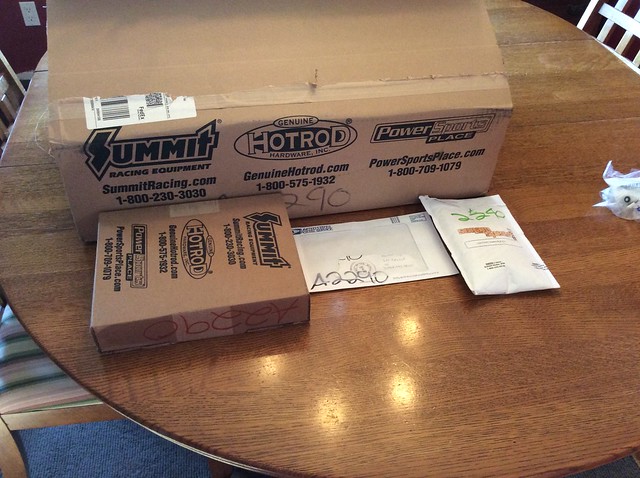
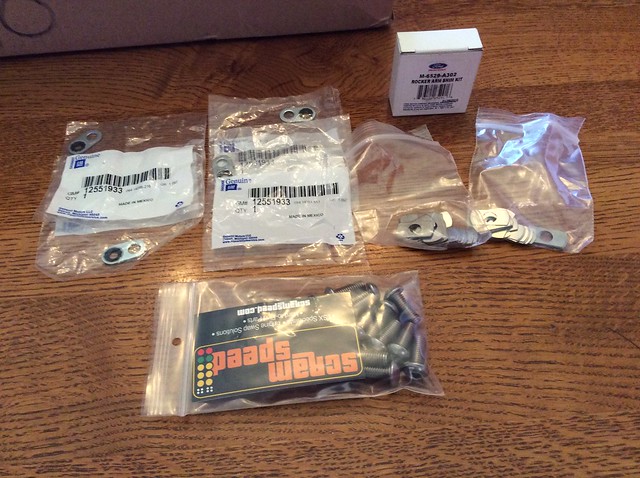
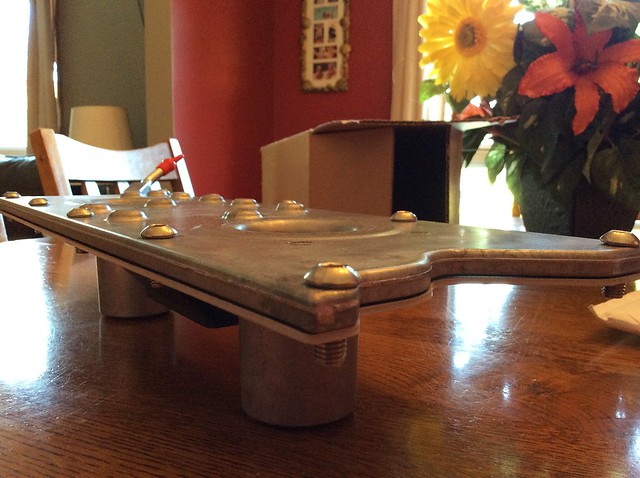
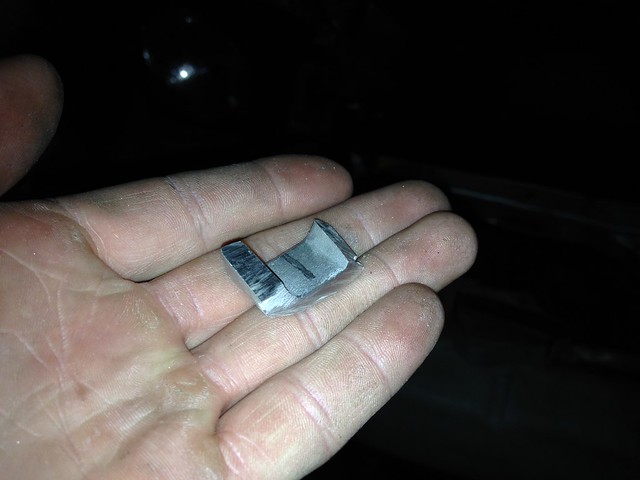
Then I had a box show up in Detroit. On Friday I went to install the valve stem seals and springs. One of the seals ripped going on. I wasn't able to find the PRC ones I had for sale. Ended up ordering a set of Comp Cams ones from Summit and paid extra for next day shipping. I got a large box from Summit with the smallest contents.
New Box by Austin Rajki, on Flickr
Smallest Contents Ever by Austin Rajki, on Flickr
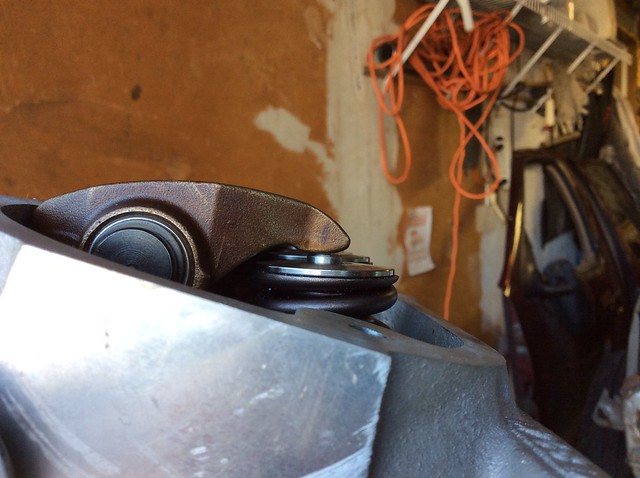
My teacher also brought my new valve in! I ground that valve and lapped the last few valves that needed lapping
New Exhaust Valve by Austin Rajki, on Flickr
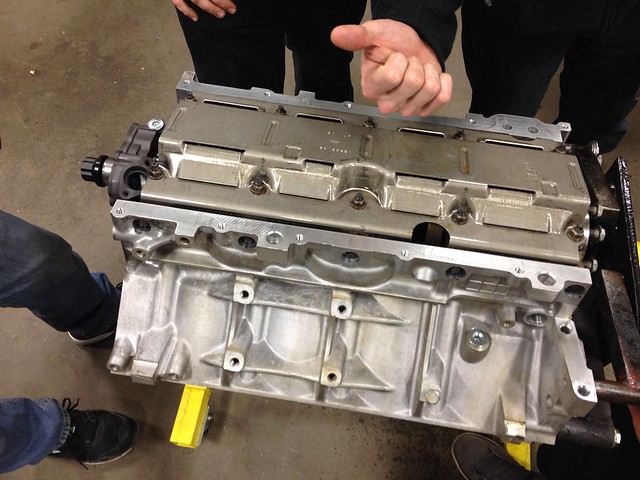
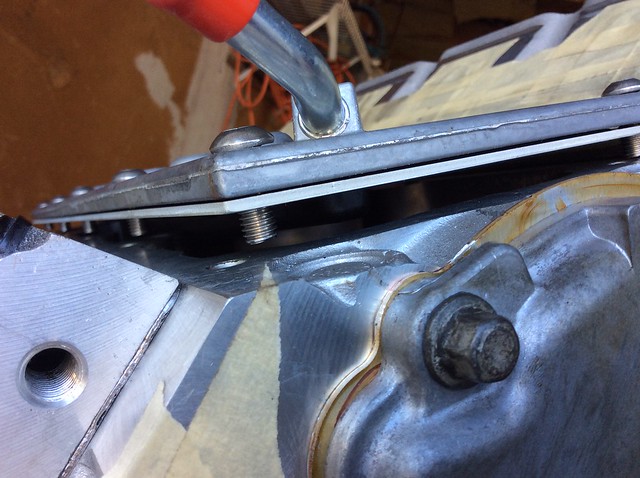
Then I installed the spring seats, valve stem seals and started to install the springs.
Valve Springs Going In by Austin Rajki, on Flickr
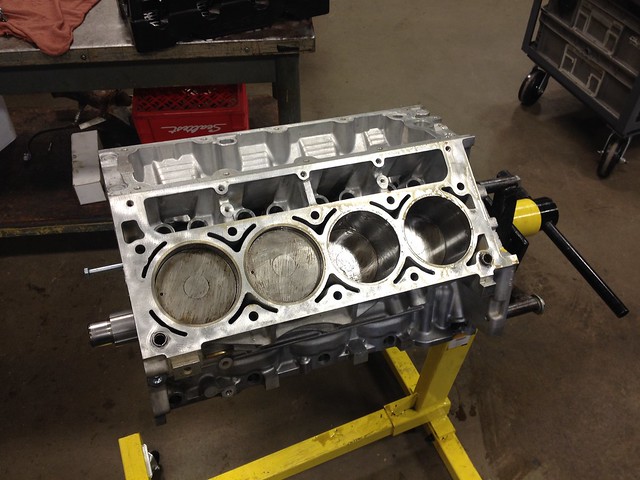
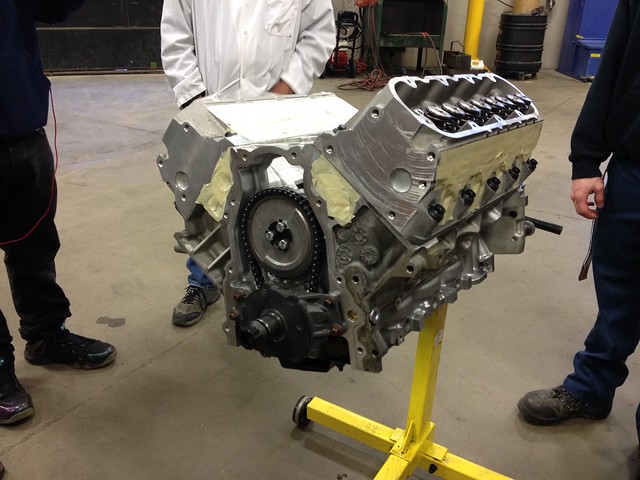
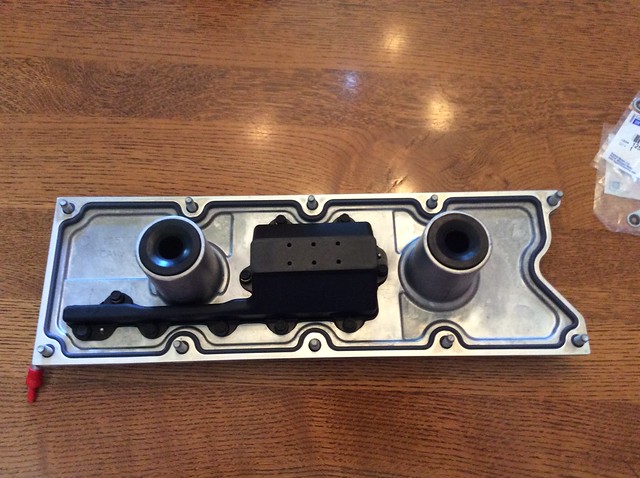
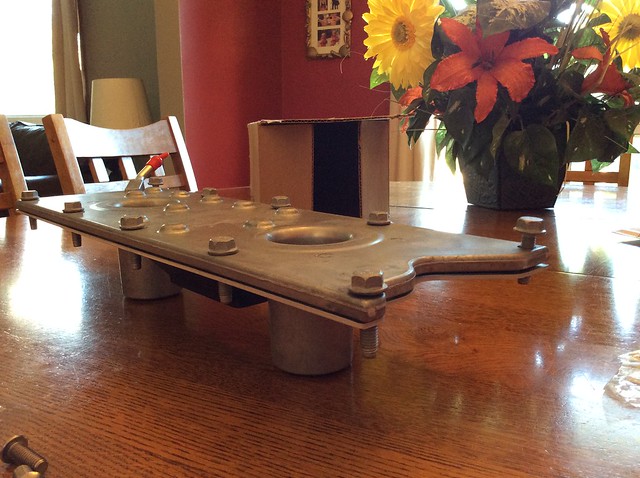
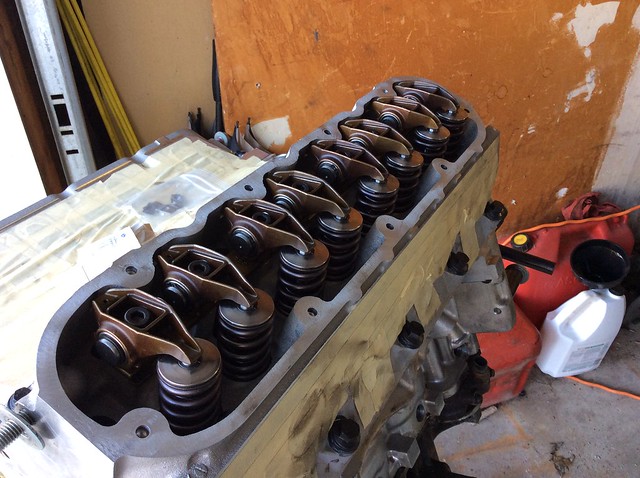
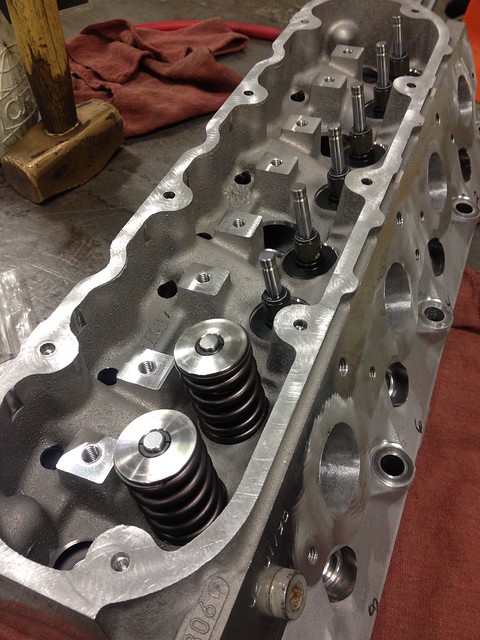
One head is done. The other one just needs springs installed.
One Head Finished by Austin Rajki, on Flickr
While I was doing all the work today they had a Pontiac Firehawk in the other room doing a tune session. I got to listen to the glorious sound of an LS1 all day. It got me so excited for mine!
https://www.youtube.com/watch?v=-7SWlCNKqrI
To help speed the process up and not waste lab time at school I brought the pistons home to clean.
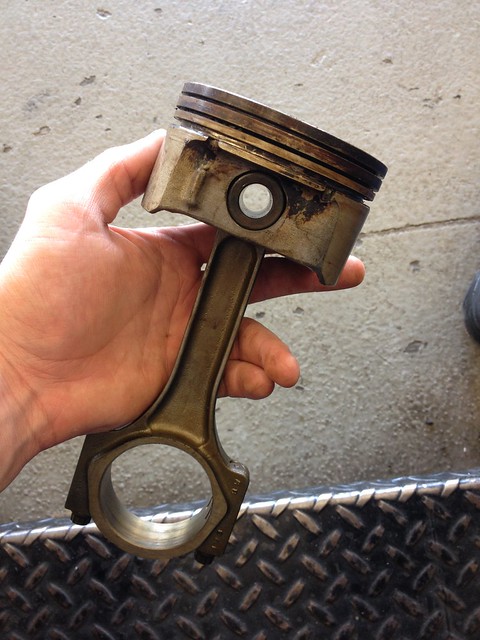 Dirty Piston/Rods by Austin Rajki, on Flickr
 Dirty Pistons/Rods by Austin Rajki, on Flickr
A friend wanted to watch Batman so we watched that while I cleaned them up.
 Cleaning Pistons by Austin Rajki, on Flickr
Several hours later I had them all pretty clean.
 Clean Pistons by Austin Rajki, on Flickr
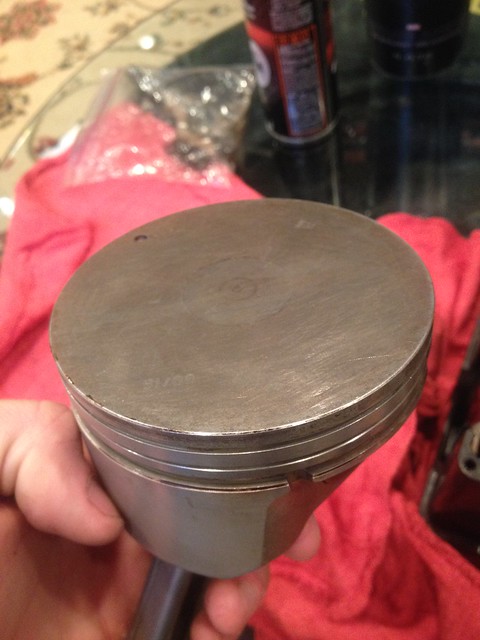 Clean Pistons by Austin Rajki, on Flickr
Brought them back to school today to install the piston rings. Everything is gapped correctly.
 Installing Piston Rings by Austin Rajki, on Flickr
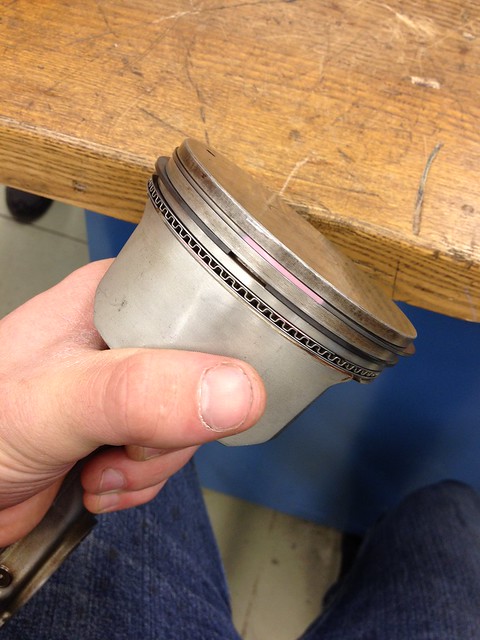 Rings Installed by Austin Rajki, on Flickr
Then I had a box show up in Detroit. On Friday I went to install the valve stem seals and springs. One of the seals ripped going on. I wasn't able to find the PRC ones I had for sale. Ended up ordering a set of Comp Cams ones from Summit and paid extra for next day shipping. I got a large box from Summit with the smallest contents.
 New Box by Austin Rajki, on Flickr
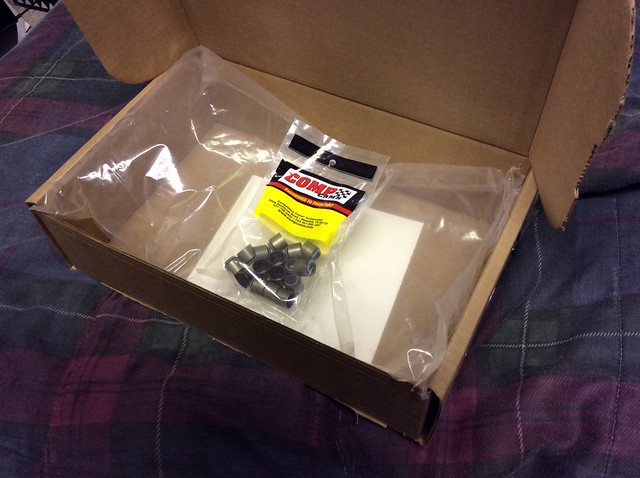 Smallest Contents Ever by Austin Rajki, on Flickr
My teacher also brought my new valve in! I ground that valve and lapped the last few valves that needed lapping
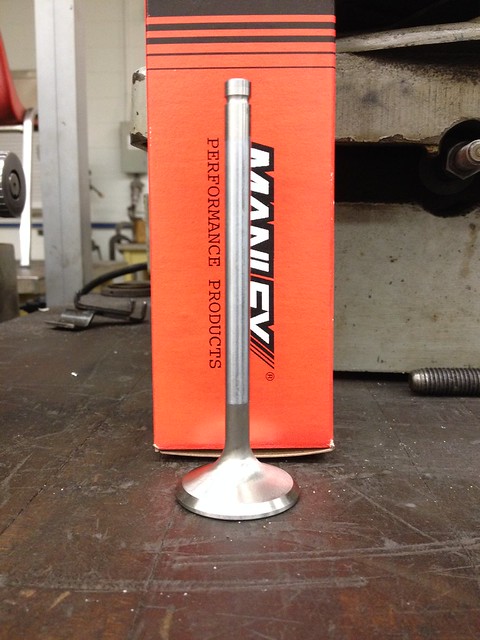 New Exhaust Valve by Austin Rajki, on Flickr
Then I installed the spring seats, valve stem seals and started to install the springs.
 Valve Springs Going In by Austin Rajki, on Flickr
One head is done. The other one just needs springs installed.
 One Head Finished by Austin Rajki, on Flickr
While I was doing all the work today they had a Pontiac Firehawk in the other room doing a tune session. I got to listen to the glorious sound of an LS1 all day. It got me so excited for mine!
https://www.youtube.com/watch?v=-7SWlCNKqrI
Last edited: