jbrown97ls
Active Member
Favorite build on Club Integra hands down.
And it's not even a Honda, lol. Definitely one of my favorites as well though:

Favorite build on Club Integra hands down.
 Junk by Austin Rajki, on Flickr
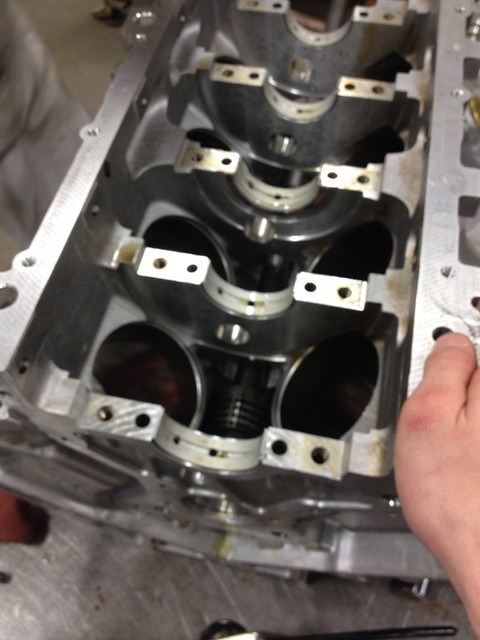 Junk by Austin Rajki, on Flickr
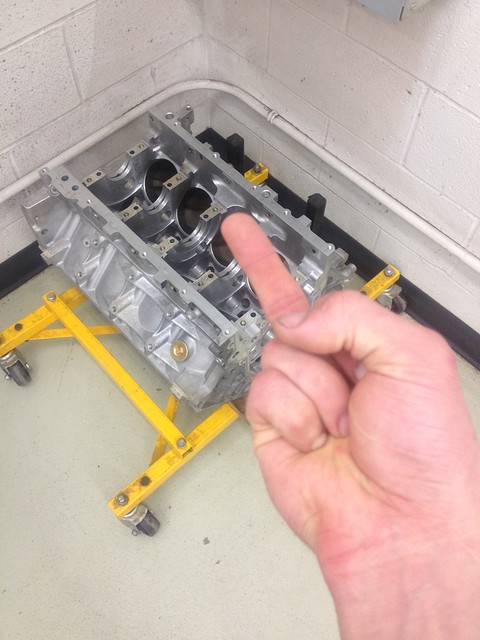 Junk by Austin Rajki, on Flickr
 New Junk by Austin Rajki, on Flickr
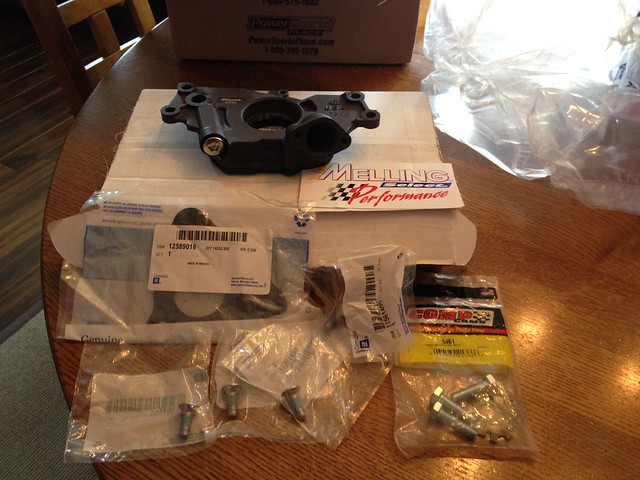 New Junk by Austin Rajki, on Flickr
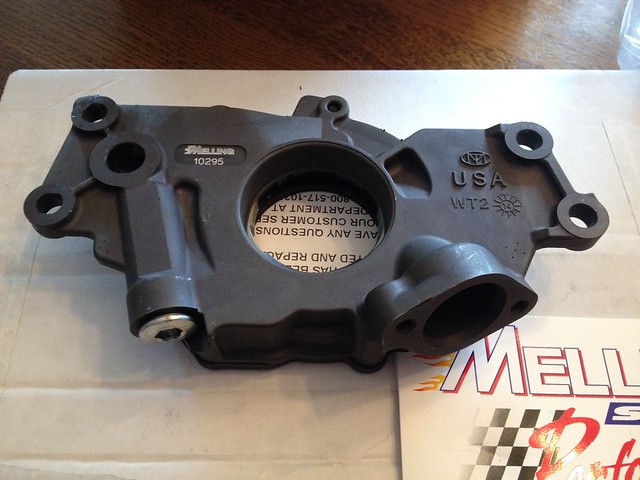 New Junk by Austin Rajki, on Flickr
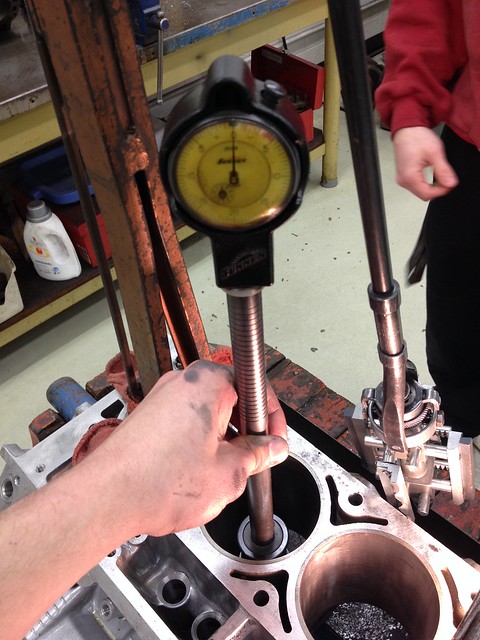
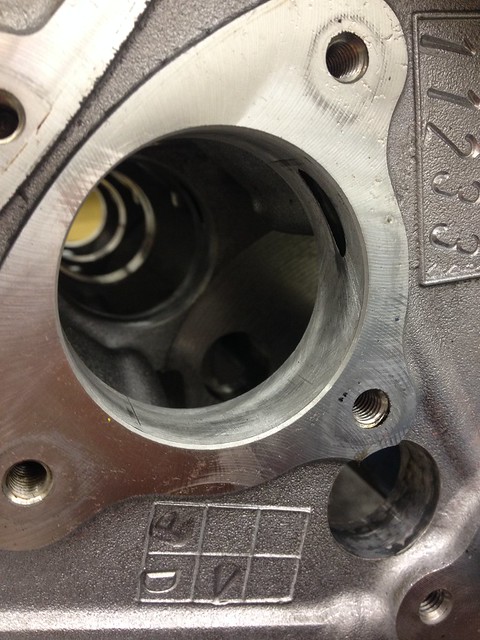 Cam Journals Align Honed by Austin Rajki, on Flickr
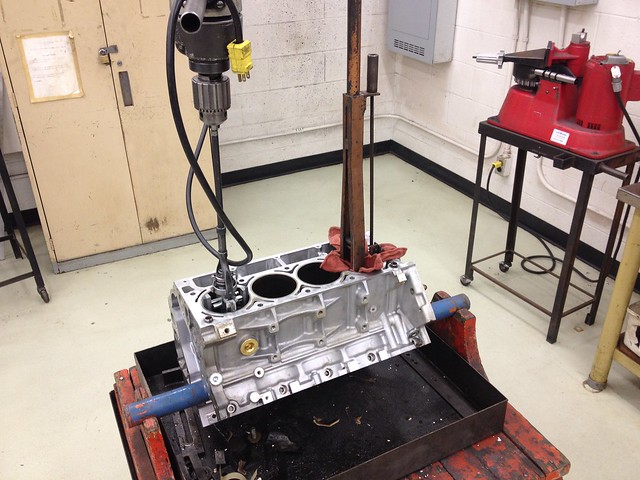 Honing by Austin Rajki, on Flickr
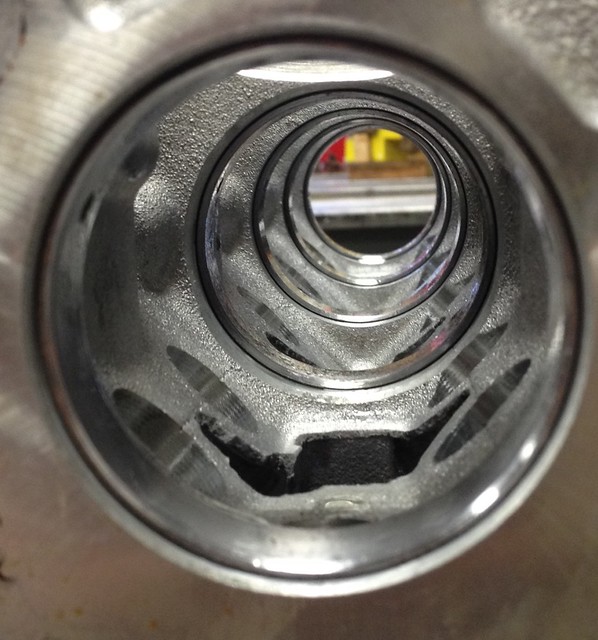
 by Austin Rajki, on Flickr
 by Austin Rajki, on Flickr
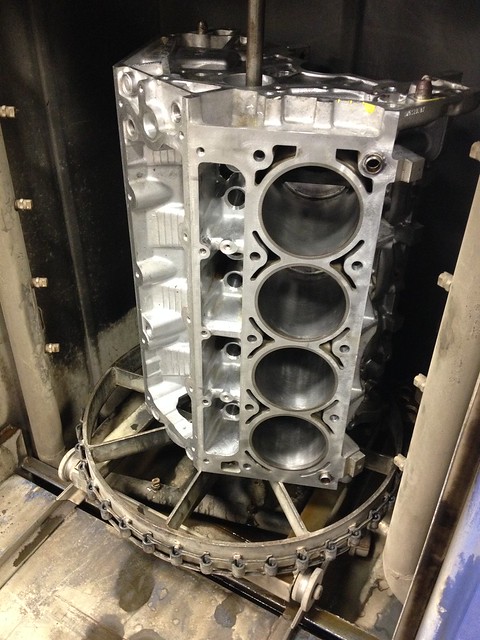 by Austin Rajki, on Flickr
 by Austin Rajki, on Flickr
 Clean by Austin Rajki, on Flickr
Thanks man! I hope so!Hope everything is smooth sailing from here on out!
 Cam Bearings Installed by Austin Rajki, on Flickr
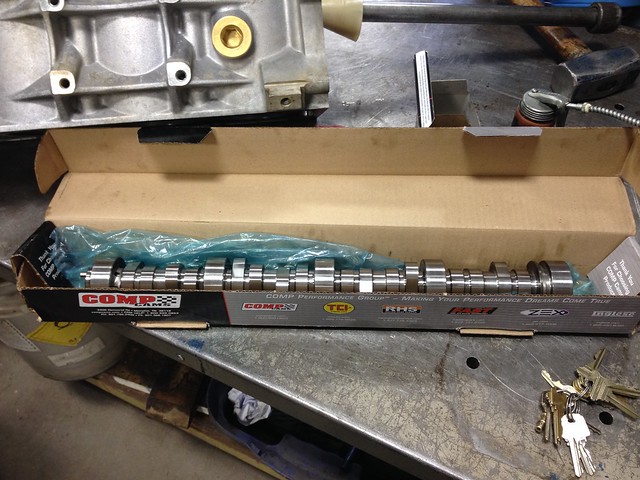 Comp Cams Billet Cam by Austin Rajki, on Flickr
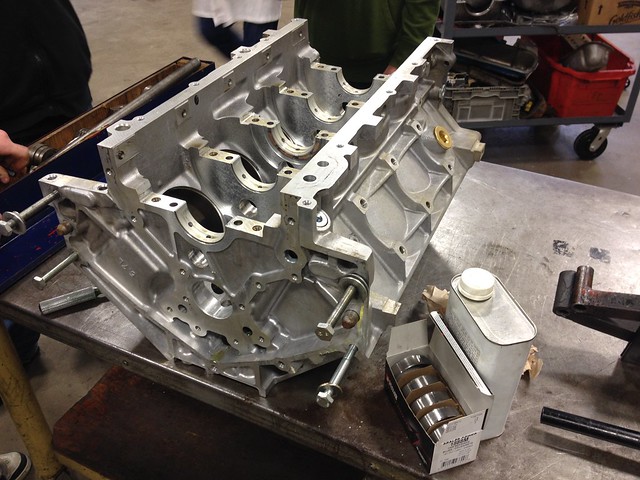
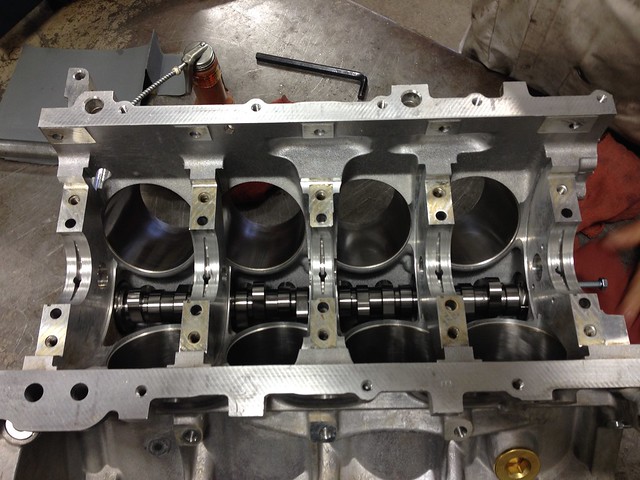 Cam Fits and Spins! by Austin Rajki, on Flickr Now that the cam fits nicely I removed it, cleaned the main and cam journals again, installed the bearings and lubed them up for final assembly.
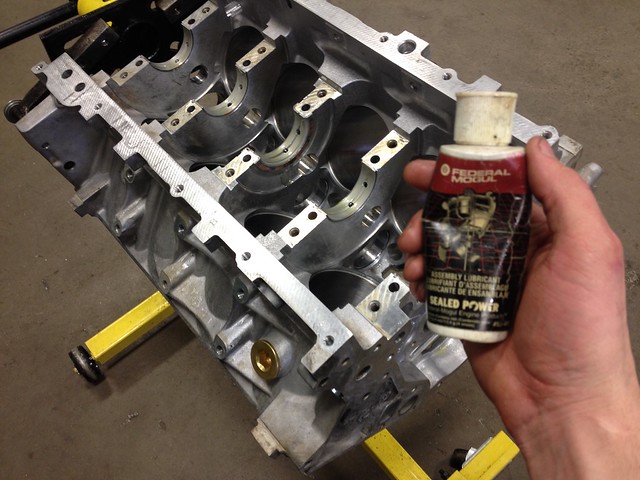 Final Assembly by Austin Rajki, on Flickr
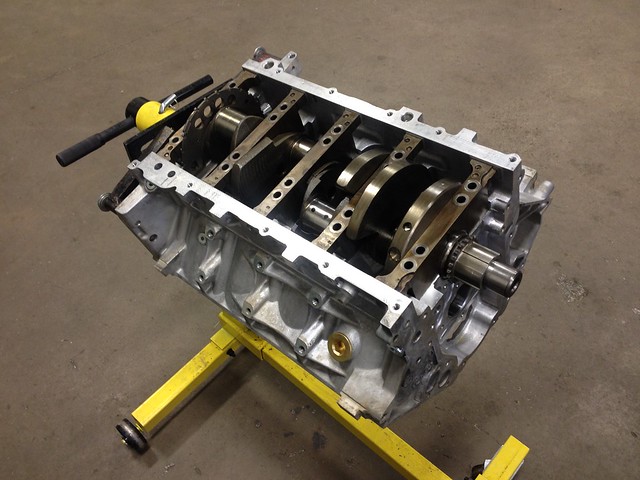 Final Assembly by Austin Rajki, on Flickr
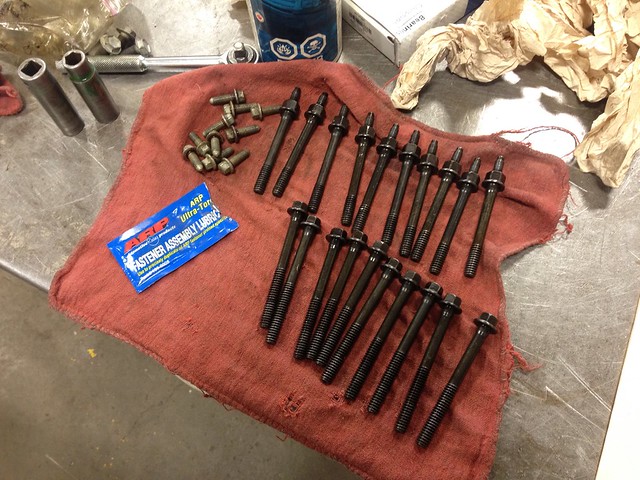 ARP Assembly Lube by Austin Rajki, on Flickr
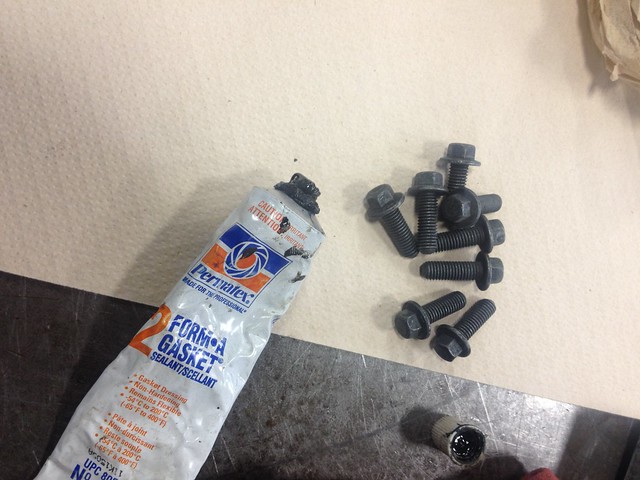 Sealant on the Side Cap Bolts by Austin Rajki, on Flickr
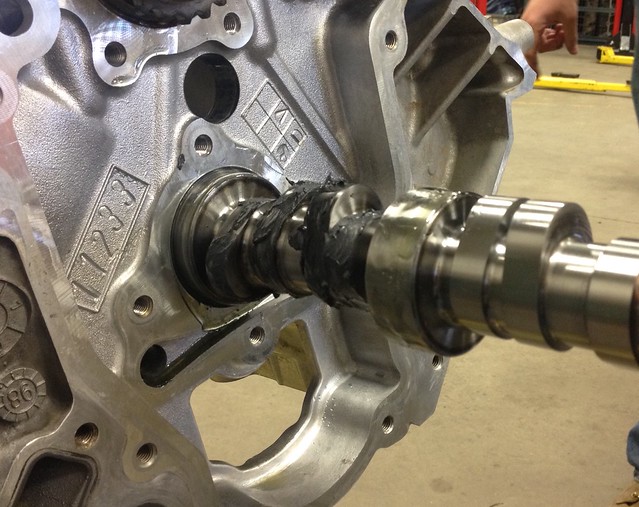 Lubing up the Cam by Austin Rajki, on Flickr
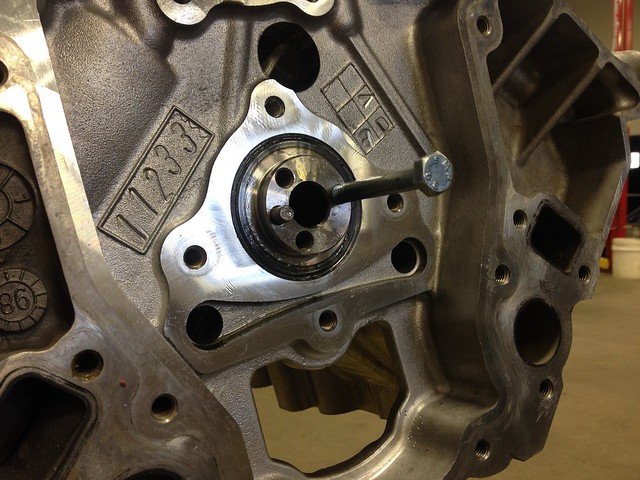 Clean Retainer Face by Austin Rajki, on Flickr
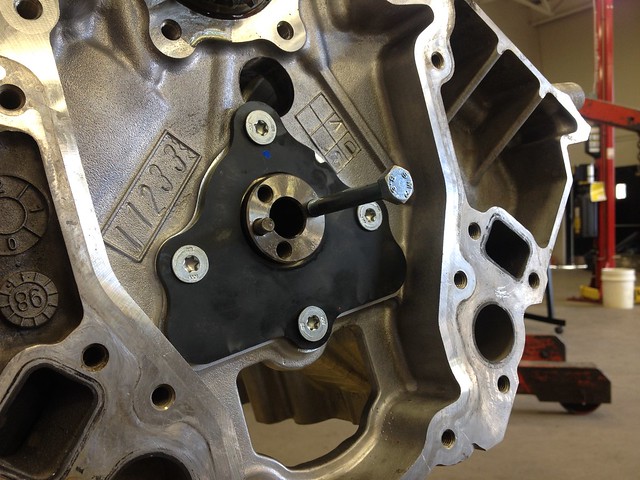 New Cam Retainer Installed by Austin Rajki, on Flickr
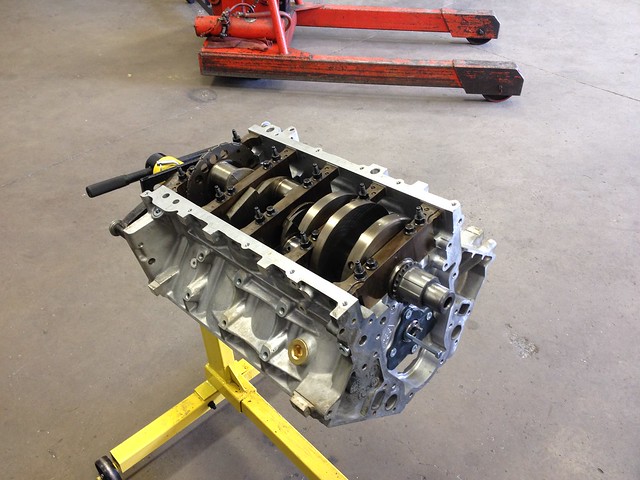 Crank and Cam In by Austin Rajki, on Flickr
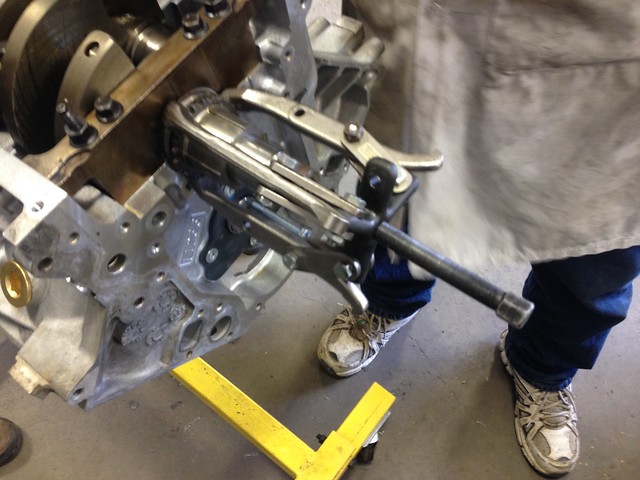 Pulling Timing Gear/ Oil Pump Drive by Austin Rajki, on Flickr
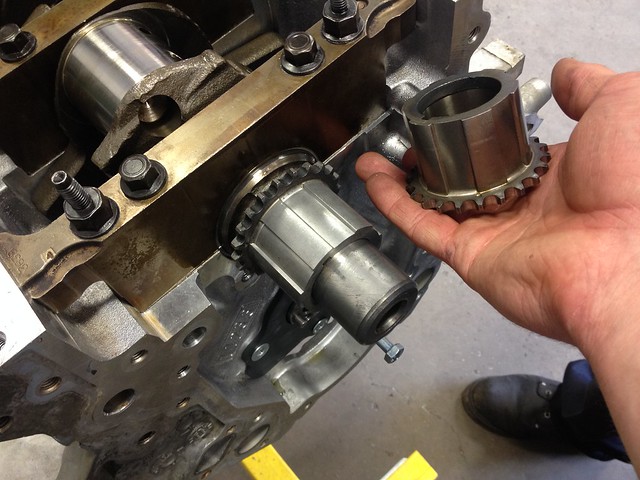 New Gear Installed by Austin Rajki, on Flickr
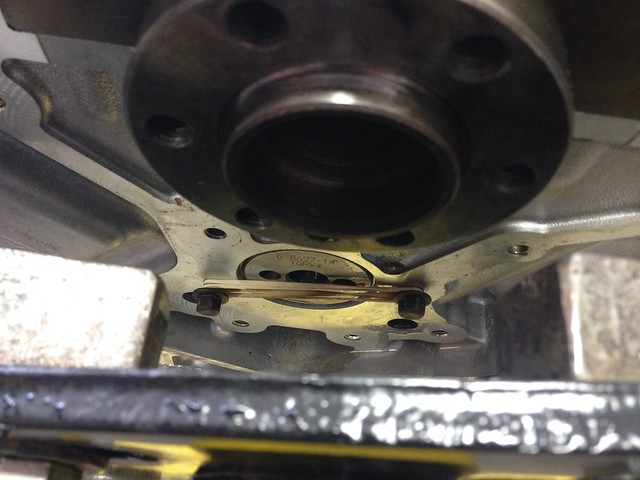 Ghetto Cam Retainer by Austin Rajki, on Flickr
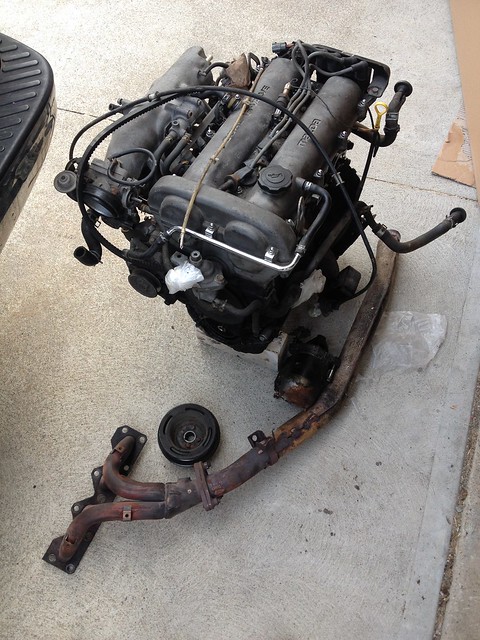 Goodbye 1.6 by Austin Rajki, on Flickr
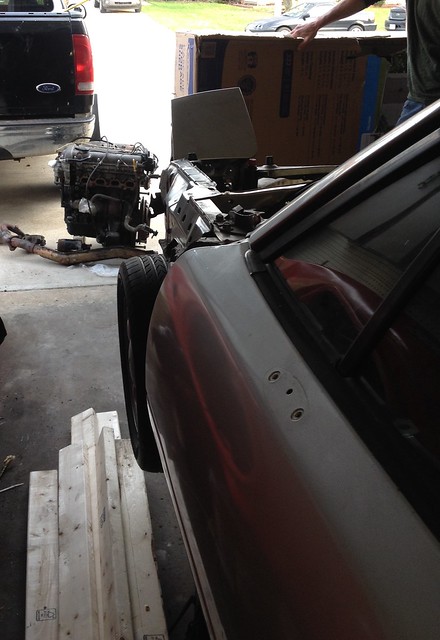 Goodbye 1.6 by Austin Rajki, on Flickr
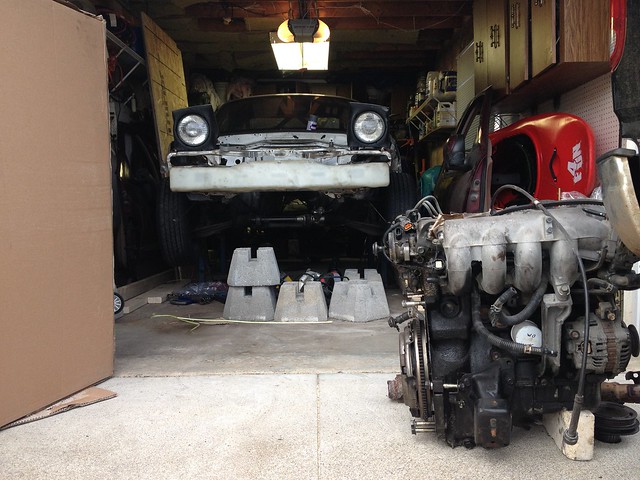 Goodbye 1.6 by Austin Rajki, on Flickr
You betcha! I bought the engine just outside of Detroit, loaded it into the back of the Integra and brought it directly to school. I only brought the parts in the house when they weren't home to take pictures of them then brought them to school.You kept an expensive ass ls1 secret from your parents all this time? :lol:
You betcha! I bought the engine just outside of Detroit, loaded it into the back of the Integra and brought it directly to school
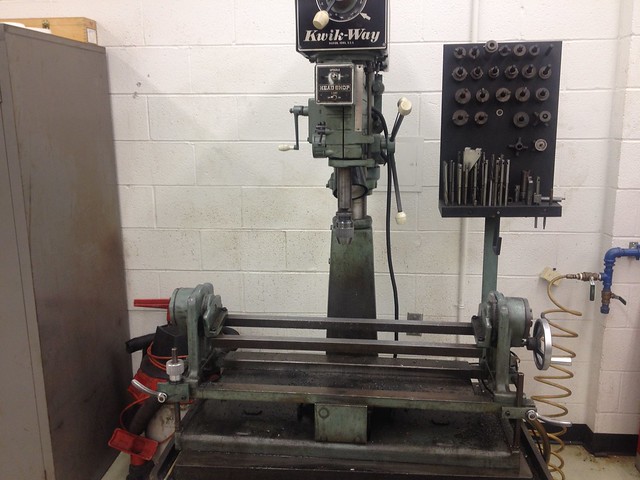 Cutting Valve Seats by Austin Rajki, on Flickr
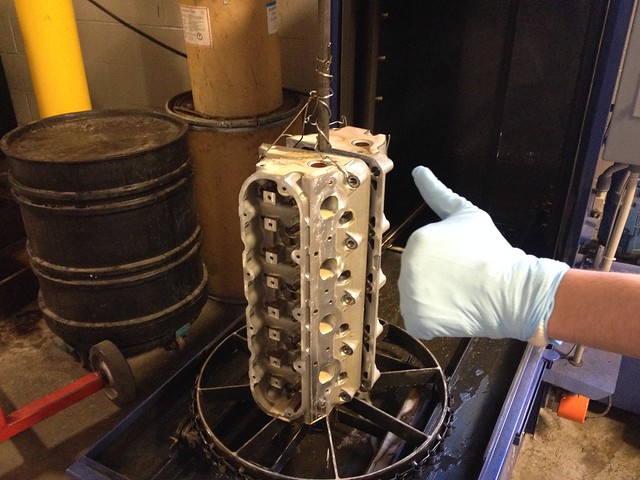 Washing after Cutting Seats by Austin Rajki, on Flickr
 Valve Lapping by Austin Rajki, on Flickr
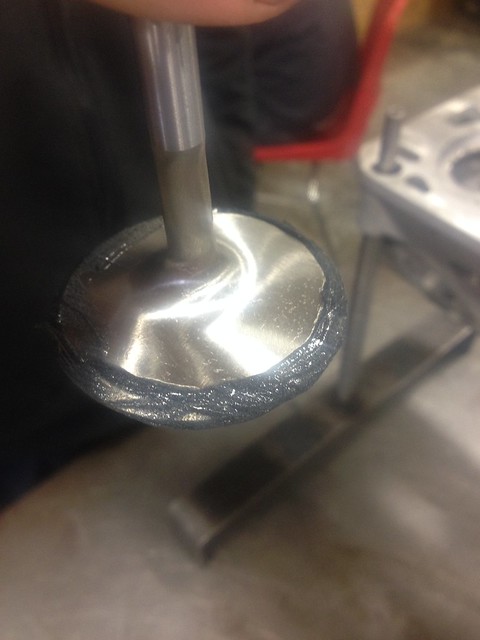 Valve Lapping Cream by Austin Rajki, on Flickr
 Seats Marked by Austin Rajki, on Flickr
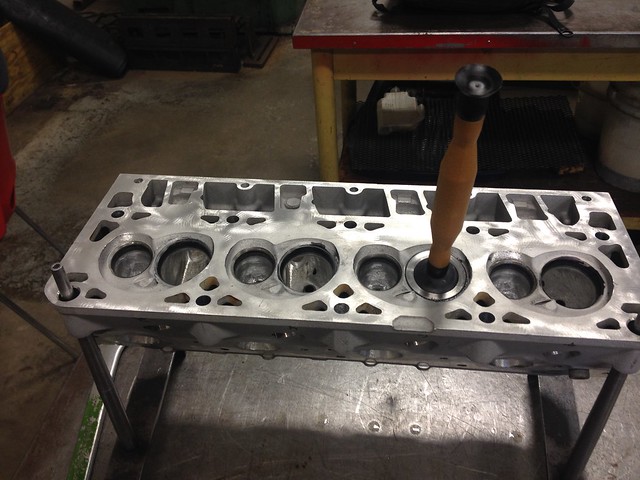 Lapping by Austin Rajki, on Flickr
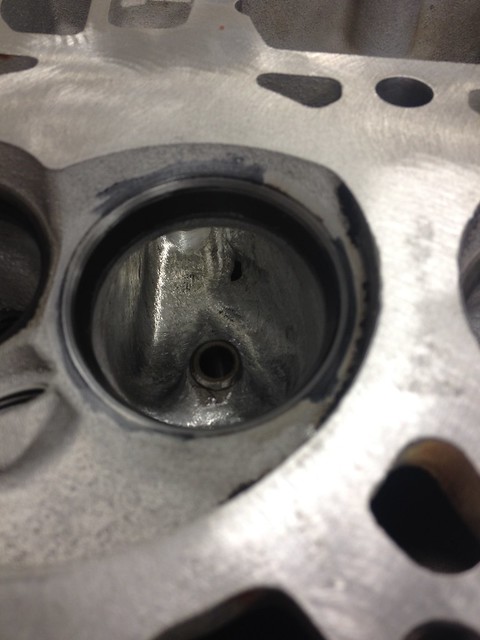 Perfect by Austin Rajki, on Flickr
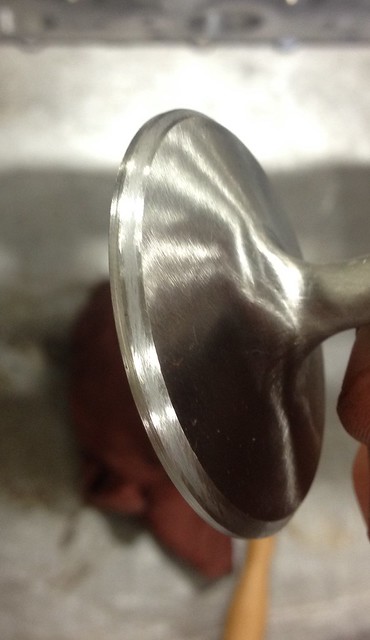 Perfect by Austin Rajki, on Flickr
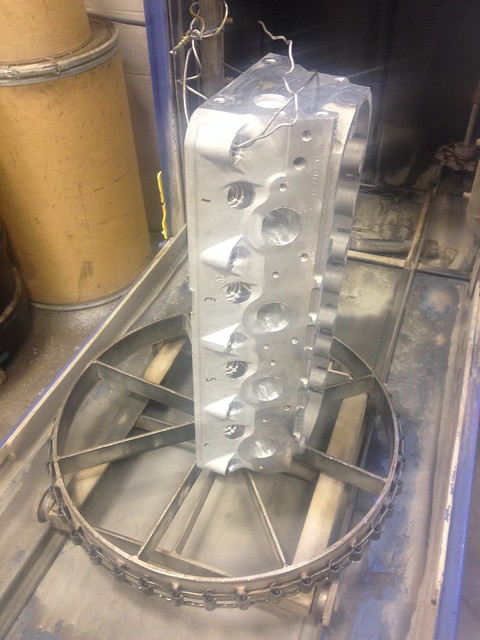 Glistening in the Sun by Austin Rajki, on Flickr
 Ready for Assembly by Austin Rajki, on Flickr