Nick_C78
New Member
After a lengthy period filled with unforeseen set backs the block is finished. Ken from Golden Eagle did a great job despite all the issues. A few things changed after all the measurements were taken though and we had to adjust the game plan.
The piston to wall clearance was too loose for the pistons that came with the block, for NA that is. The pistons were a 10 year old style from Arias and they have since had an improved design. Ken tried using a newer style piston of the same bore to see if it would have a better fit. His idea was correct, but the clearance was still too loose. We decided to just up it to an 85mm bore and start fresh.
Ken hooked it up with a set of Arias' new shelf profile pistons.

The new design has a dish on the top of the dome to promote a better burn.
Another issue Ken faced was that all of the bearing clearances were too tight as well. He tried Honda, ACL, King, and even Clevite bearings of various sizes and still could not get the specs that we wanted. To solve this issue we had the mains align bored and it solved the problem.
He wrapped up the block on Monday. We are eager to see how this bad boy runs.
The new block set up is as follows:
B18C1 sleeved with RS Machine Open Deck (Darton/Benson Style) Sleeves bored to 85mm
85mm Arias Forged High Comp Pistons with Arias wrist pins and spiral clips
Skunk2 Alpha H-Beam Rods
GSR Crankshaft
ARP 2000 Rod Bolts
Baffled OEM Oil Pan

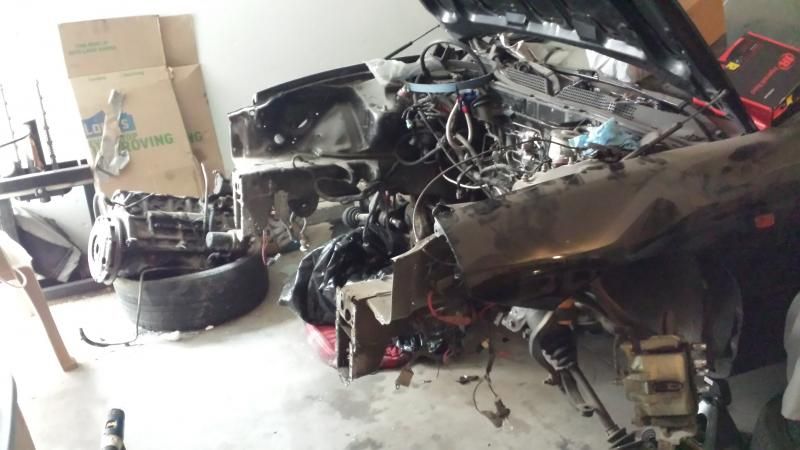
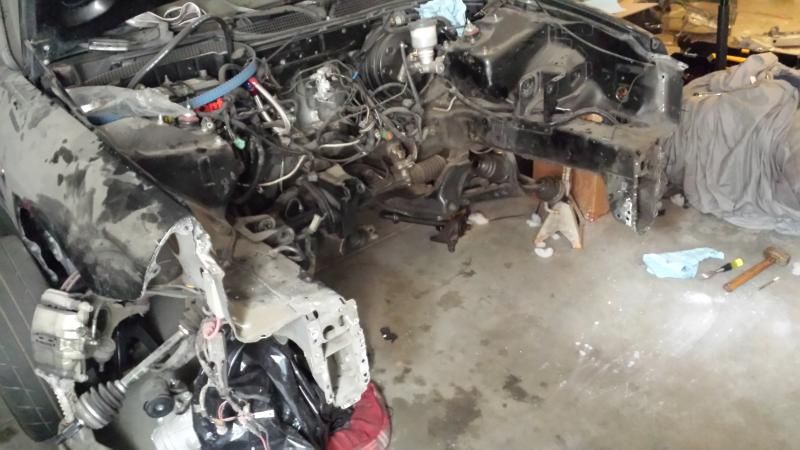
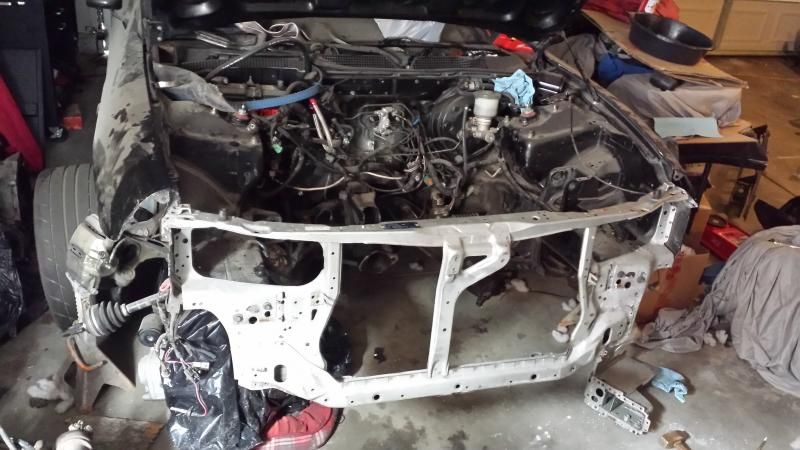
The DC2 will also be receiving a face lift soon. (An early Christmas present from the girlfriend)

As most JDM fronts it was a little rough from shipping and sitting and needs some cleaning up. The hood was the biggest problem. Although it has no dents or major paint damage it had a lot of old tape stuck to it that was hard to remove.


After spending a long time trying to peel off the tape by hand to no avail it was decided to find an alternative method.
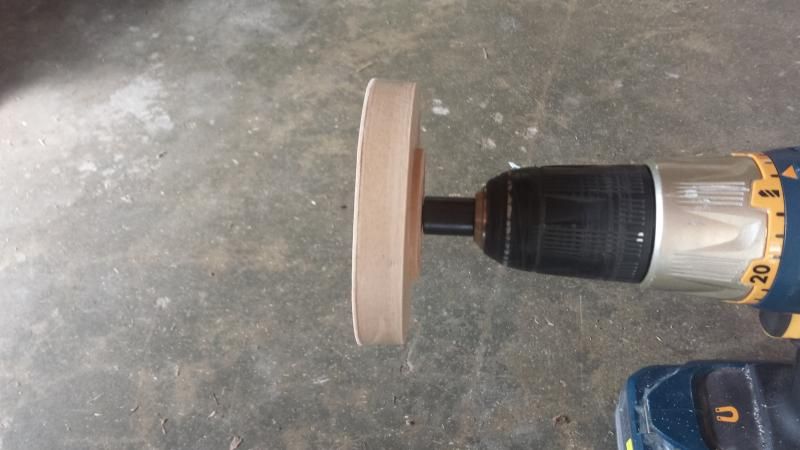
The AES vinyl eraser wheel was the perfect tool for the job. When used with a low speed drill it works amazing at removing stuck on stuff from your paint without damaging it.

Here is the result after some slight polishing. It still needs to be machine buffed, but we will get to that later.


After the front is installed the whole car will get a proper buff until it is time to paint.
The piston to wall clearance was too loose for the pistons that came with the block, for NA that is. The pistons were a 10 year old style from Arias and they have since had an improved design. Ken tried using a newer style piston of the same bore to see if it would have a better fit. His idea was correct, but the clearance was still too loose. We decided to just up it to an 85mm bore and start fresh.
Ken hooked it up with a set of Arias' new shelf profile pistons.
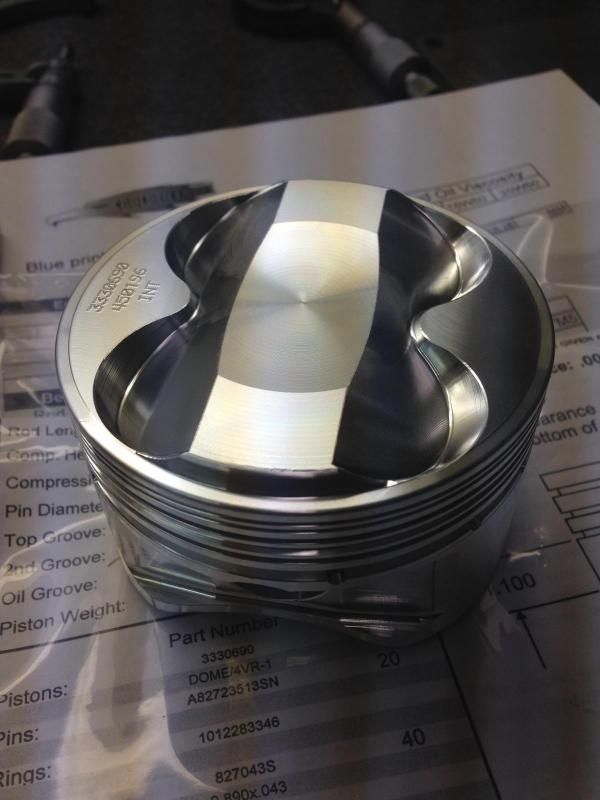
The new design has a dish on the top of the dome to promote a better burn.
Another issue Ken faced was that all of the bearing clearances were too tight as well. He tried Honda, ACL, King, and even Clevite bearings of various sizes and still could not get the specs that we wanted. To solve this issue we had the mains align bored and it solved the problem.
He wrapped up the block on Monday. We are eager to see how this bad boy runs.
The new block set up is as follows:
B18C1 sleeved with RS Machine Open Deck (Darton/Benson Style) Sleeves bored to 85mm
85mm Arias Forged High Comp Pistons with Arias wrist pins and spiral clips
Skunk2 Alpha H-Beam Rods
GSR Crankshaft
ARP 2000 Rod Bolts
Baffled OEM Oil Pan

The DC2 will also be receiving a face lift soon. (An early Christmas present from the girlfriend)
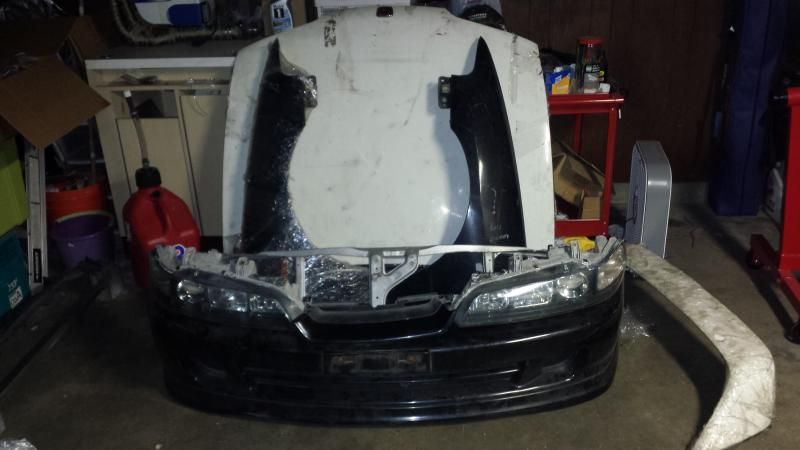
As most JDM fronts it was a little rough from shipping and sitting and needs some cleaning up. The hood was the biggest problem. Although it has no dents or major paint damage it had a lot of old tape stuck to it that was hard to remove.
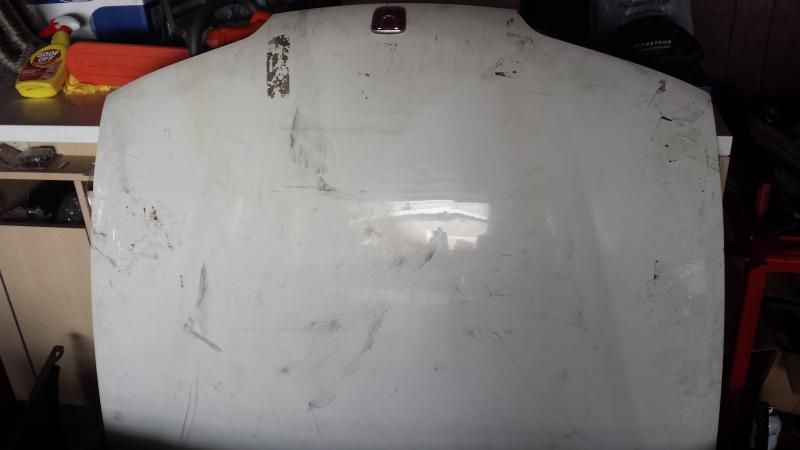

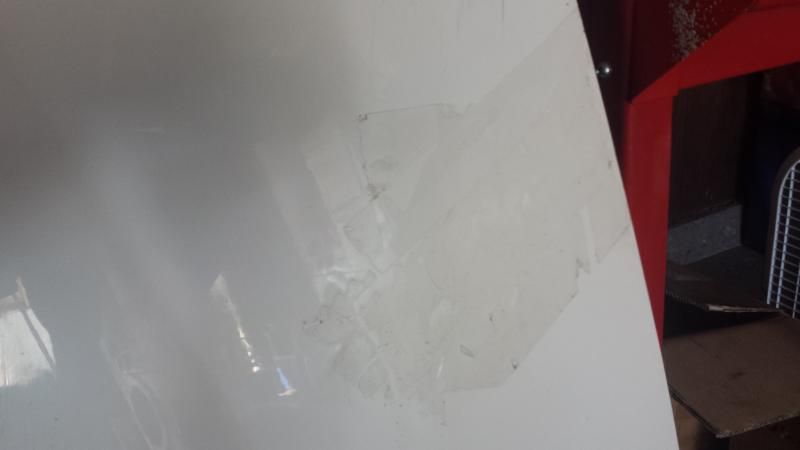
After spending a long time trying to peel off the tape by hand to no avail it was decided to find an alternative method.
The AES vinyl eraser wheel was the perfect tool for the job. When used with a low speed drill it works amazing at removing stuck on stuff from your paint without damaging it.
Here is the result after some slight polishing. It still needs to be machine buffed, but we will get to that later.


After the front is installed the whole car will get a proper buff until it is time to paint.


